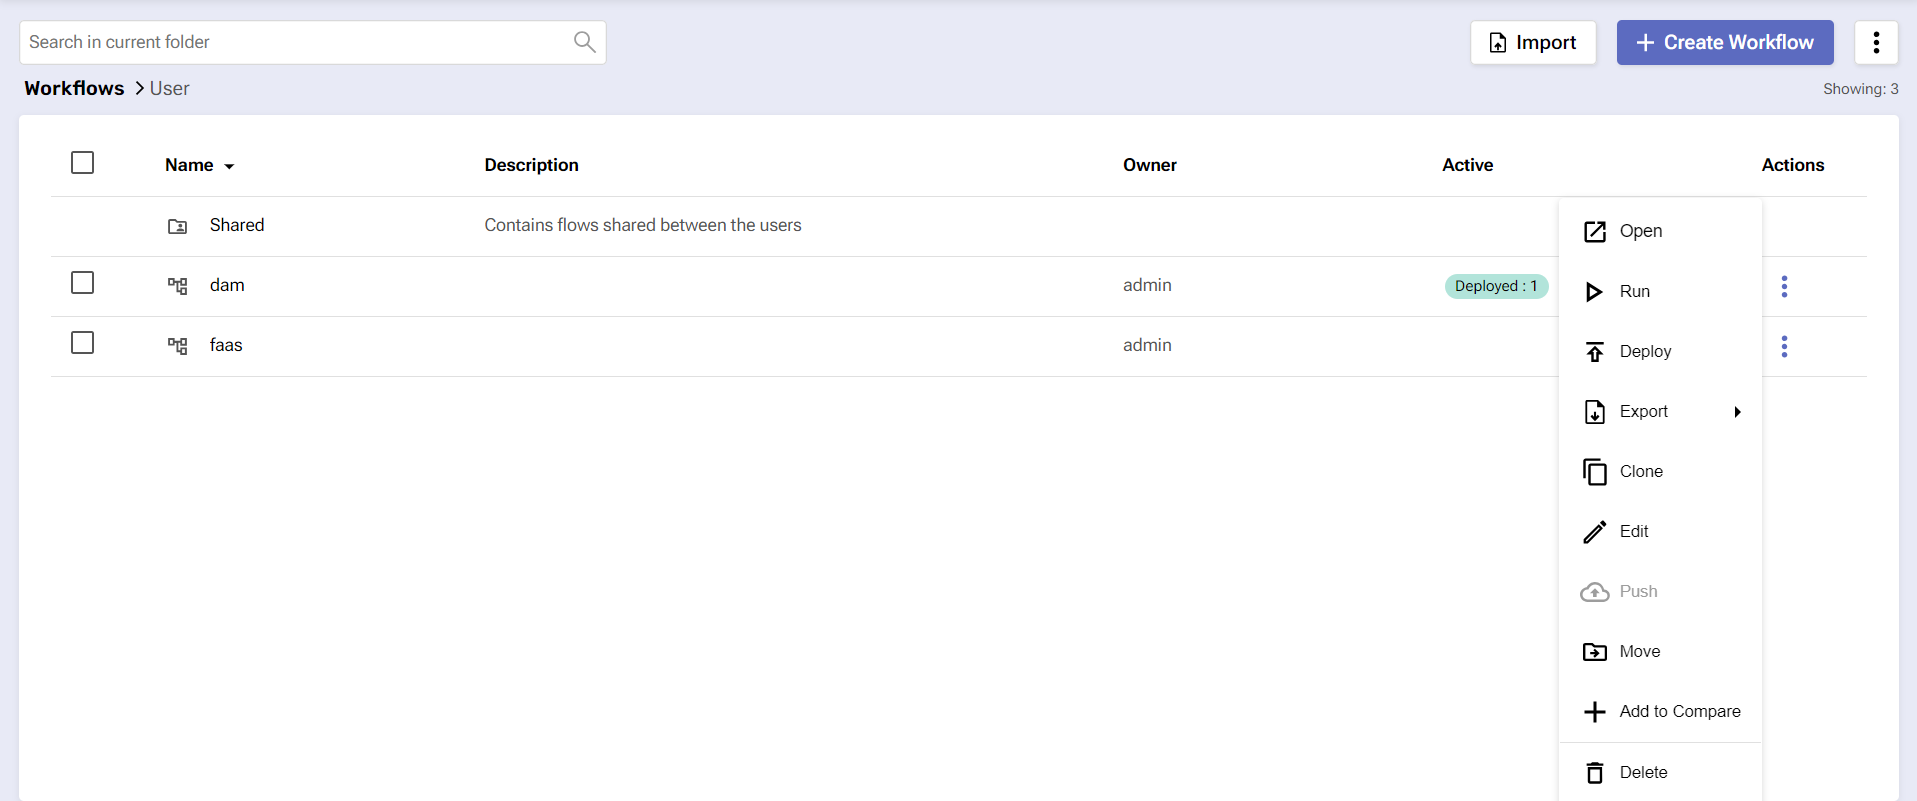
Workflow Actions
Overview
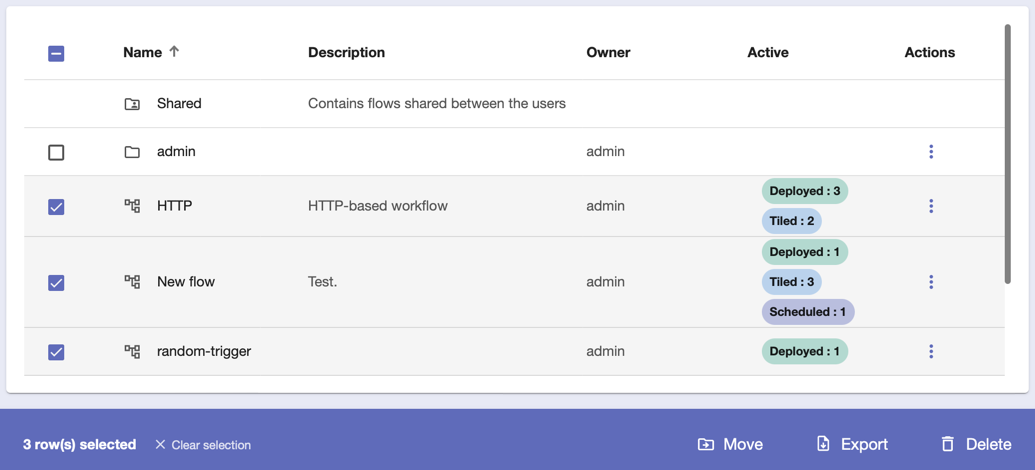
For each workflow оn the platform, you can perform a set of actions. These are defined on the right side of the page under the Actions column.
The Workflows tab
Before you begin
Make sure you have permission to perform workflow actions.
Procedure
Choose a workflow.
Click on the three-dot button on the right of the workflow.
Select an action.
Actions
From the dropdown menu, you can:
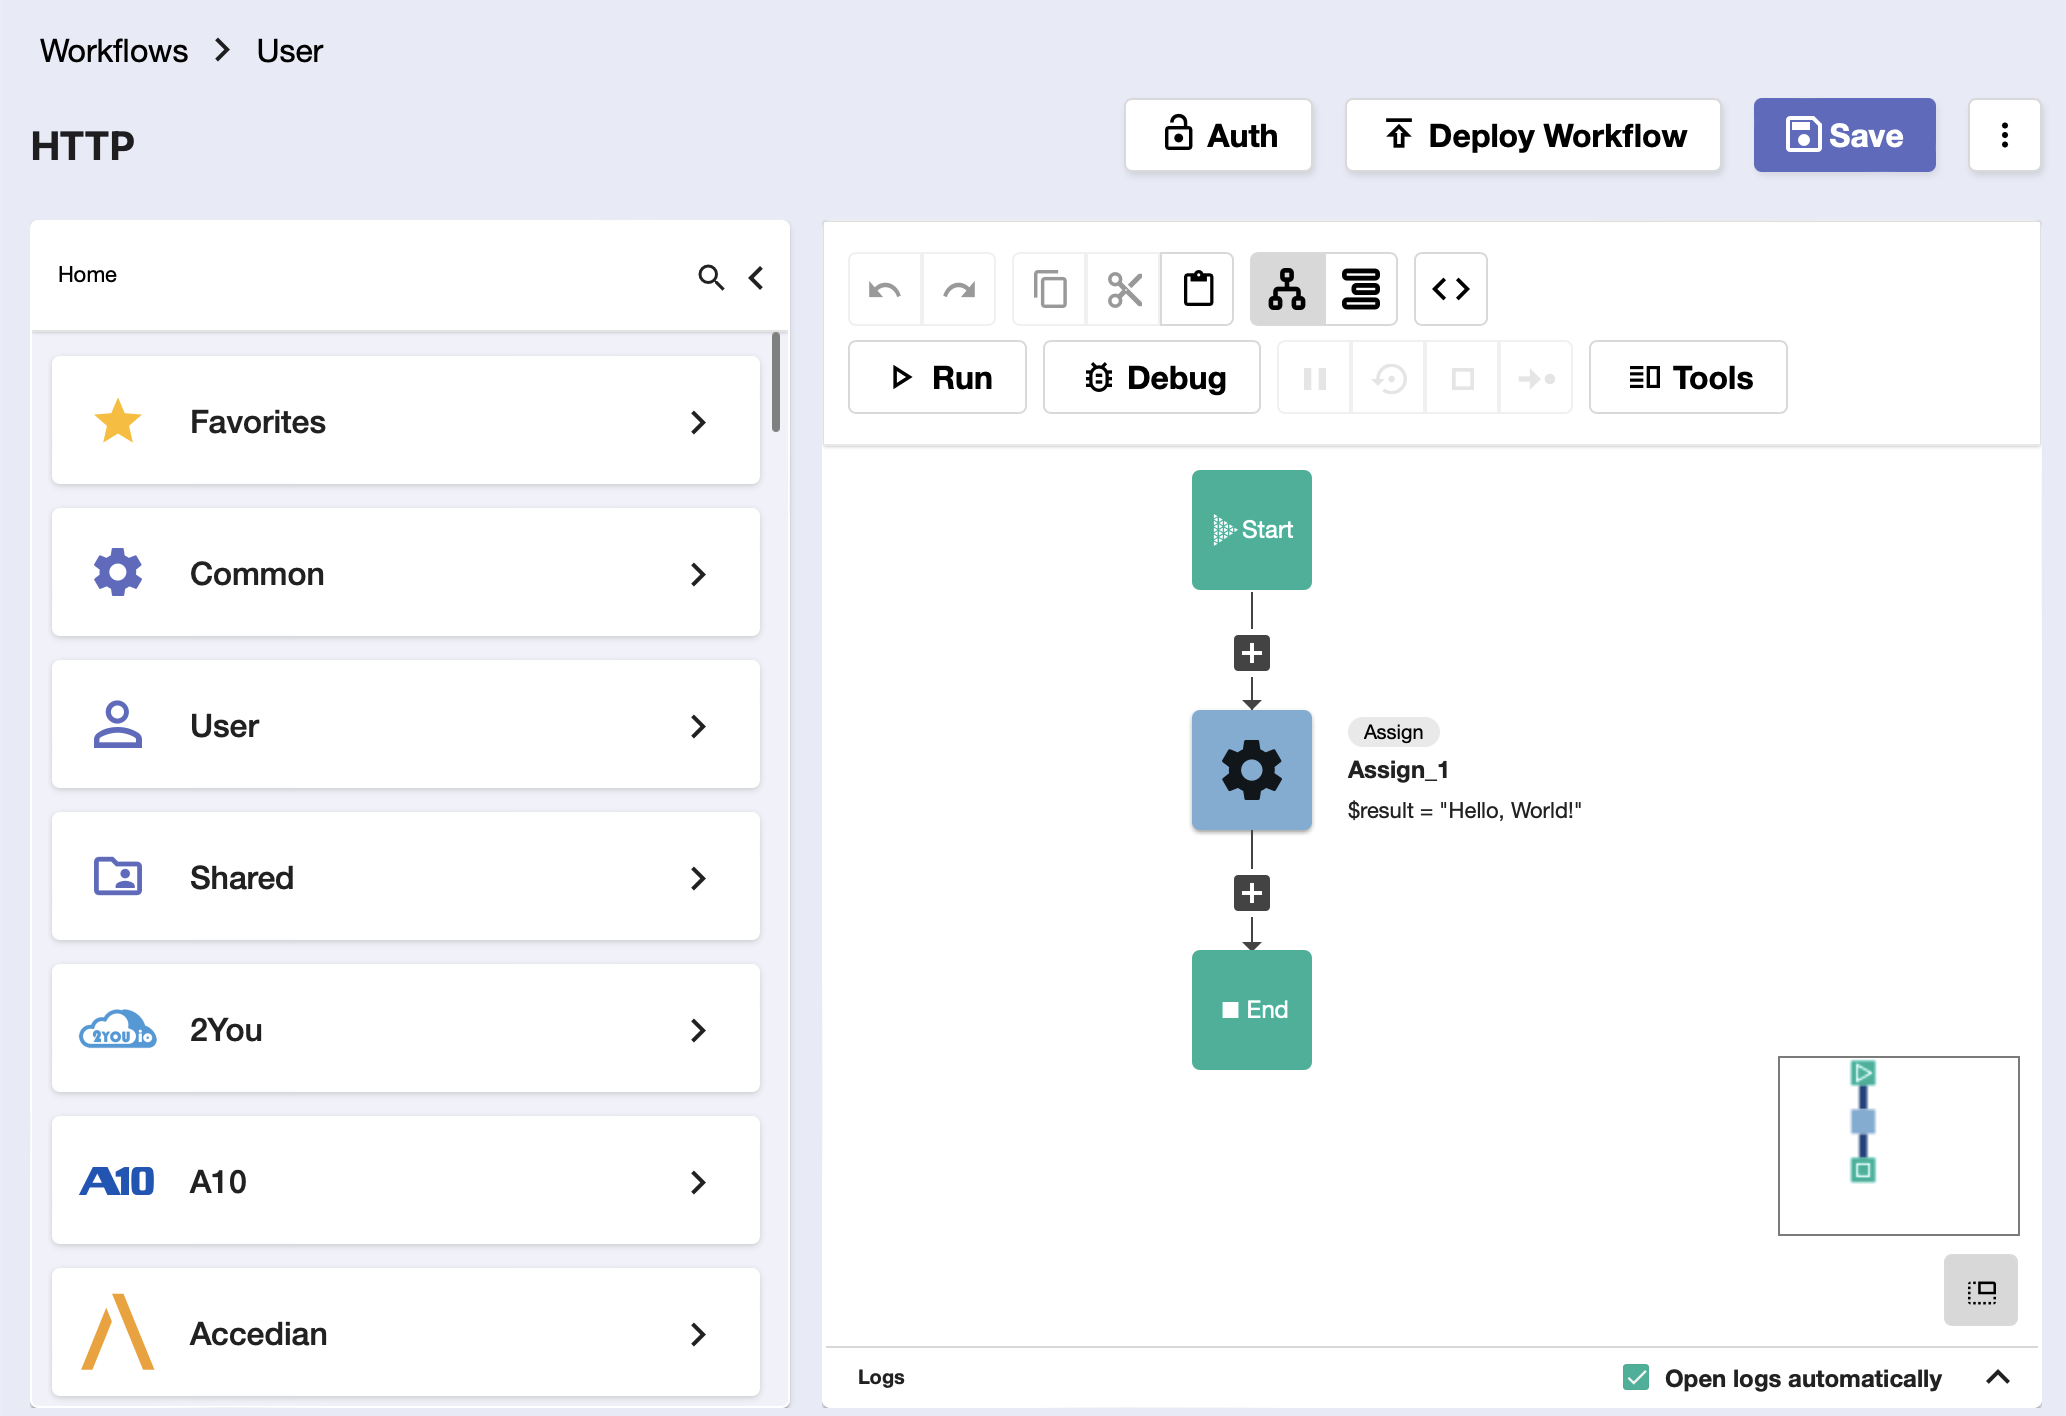
Open - This launches the Workflow Editor, where you can build and edit a workflow.
Run- This will open the Run Workflow screen, allowing you to configure the selected flow before it is executed by the platform.
Using the Run Workflow screen, you can configure variables before the flow execution.
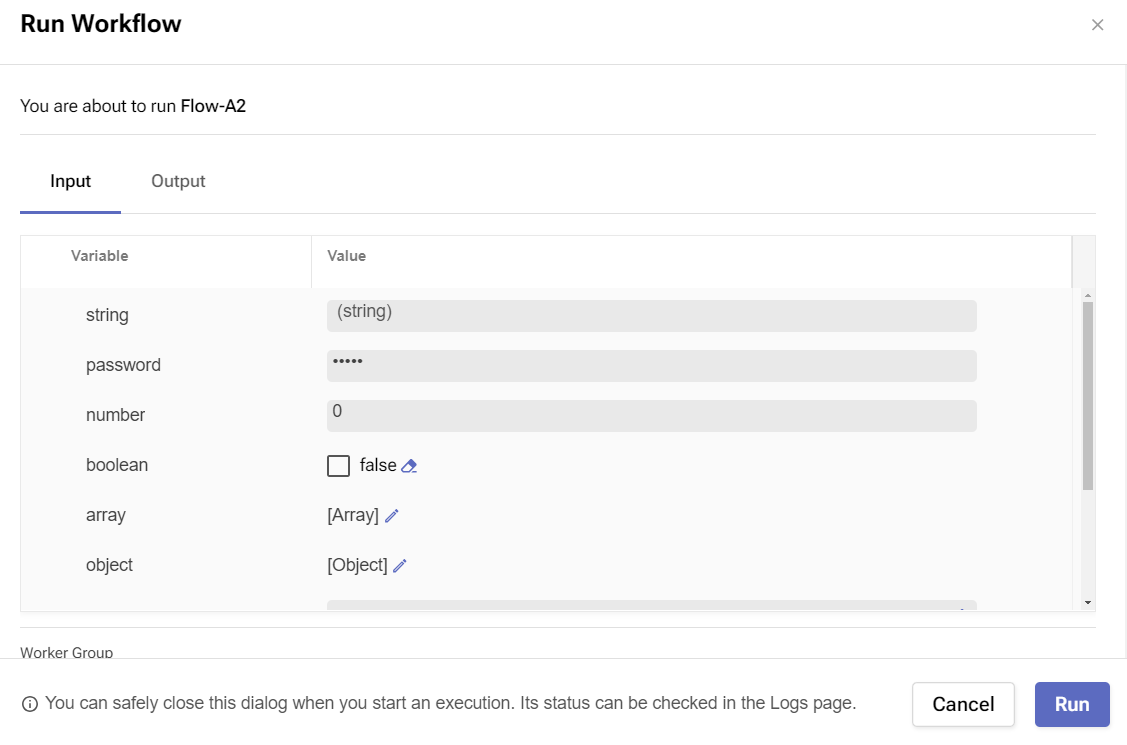
The Run Workflow Input Section
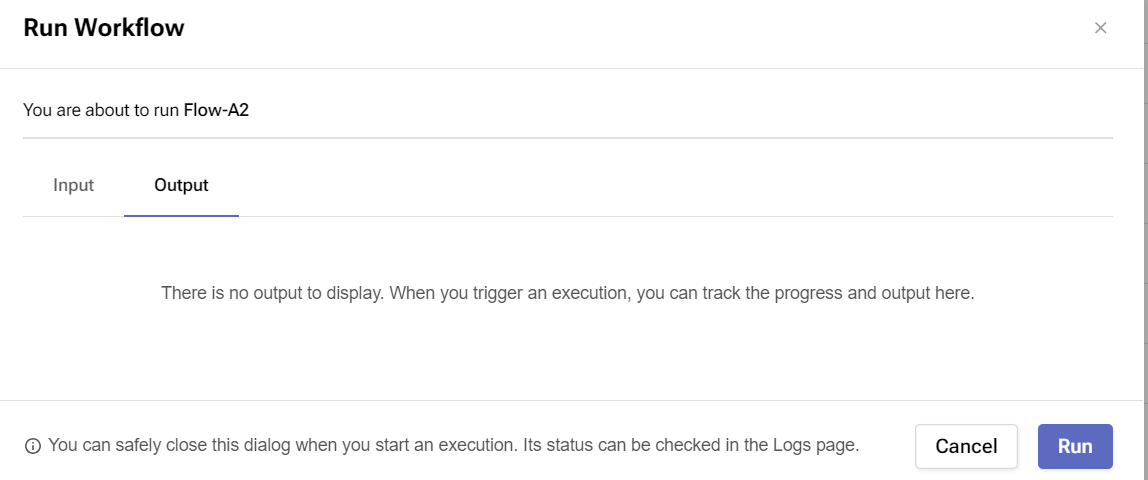
The Run Workflow Output Section
The screen is divided into two main sections – Input and Output. The Input section contains a list of all input variables that have been defined in the selected workflow. You have the option to change individual or all variables before executing. In the Output section, you can track the progress and workflow output.
When the workflow execution has started, you can safely close this screen as the operations will be running in the background. You can open the screen at any time to check on the Output section for details on the execution.
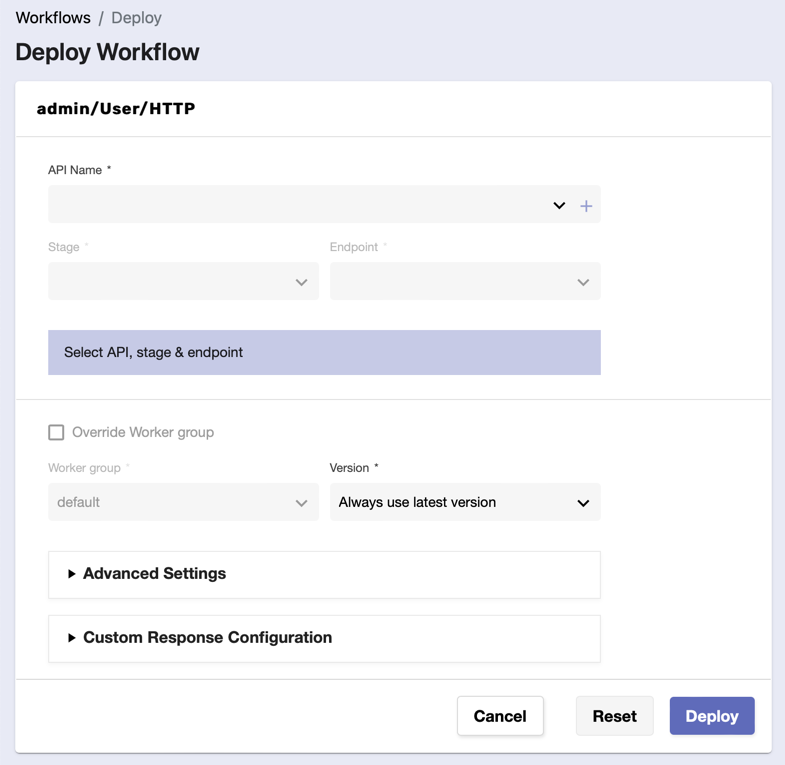
Deploy - This opens the deployment module where you can deploy a flow, making it active and accessible from outside environments.
Export - This will save a workflow as a ZIP file, either with relative or absolute paths, for use outside the platform.
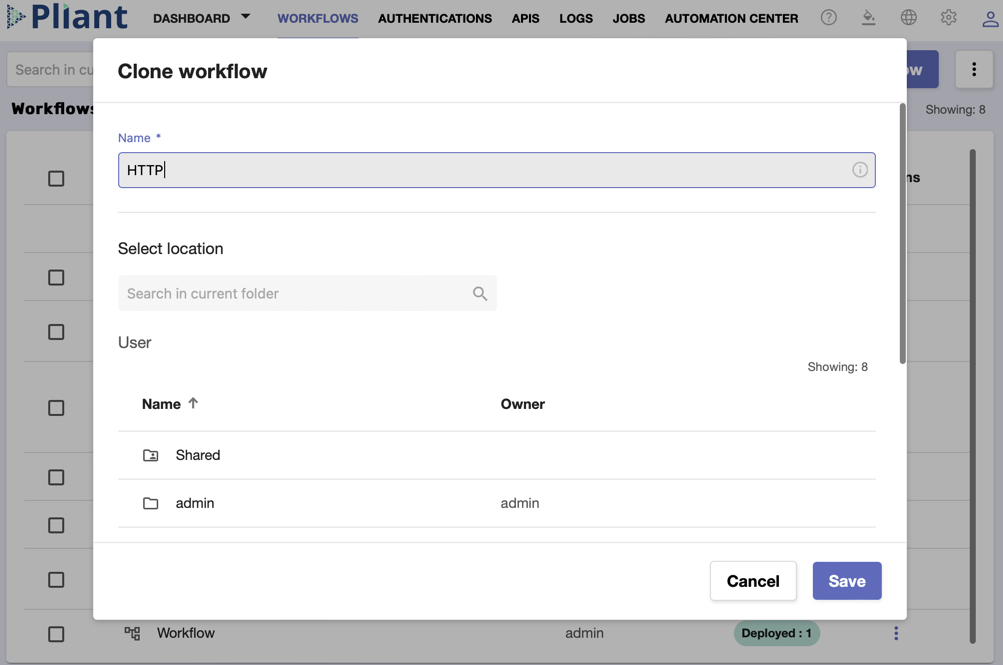
Clone - This will duplicate a workflow and ask you to provide a name and location for the copy.
Edit - This allows you to change the name and/or description of the workflow.

Push - This will push the workflow to Git.
Move - This allows you to move a flow to a different folder.
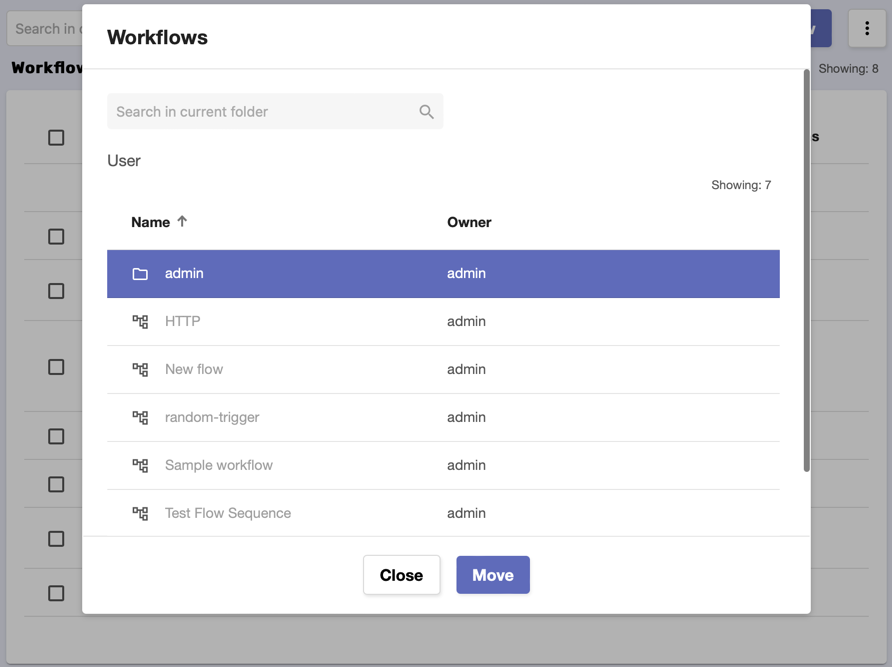
To move two or more workflows to a different folder using the same window, select all of them and click the Move button.
Versions – This opens the Version History dialog box allowing you to check the revisions history and stored versions of a given workflow.
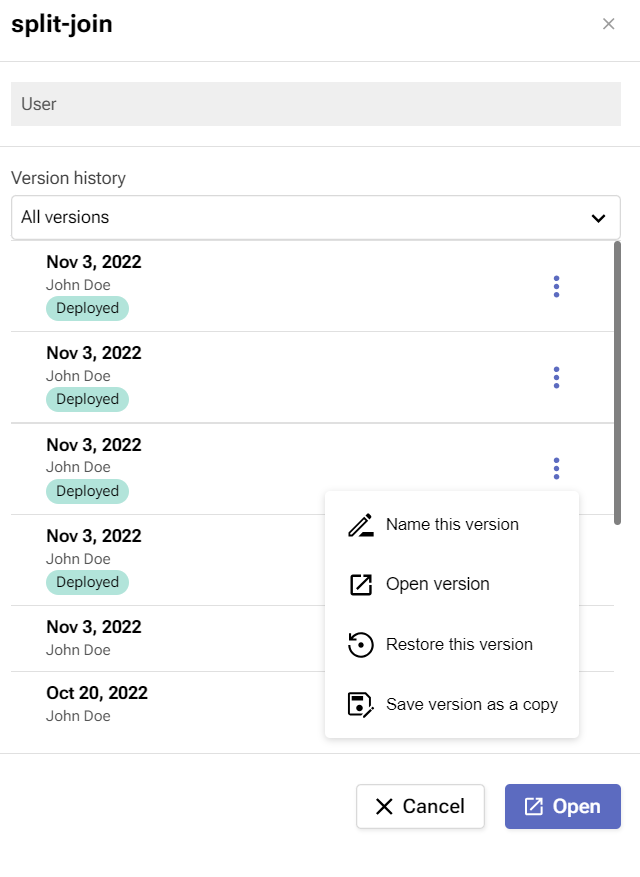
From this list, you can view the complete list of versions saved in the platform. By clicking on the three-dot menu for each entry, you can manipulate the versions. These are possible actions:
Action | Description |
|---|---|
Name this version | Allows you to rename the version. |
Open version | Opens the selected version in the Workflow Editor. |
Restore this version | Restores the selected entry as the main version. |
Save version as a copy | Copies the stored version snapshot as a separate copy of the workflow. |
Add to Compare – When you click on this button, the selected workflow will be added to the comparison view. Select another workflow and add it to the Compare list that will be shown in the main menu bar at the top. You can deselect entries from this list if desired and make another selection.

When you have made your selection, you can click on the Compare Workflows to display the viewer.
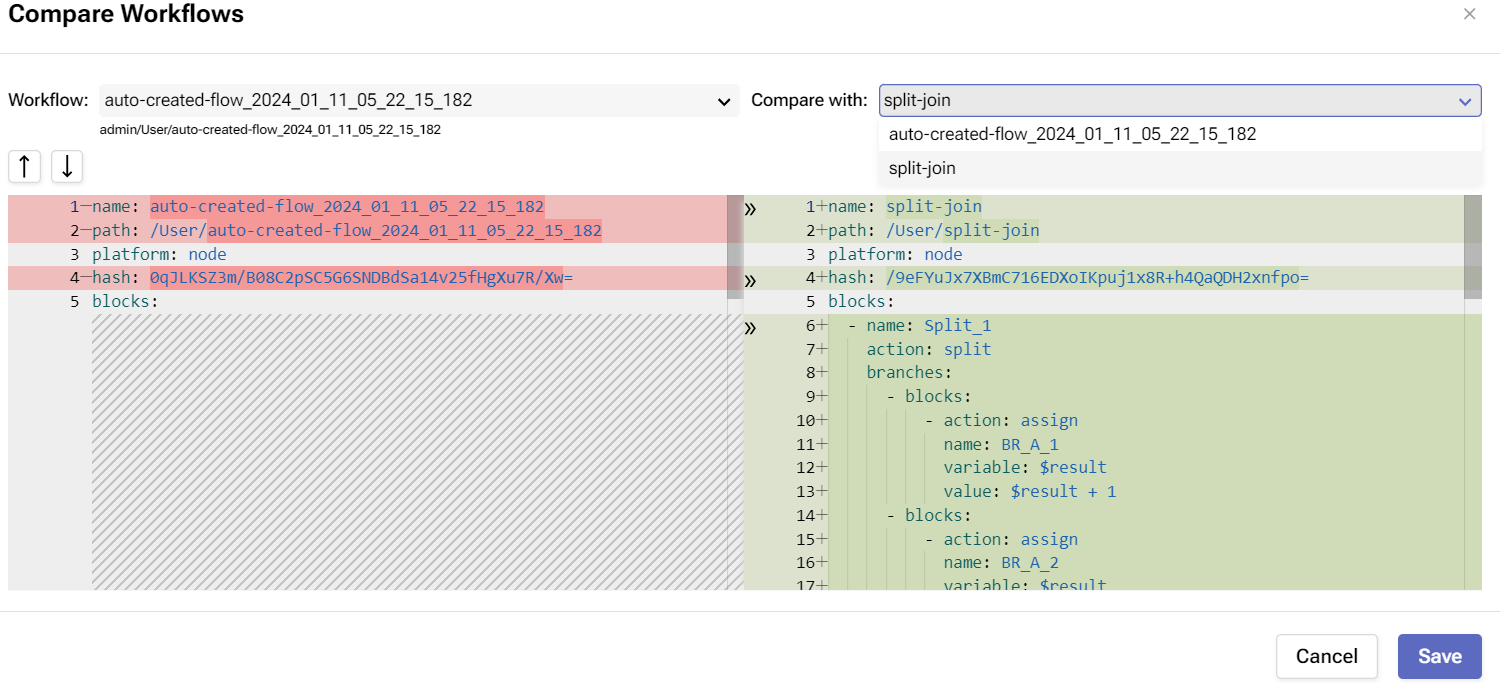
This editor will allow you to view the differences between the two workflows. If you have edit rights you can modify and delete code from both workflows, otherwise, the contents are displayed in read-only mode. You can click on the buttons to move between the different sections. The displayed workflow on the left is displayed in a read-only mode, while the one on the right is editable.
Entries that are removed from a given flow are displayed with a red overlay, while added sections are colored in green. Click Cancel to close the window without making any changes, or Save to commit code changes exit the screen, and navigate back to the main Workflows view.
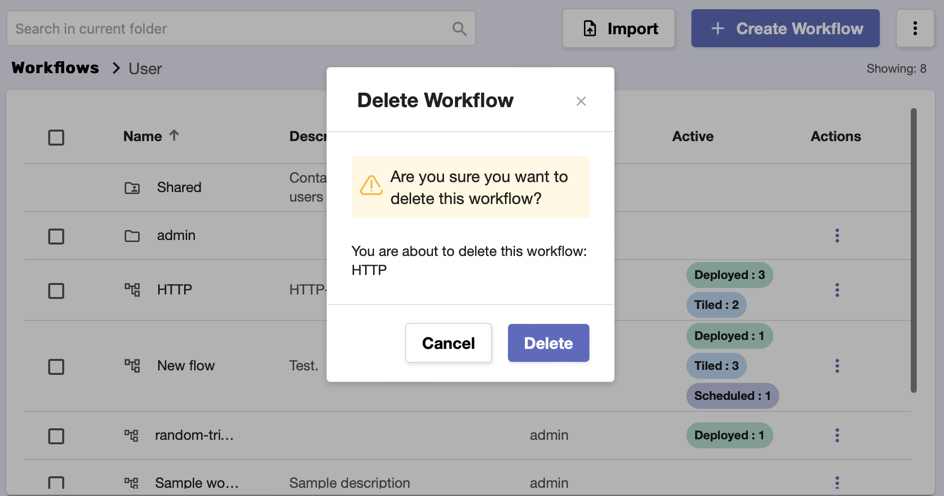
Delete - This will remove the workflow from the system.