Using Git with Workflows
Overview
At any time, you have the option to store your workflows in a remote Git repository.

The Workflows tab
Before you begin
You need to have an account on GitHub as well as an established repository.
Decide which flows you want to push into your repository or the ones you need to pull from it, if any.
Configuring Git
When you click the three-dot button at the top-right corner of the page and select Git Config, a separate window with fields will open.
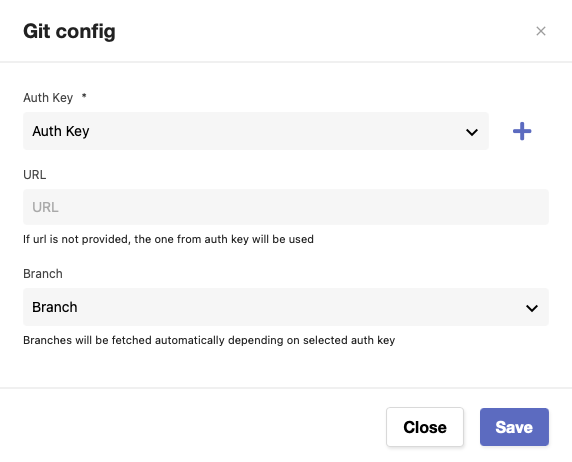
2. Choose the Auth Key associated with the repository. If you don’t have one in the dropdown, you’ll need to manually create it by clicking the plus button.
An additional Create Authentication window will visualize.

Fill out the following:
Name - the name of your authentication key.
Description - optional description for your authentication key.
Service - the integration name (Git)
Depending on the service you’ve selected, you may need to go through a couple of additional fields.
They’ll require sensitive information (credentials) needed for the connection of the service with Pliant.

URL - the unique link of your Git repository.
This should be the full path ending in <your-project>.git (eg https://github.com/shanepliant/flek3s.git). GitHub and others will show this value under the Clone function.Branch - the branch can be populated here to hard set or will be select-able in the Git configuration once you fill out the other fields.
Be sure to check the “Overridable” checkbox for this if you do not set it here. Your branch must already exist in Git.Username - the username associated with your Git provider.
Password - the password associated with your Git username.
If you are using GitHub Cloud or Enterprise, the password MUST be a Personal Access Token for the user, as GitHub has phased out support for passwords.Email - the email address associated with your Git username.
RSA Private Key - private key used for SSH key authentication (if using SSH in lieu of password/token).
Check the Overridable checkboxes to make fields editable later. Otherwise, future changes would not be possible.
Click Save to add the Auth Key.
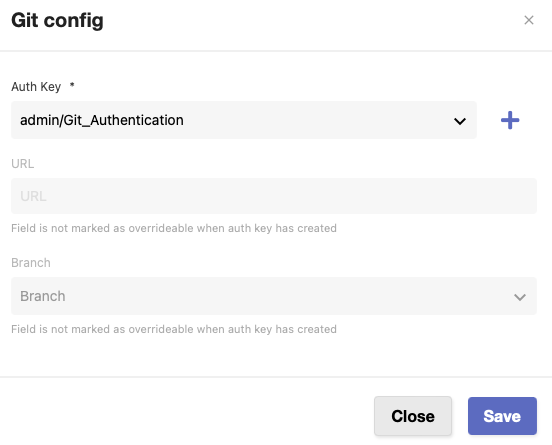
3. If you hadn’t checked any Overridable checkboxes, the optional URL and Branch fields cannot be modified.
Otherwise, you will be able to select and/or change your URL and branch.
In addition, when you have a couple of branches available, you can search for them in the bar that appears below the Branch field.

4. Click Save to finish setting up Git.
Using Git with workflows
Once you’ve configured Git, the three-dot button will exhibit new properties.

Edit Git config takes you back to the Config menu where you can apply changes to the fields you’ve specified as Overridable.

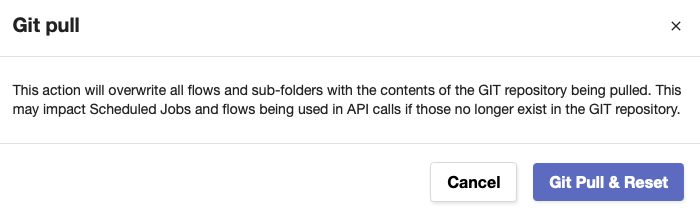
Git Pull & Reset takes the contents from your repository and overwrites any existing flows and/or folders within your Pliant workspace.
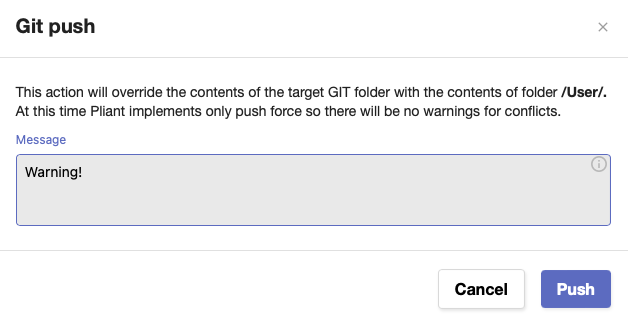
Git Push takes the contents from your Pliant workspace/folder and overrides any existing flows and/or folders within your repository.
You have the option to include a message associated with the action.
Delete Config removes the configured Git. A warning will appear before the action is executed.

To pull or push multiple workflows from/to Git, simply select them and click the respective button from the dropdown.

Single-workflow push is also possible through the three-dot button menu on the far-right of the flow.
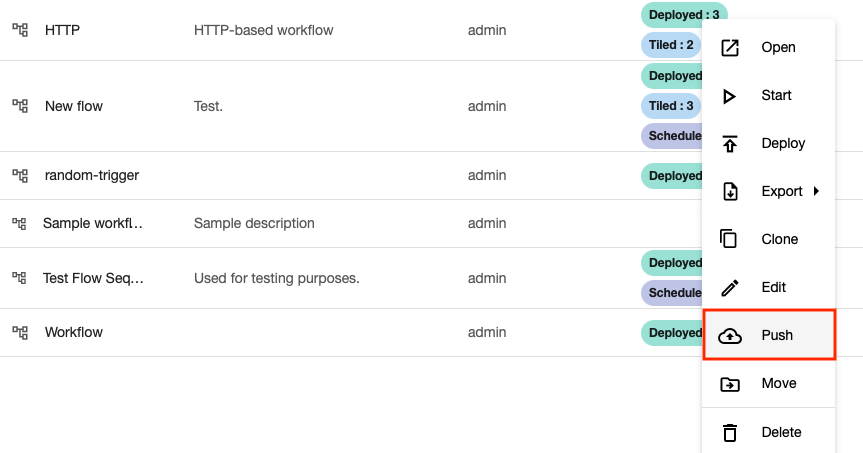
The action will trigger the respective Push popup, this time customised for the particular workflow.
