Importing and Exporting Workflows
Overview
With the ability to import and export, you can introduce new workflows from outside the platform or take existing workflows from inside to somewhere else.
The Workflows tab
Before you begin
Make sure you have permission to import or export workflows.
Procedure to import
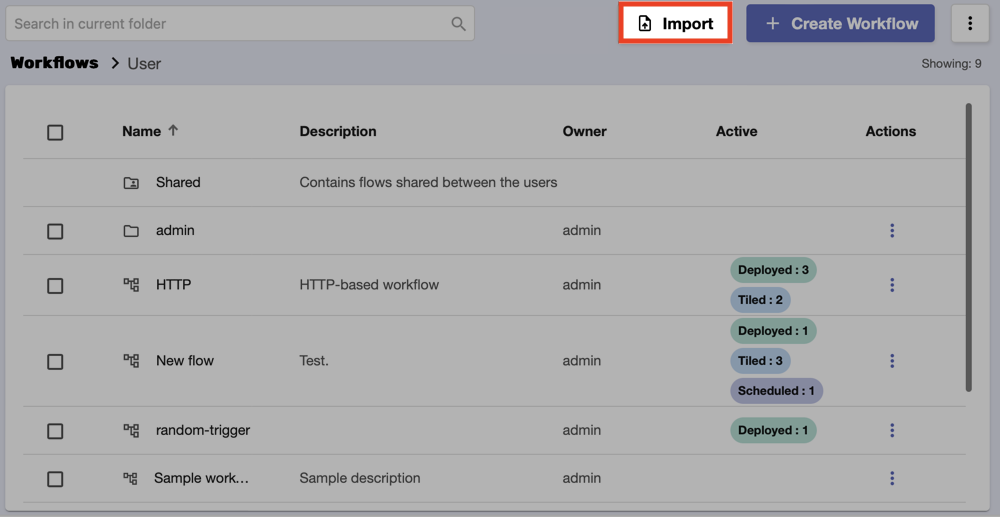
Click Import at the top of the page.
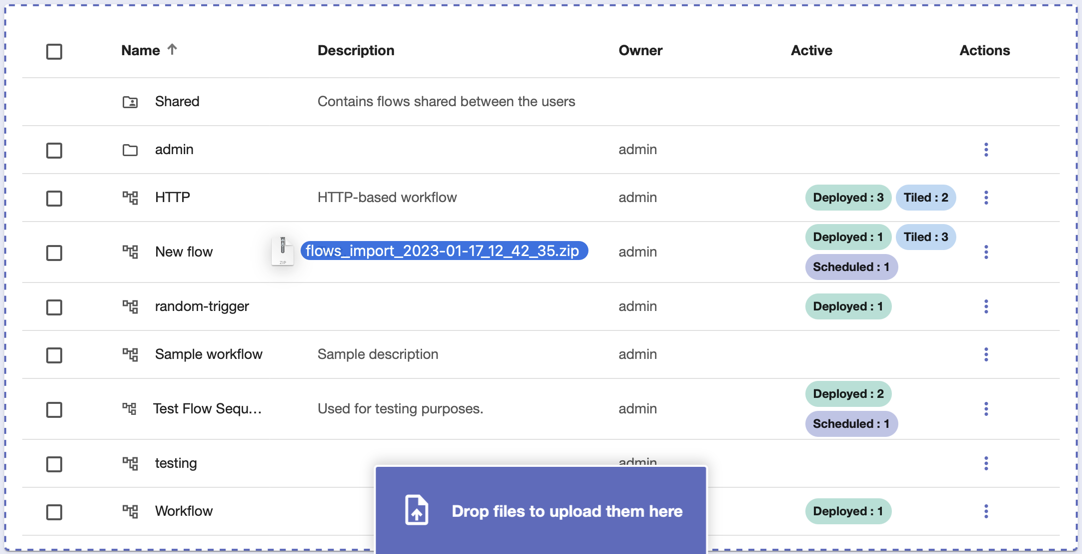
2. From your computer, select the ZIP file which contains the workflow(s) you’d like to import.

Alternatively, drag and drop the file directly onto the page.
If the flow already exists within your list, an error pop-up will appear.

Select Overwrite to replace the already existing flow with the one you would like to import.
Select Keep Both to import the flow without affecting its duplicate.
Select Skip to make no changes.
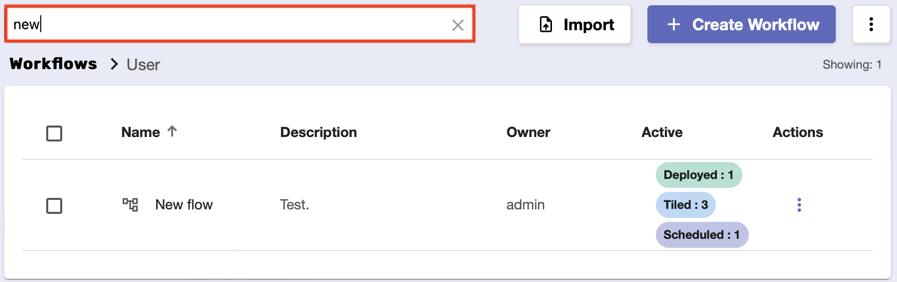
3. Find the new flow using the Search bar.
You can also import folders (in ZIP) which contain multiple flows.
Procedure to export
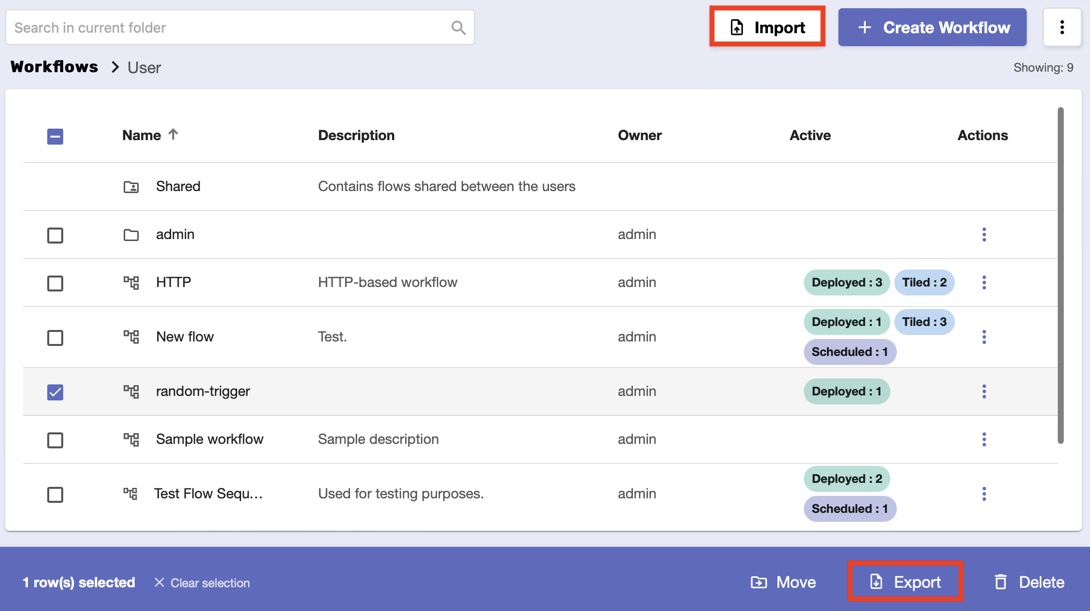
By default, the Export as well as the Move and Delete features are not active until you select one or more flows.
Check one or more boxes on the left of the workflows' names and click Export at the bottom of the page.
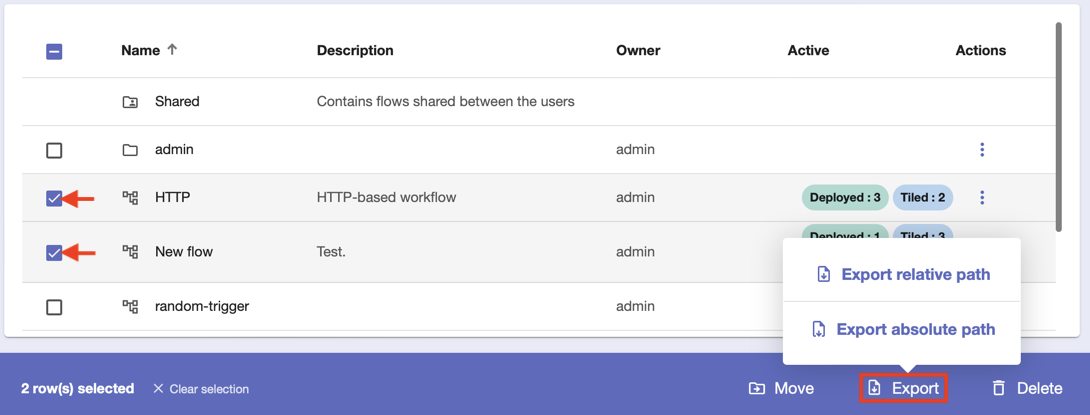
2. Choose whether to export the flows with absolute or relative paths and confirm that they’re delivered in your default downloads folder.
Filenames follow this order:
"flows_export_<year>_<month>_<day>_<hour>_<minute>_<seconds>.zip" for flows exported without absolute path
"absolute_flows_export_<year>_<month>_<day>_<hour>_<minute>_<seconds>.zip" for flows exported with absolute path
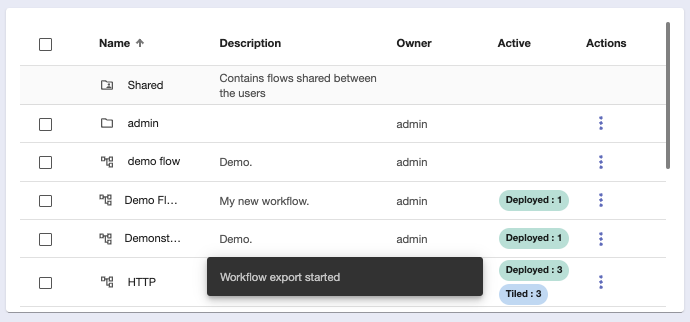
3. The flow will be exported shortly, as noted by the notification at the bottom.