Object Editor
Overview
The Object Editor is an integral part of the Workflow and the Visual Editor. It allows for easier and more intuitive preview and editing of block parameters.
You can manage almost all existing block properties, or add new ones from scratch.
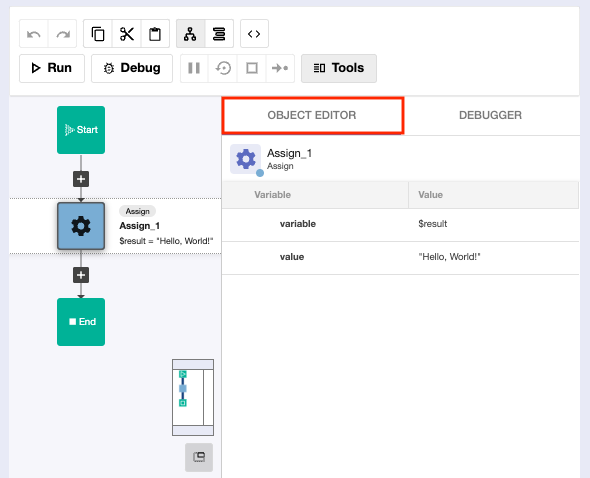
The Object Editor panel
Before you begin
Navigate to the Sequence Editor or the Visual Editor and start building a workflow.
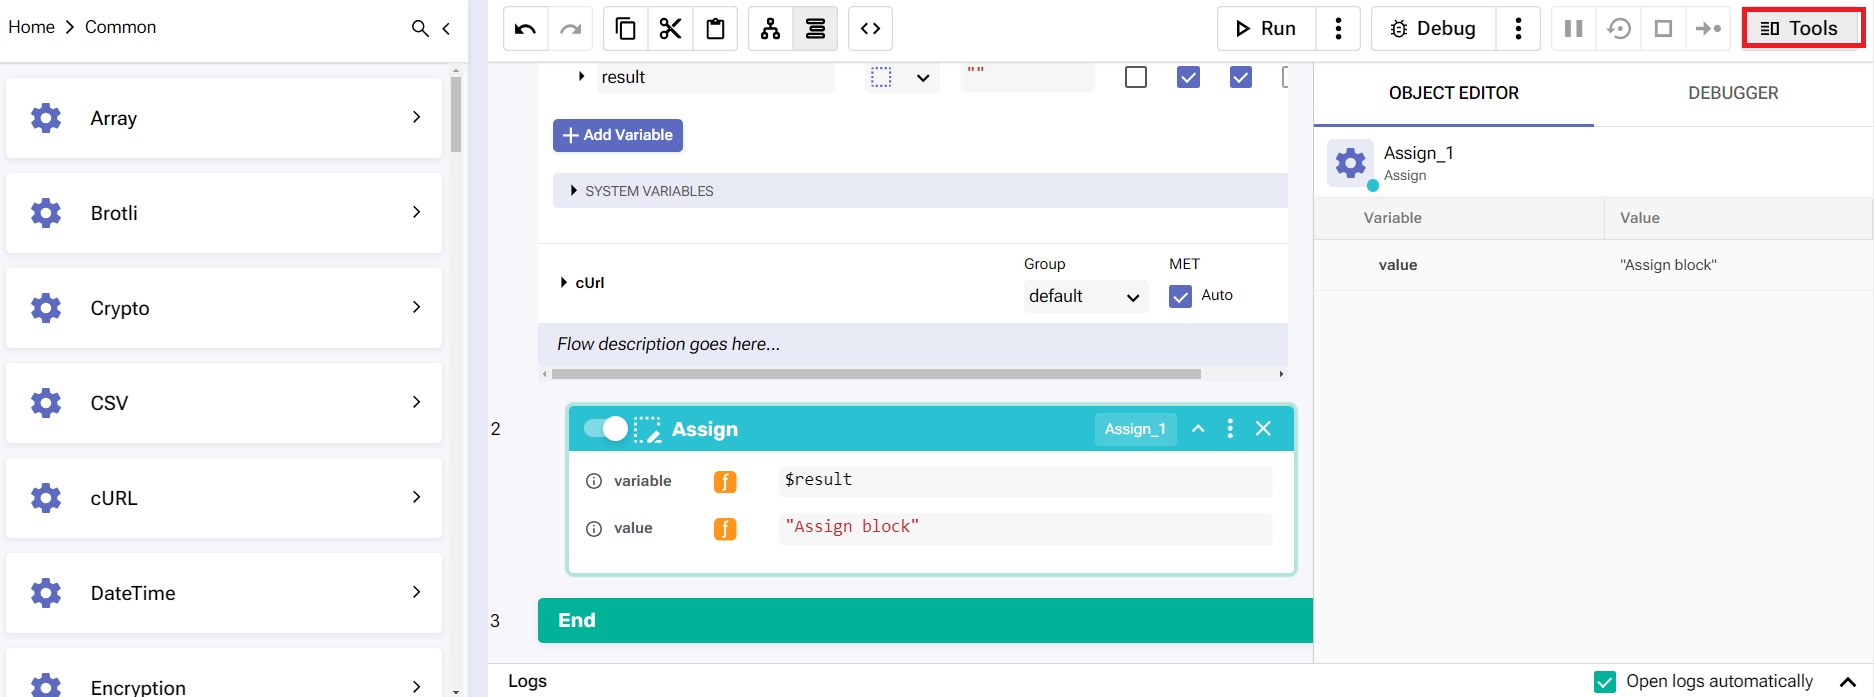
Click the Tools button to expand the module, and then select a block to preview and manage its variables.
Features and actions
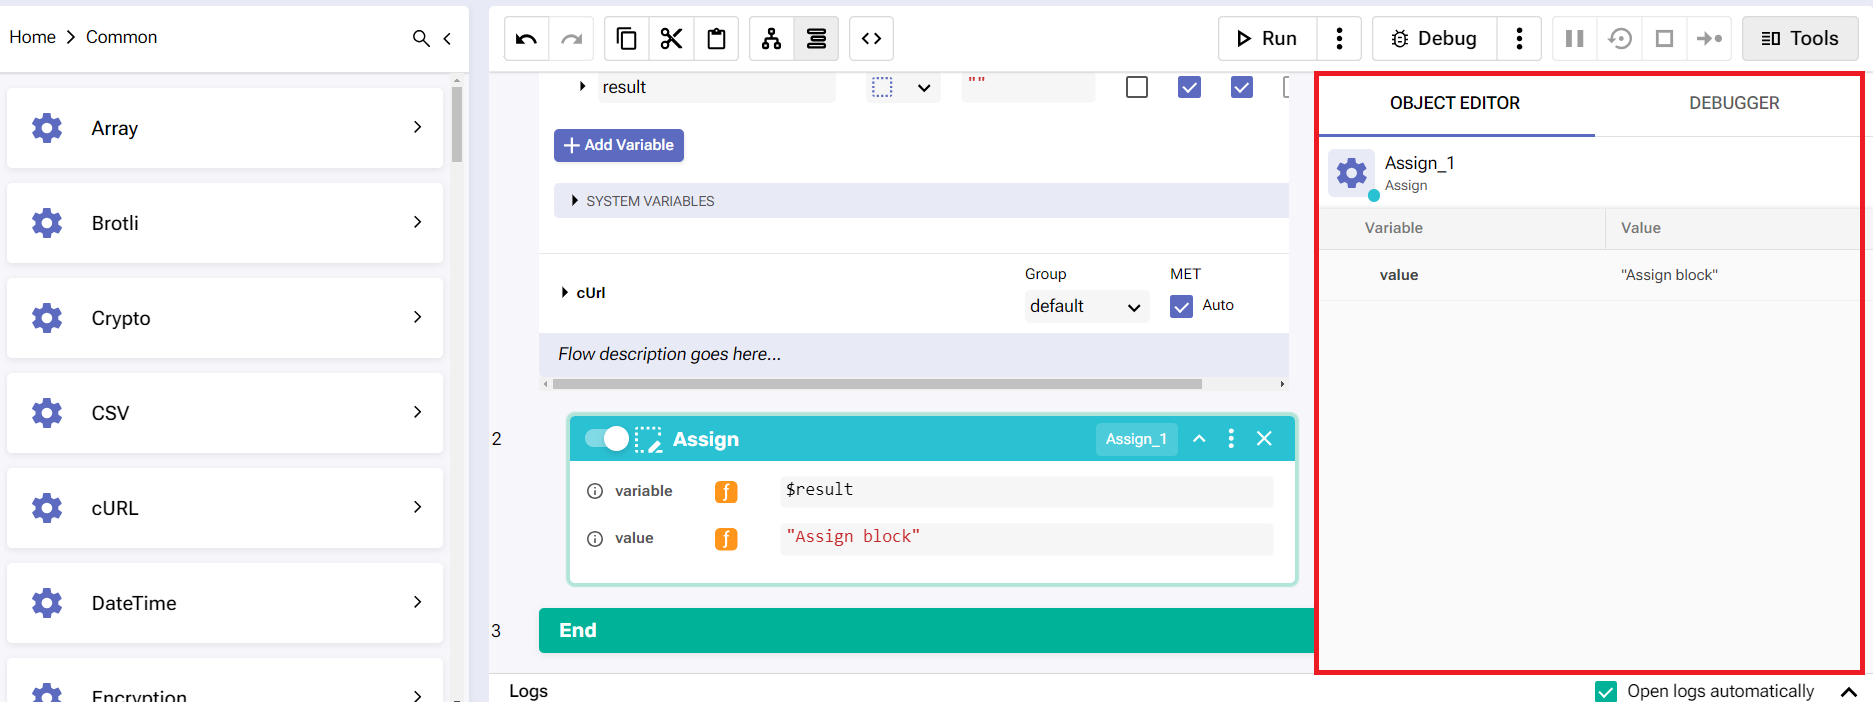
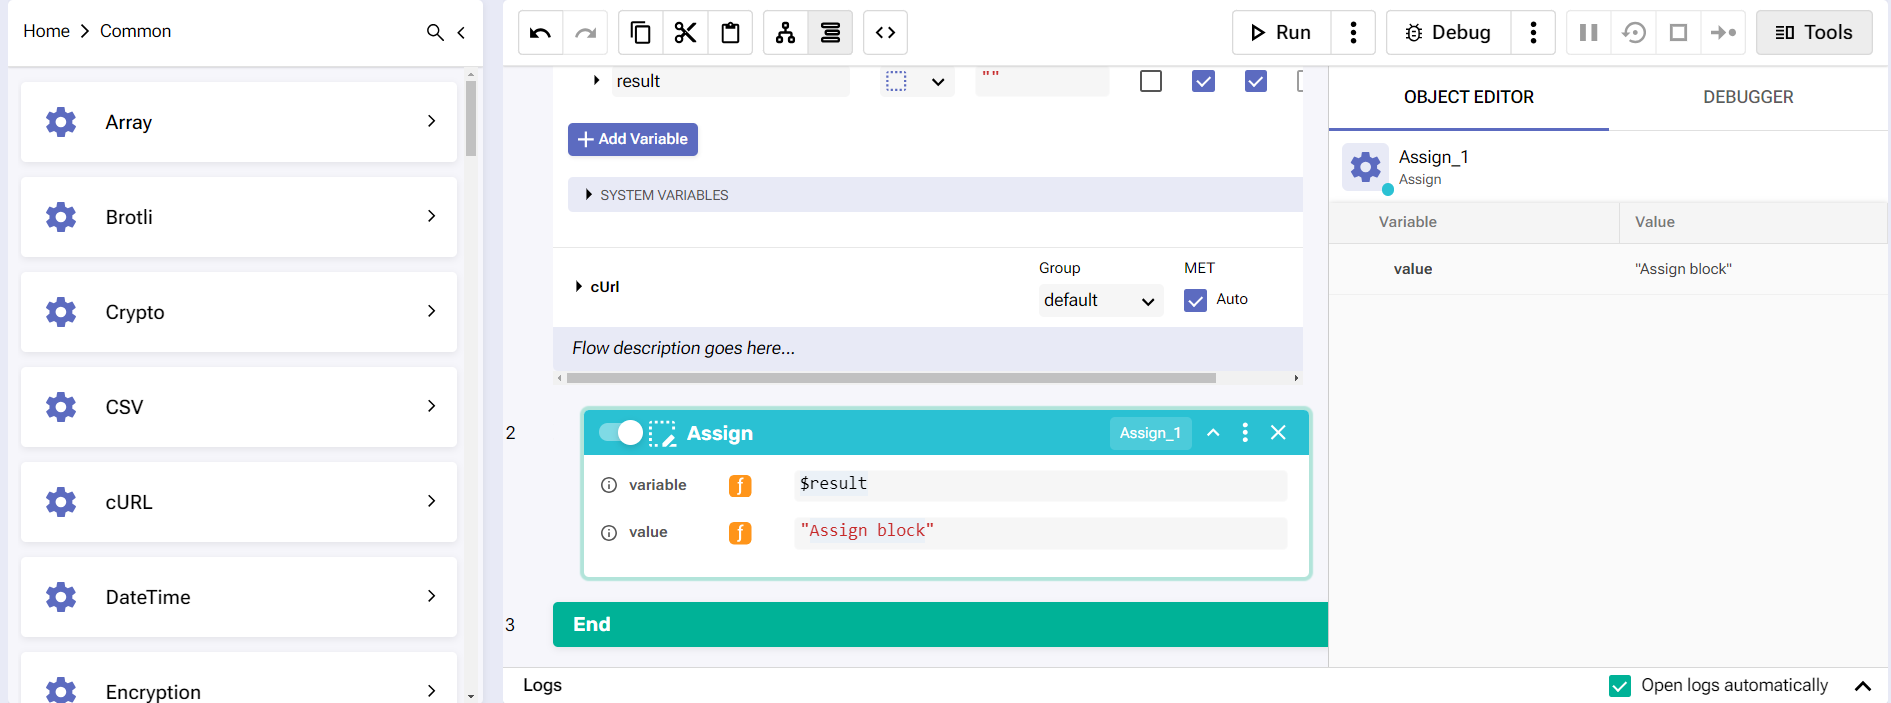
The Object Editor provides flexibility when working with оbjects and аrrays. Just click on a block for the module to display all of its respective properties.
Assign block in the Object Editor
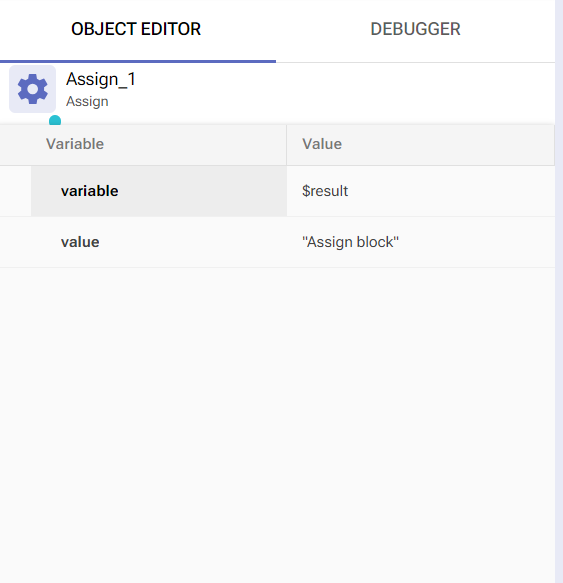
If you want to edit one specific property, click inside its field in the corresponding block. This works only in sequence workflows.
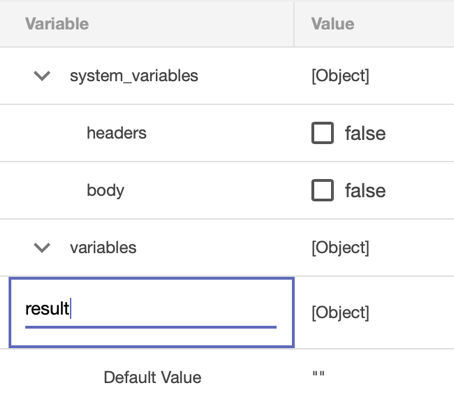
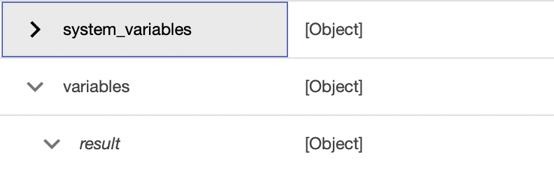
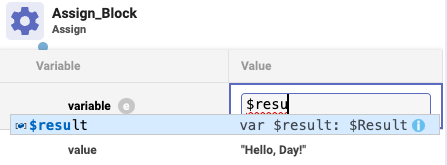
“result” variable in the Object Editor
When you click a field once, it becomes highlighted in grey.
If you hover over a variable field, you can learn its type.
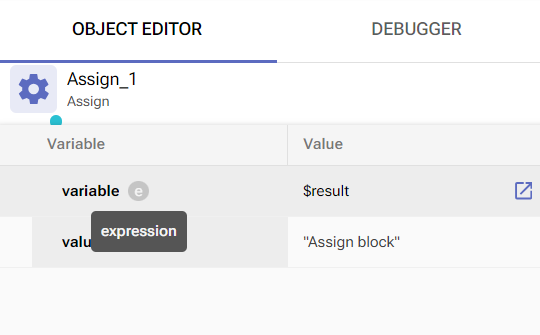
To expand and collapse fields and variables, use their chevron buttons.
By clicking directly on a Start block variable’s name, you can change it.
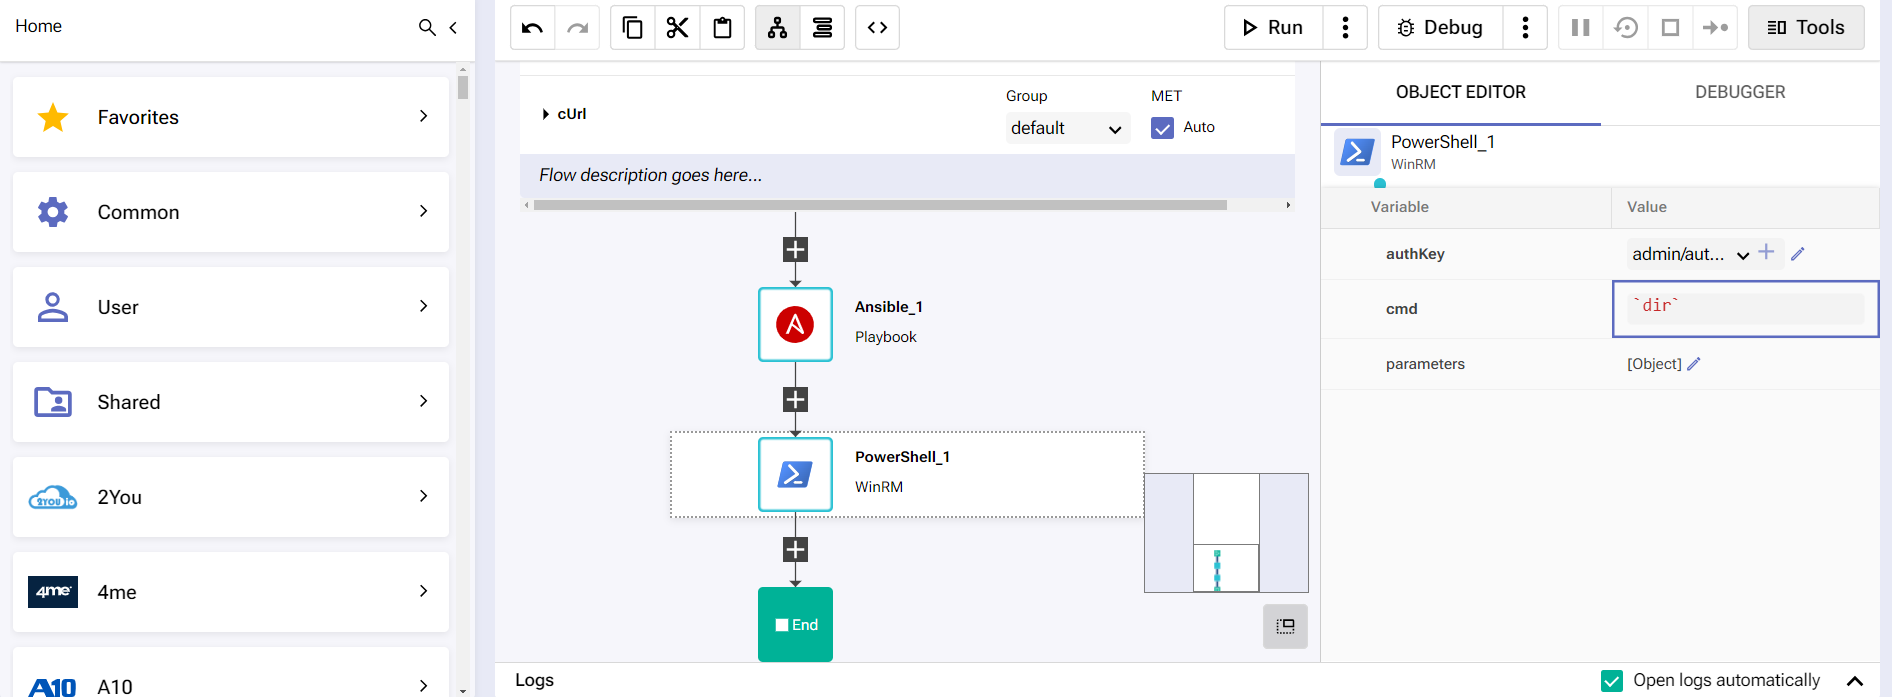
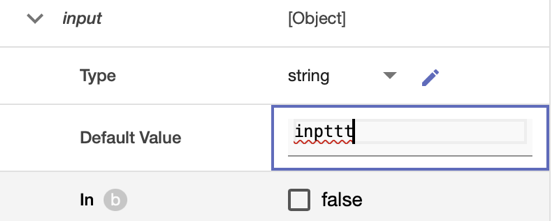
The same is true for block variables' values. Click the field once to start editing.

Value editing inside Object Editor
A single click outside the value field saves the change. The edited value in the corresponding block is instantly updated with its new value.
Pressing Enter on Windows or Return on Mac while you’re making changes to a variable’s value adds a new line.
This applies to text fields only.For bigger space and flexibility, you can manage certain values in a separate Editor window. Just hover over a field and click the blue square icon.
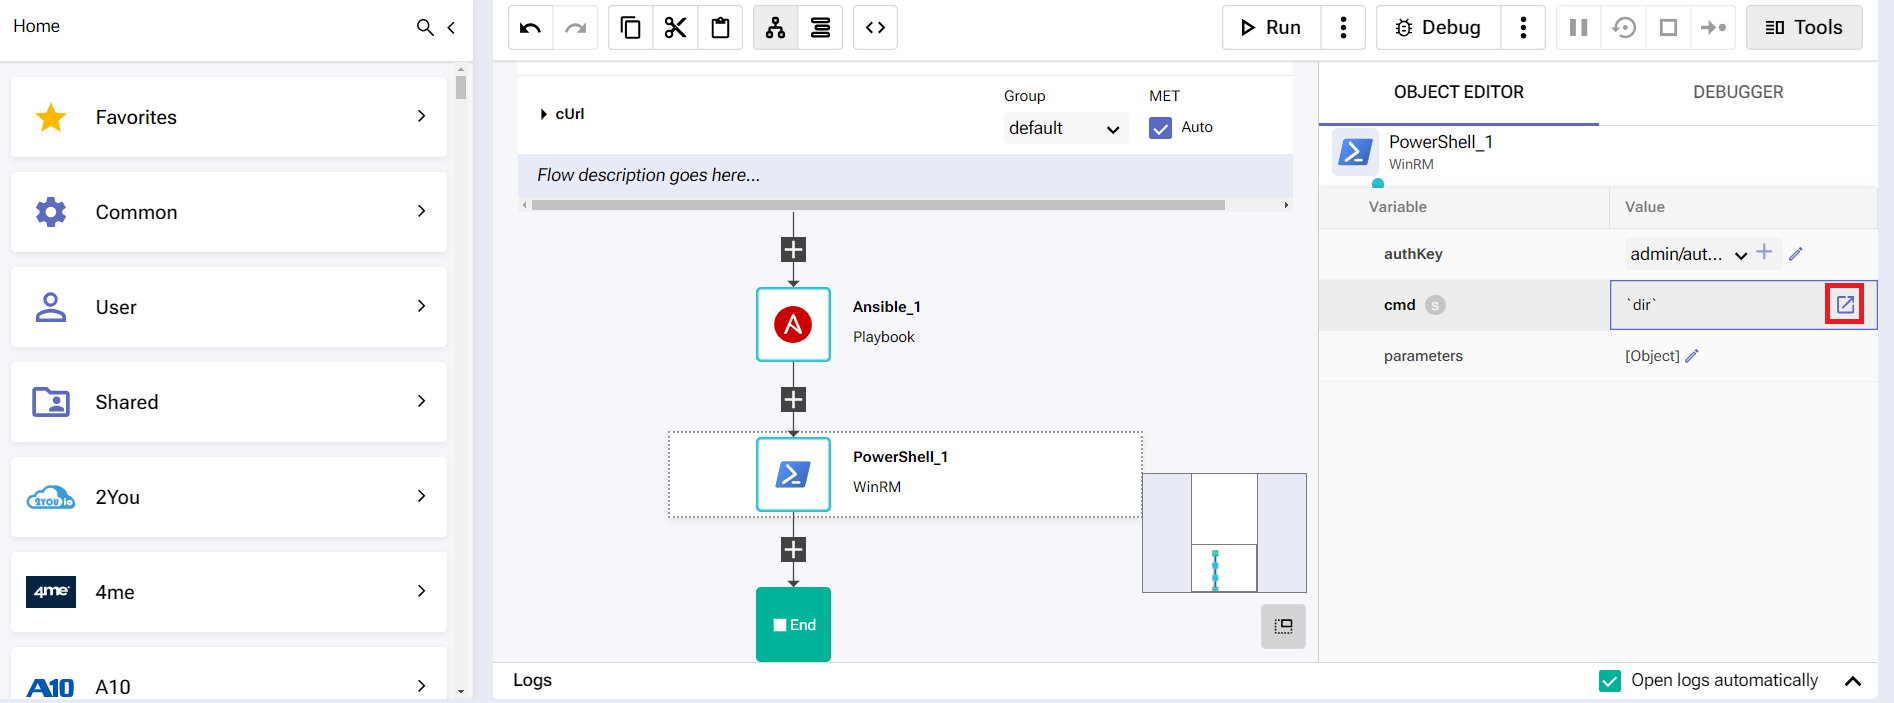
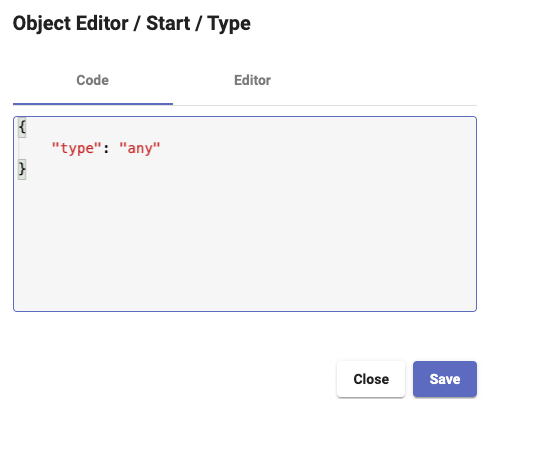
This opens a two-tab window where you can code or use the extended screen of the Object Editor for managing the particular variable’s value.
Pressing TAB or Shift+TAB allows you to quickly navigate from one field to the next, or to the one before.

Some value fields are edited through dropdowns:

Others through check boxes:

There are also those with a pen button, which allows the field to be (alternatively) managed with the Monaco editor.


When working with expressions (enum types of variables), you can always change their schema by clicking on the green button.
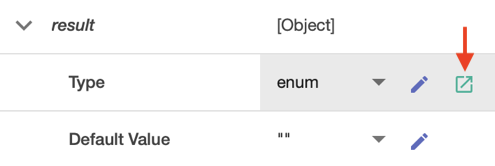
In a separate window, you’ll be able to add enum options.

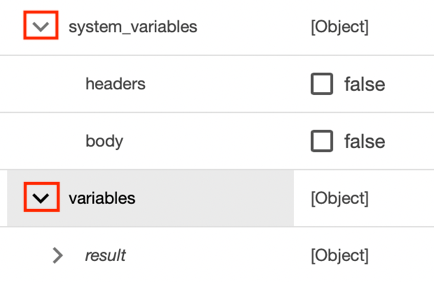
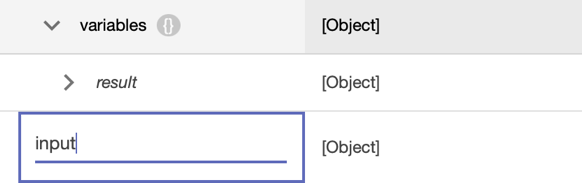
For certain blocks such as Start, you can add new variables on-demand.
If you click the + button next to the “variables” object, a new field will appear at the bottom.

You’ll need to give it a name. Click once outside the field (or press Enter/Command) to save it.
To discard changes as you’re making them, press the Esc key.
To delete a variable, hover over its field and click the red bin button.

Additional features
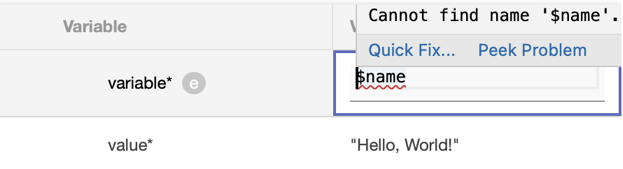
The Object Еditor supports auto-complete functionality.
Whenever you edit a property value, the Monaco editor type-checks the input and shows potential errors depending on the validation.
Whole objects and arrays can be edited instead of their individual properties.
When you focus out of Edit mode, the inner structure of the object/array is updated - new properties are added, old ones are removed, and values are updated.
If the resulting structure is a totally invalid Javascript, the previous values will be preserved and you must press Esc to undo your changes.

If a value in the object tree contains an error, the error is passed on to the parent node. The previous values are preserved and an error message is displayed.
The Object Editor supports custom schema definition. It can also display and edit the JSON schema structure directly.
When the value of each node within the object tree exceeds a size limit of 10 kilobytes, the system will not be able to validate it.
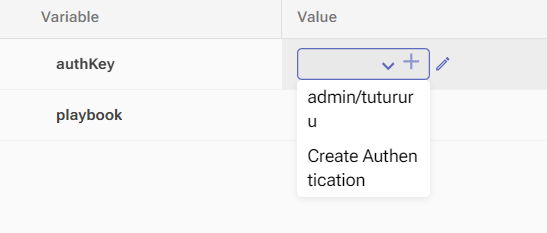
If a given block requires authentication and that is not present, you can use the Create Authentication button or the plus sign in the authKey field to open the Create Authentication popup dialog box where you can fill up all the necessary details.