Create a Folder
Overview
Creating folders allows you to group and organize your workflows easily.
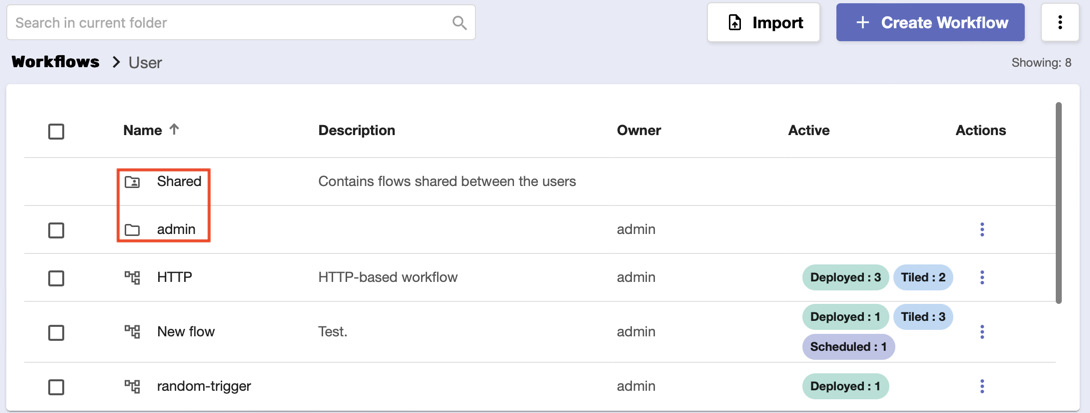
By default, your platform has a Shared folder that contains flows and subfolders managed by multiple users, as well as an Admin folder built for administrator usage.
Before you begin
Make sure you have permission to create a folder.
Procedure
Click the three-dot button at the upper-right corner and select Create Folder.

A separate window will appear where you need to provide the name and description of the new folder.
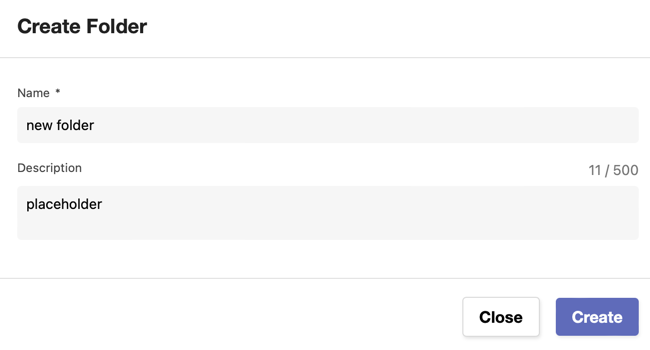
2. Click Create to finish the process. Locate the new folder by using the Search bar.

Inside a folder:
You can create a workflow or another folder.
Sort workflows by name, description, active status, or owner.
Import, export, or delete flows and sub-folders.
Apply the same folder actions and workflow actions.
Use the search bar for easier navigation.

Folder actions
There are a handful of actions you can perform on a folder. Click the three-dot button under the Actions column.
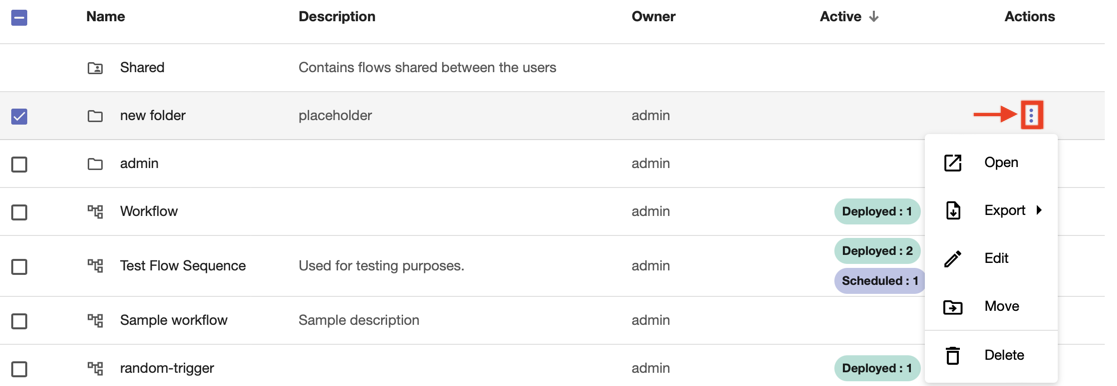
Open - this will open the folder’s contents.
Export - this allows you to export the folder and its contents with relative or absolute paths.
Edit - from here, you can change the title and/or description of the folder.
Move - this will open a separate window where you can move the folder to a different folder.
Delete - this will remove the folder and its contents.


An additional warning message will appear if the folder is populated.

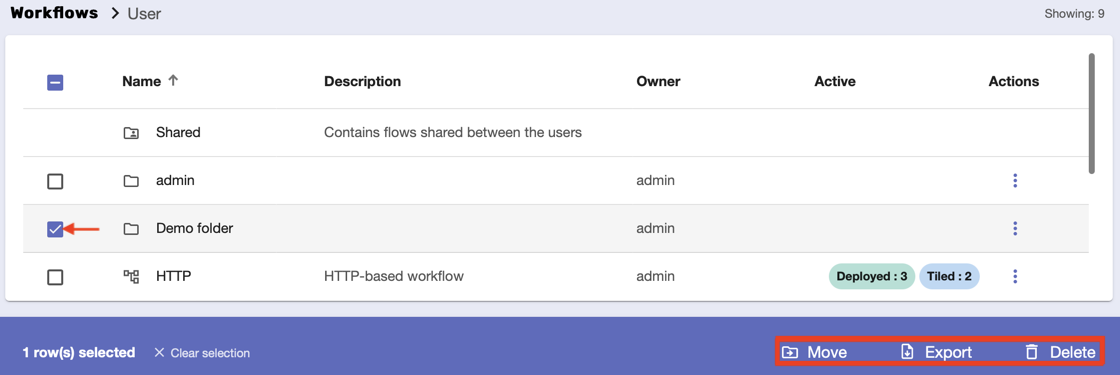
Folders can be selected via checkboxes just like workflows. Some common buttons will become available.