Start
Overview
Start is the first block in the Workflow Editor and the flow’s basic functioning depends on it.
The variables defined here can later be assigned to and used in various ways by other blocks.

Features
When you create a workflow, Start is already usable at the most basic level.
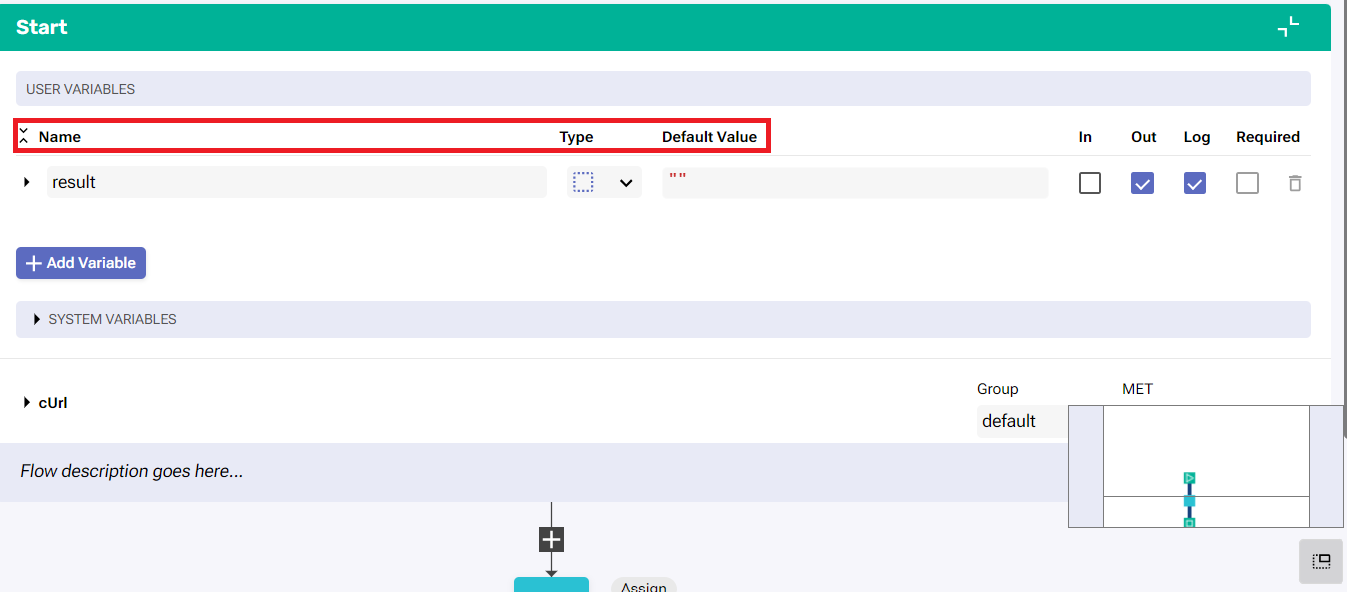
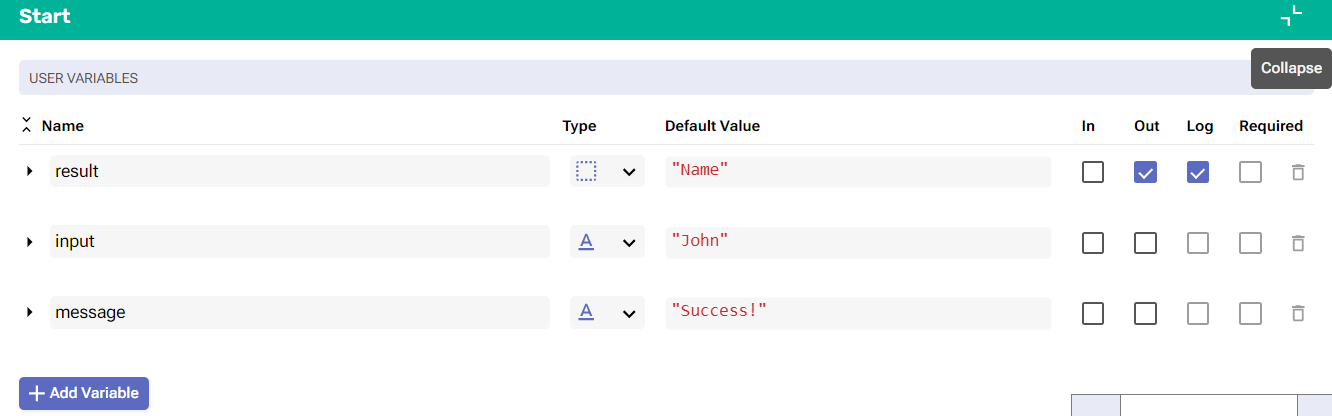
“result” is the first user variable. Click the Add Variable button to add and define more user variables for your workflow.

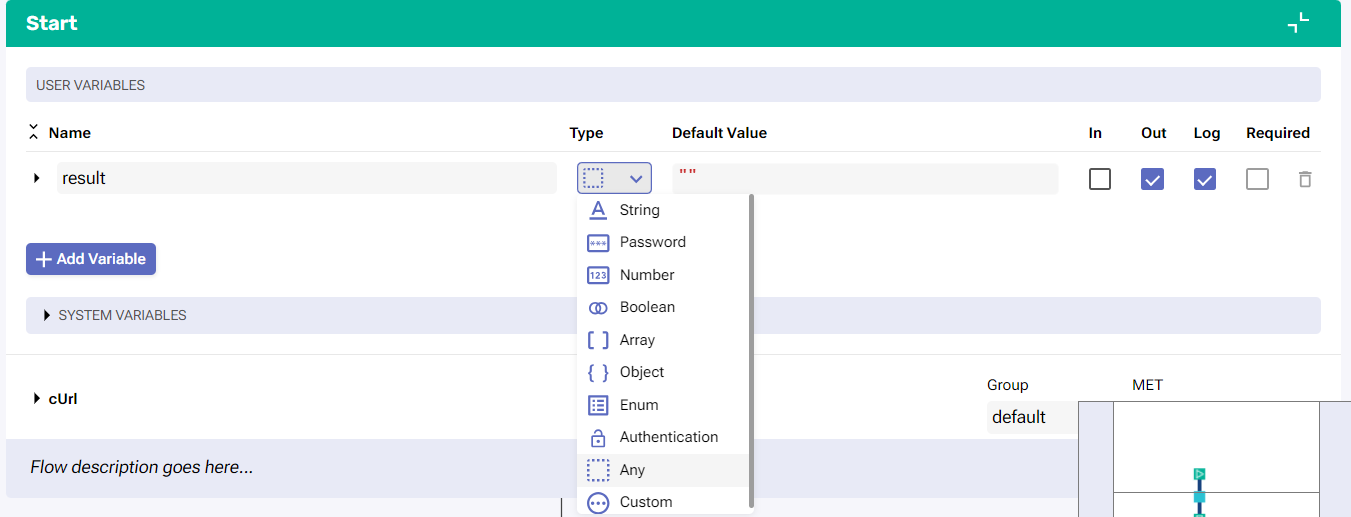
All variables have a name and a default value and can be one of several types.
Types include and are not limited to array, object, enum, and authentication
(the last meaning you can easily pass authentications as parameters and variables between different workflows).
When you choose Authentication, a separate window will pop up, allowing you to choose a specific type of provider you want to authenticate with.
Click the Use authentication type button to confirm your choice or leave the Use any authentication type check box.

The Log check box can apply only to Output variables. It means that the output will not be sent outside of the worker but to a parent flow inside the worker.
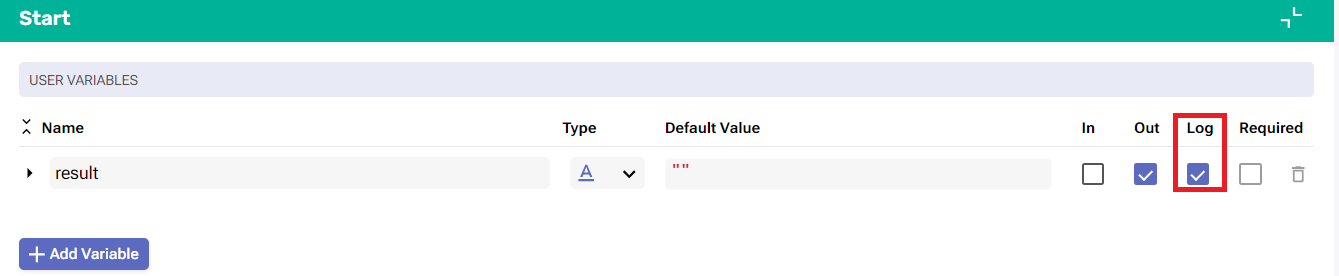
Unlogged variables return output when the flow is used within another flow.
They send back a "[Logging turned off for this variable]" message when run from the Editor or via a ReSTful call.
When you check Required, it means that an Input variable must have a value for the workflow to execute.

To remove a variable, click the trash bin button.

Default Value entries are surrounded by quotation marks. Name entries are not.
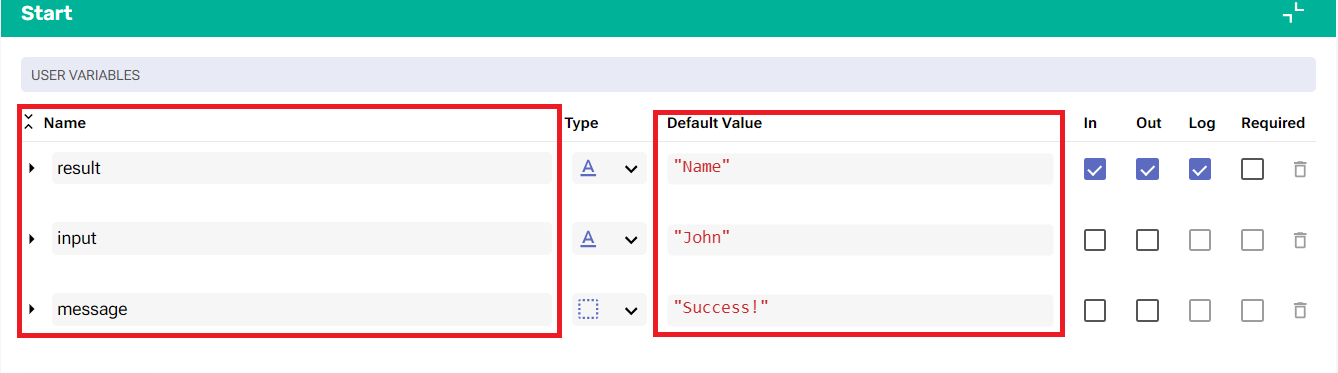
Start Block values are always checked. If there are errors like missing quotation marks, the text will be underlined in red.

You can move variables up and down to change their order. Place the mouse over a variable row for a button to appear on the left.
Click and hold the button, then drag the variable above or below other variables to reposition it.

You can create and edit certain variables in a separate JSON editor window.
For example, when you choose “enum” as the variable type, click the button next to its type to open a fullscreen version of its contents.

Inside, you can create and manage the variable.

Setting the variable type as custom will open the JSON Editor window automatically.
The Start block features a Description field which you need to click once to define. You can also do that outside the Editor.
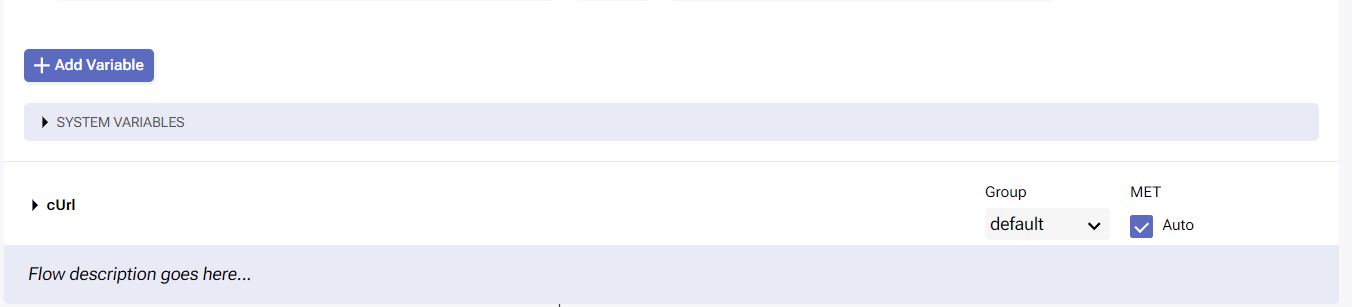
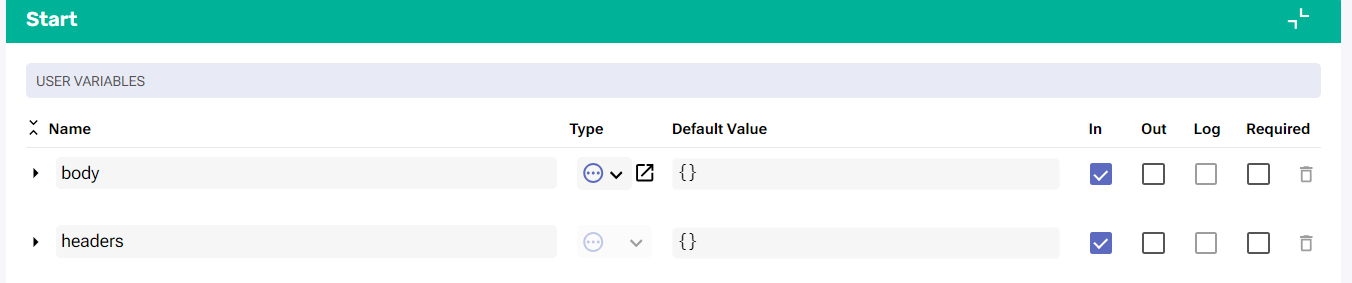
By expanding the System Variables tab at the bottom of the Start block Headers you can define header and body variables. Once set they will be set in the current Workflow.

If enabled, they will be added as user variables.
Manual Execution Time (MET) is used to simplify reports on the Return on Investments (ROI) calculation.
It shows you the time in minutes that’s saved by running the flow as opposed to completing tasks manually.

Click the Auto check box to disable automatic MET calculation and input a manual one, in minutes.

The option to choose a worker group that aids the task-completing process and observes the state of the flow is also available.

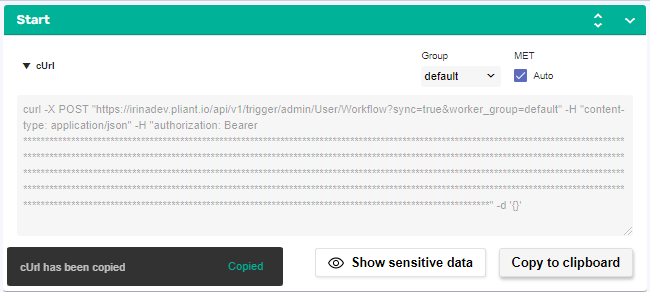
The cURL feature provides a sample of the RESTful endpoint for a workflow. If variables are defined, they will be present in the sample as well.
You can use this URL to test-call the workflow from a remote system, assuming it has access to the platform.
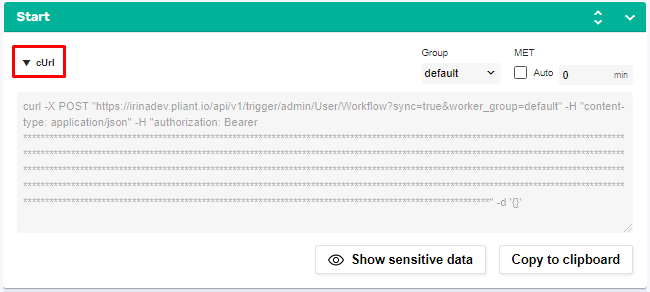
Apart from selecting an API key, you can reveal the sensitive data with and copy it to the clipboard.
The Start block as well as every block below it can be collapsed or expanded together with the help of the double-arrow button.
To collapse just the Start block, use the single arrow.
You can access the standard version of the Start block even in Flow layout view.
Simply hover over the visual Start block and click the downward arrow.

The block will expand and you will be able to manage the cUrl, worker group, and MET features.
Inside the Start block, if you click the double-arrows next to the Name column, you will reveal two more options for configuring user variables:

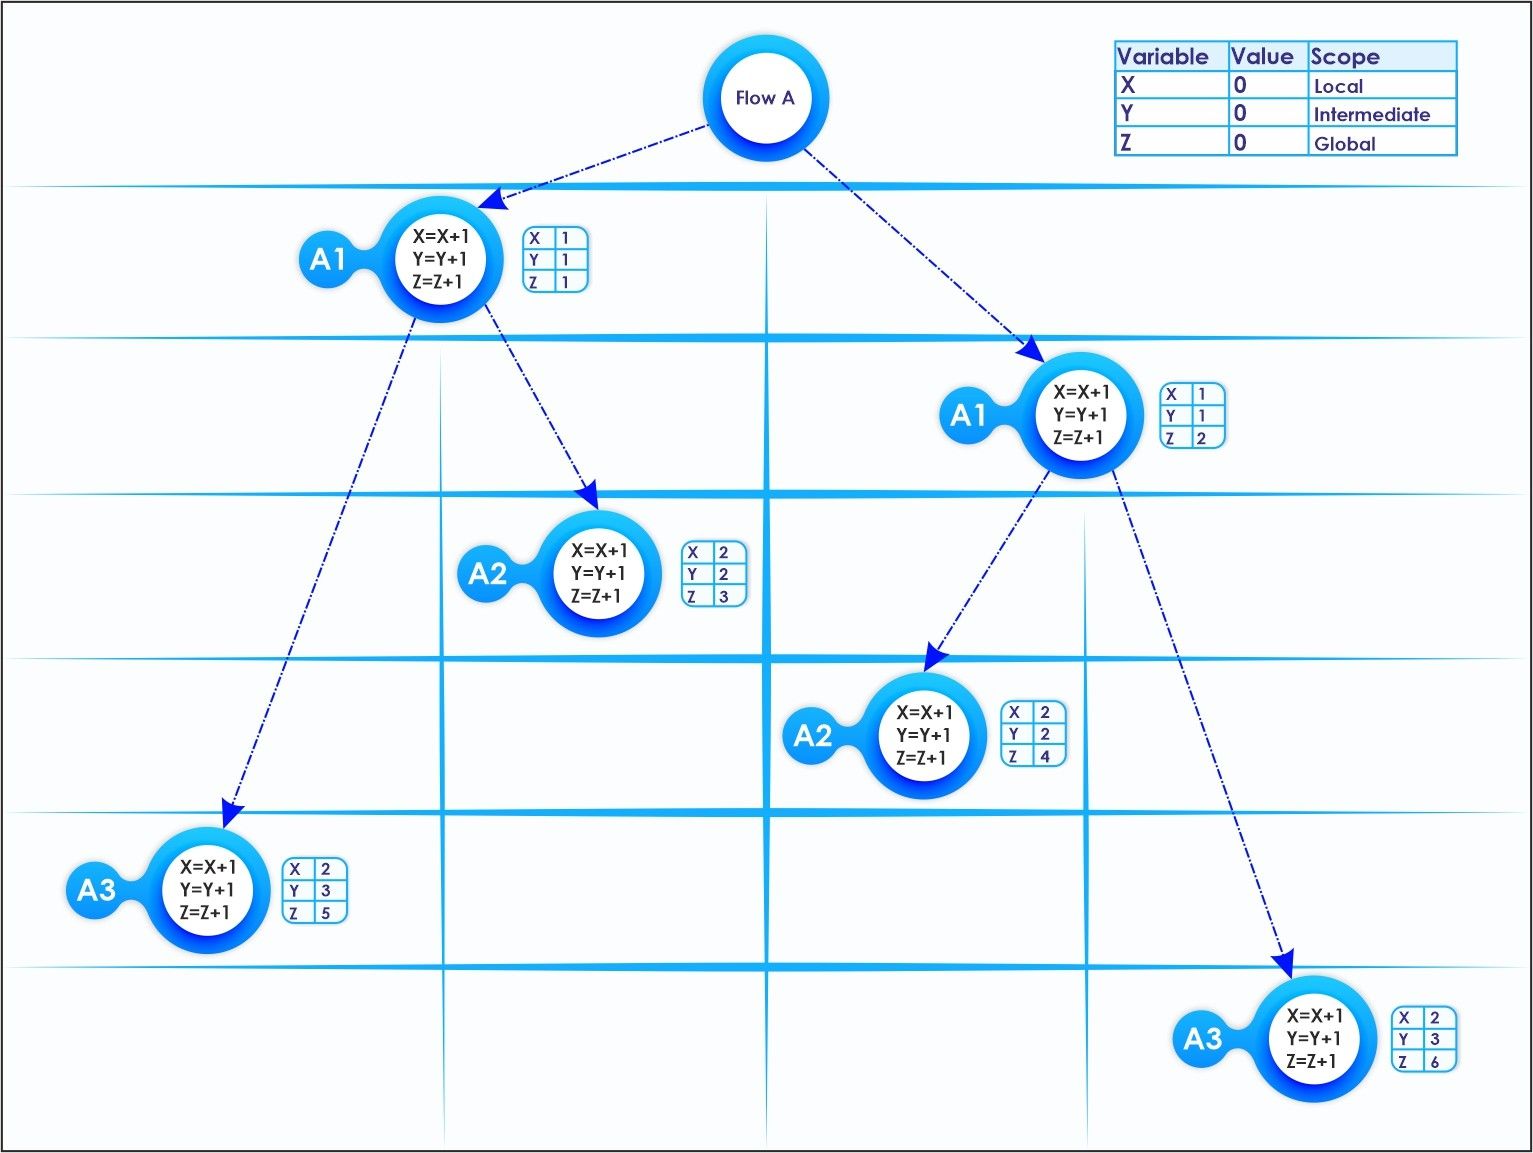
a) Scope is used to set the visibility of the variable. It’s the space (area) in which a variable exists. Beyond that, it’s not recognised.
b) You can also place an optional description for the variable.
Scope | Function |
|---|---|
Flow | The variable is local for each task. Any change to the local variable is reflected upon all subsequently linked tasks. Example below: Two child blocks of A1 - A2 and A2. In each of them, the X variable changes its value independently from 1 to 2. |
Thread | The variable is common for one active process. Two simultaneously active processes have different variables but all parallel tasks within one process have one and the same shared variable. Example below: Two parallel processes (A1, A2, A3 on the left and A1, A2, A3 on the right) where the Y variable goes from 1 through 2 to 3. |
Worker | The variable is common within the system. Currently, it's on a Worker level but the variables will soon be synchronized between workers as well. Any change from anywhere is reflected on all other active or future processes. Example below: A change in the value of the variable Z somewhere in the flow is taken into account by the next block that makes a new change of its value. |