Automation Center
Overview
The Automation Center is an innovative two-part module that allows you to organize and execute your workflows from a unique dashboard.
Unlike the Workflow Editor, it’s more focused around using and running workflows rather than creating, building and editing them. The integrated AC dashboard is intended for manual execution, complete with access control.
Specifics
The basic structure of the Automation Center relies on panels and tiles. Panels can be considered containers for customized cards called tiles. These tiles allow you to execute workflows from the AC dashboard rather than running them through the Editor.
Full RBAC control grants you not only execute rights but also the ability to add, edit, remove and change images, names and descriptions for both panels and tiles.
Keep in mind that unlike regular workflows, tiled flows are considered active and are counted towards your license.
You can check relevant limitations for your account in System Status and About Pliant.
Before you begin
From your Platform instance, navigate to Automation Center.
Make sure you have appropriate permissions to fully interact with this module.
Panel basics
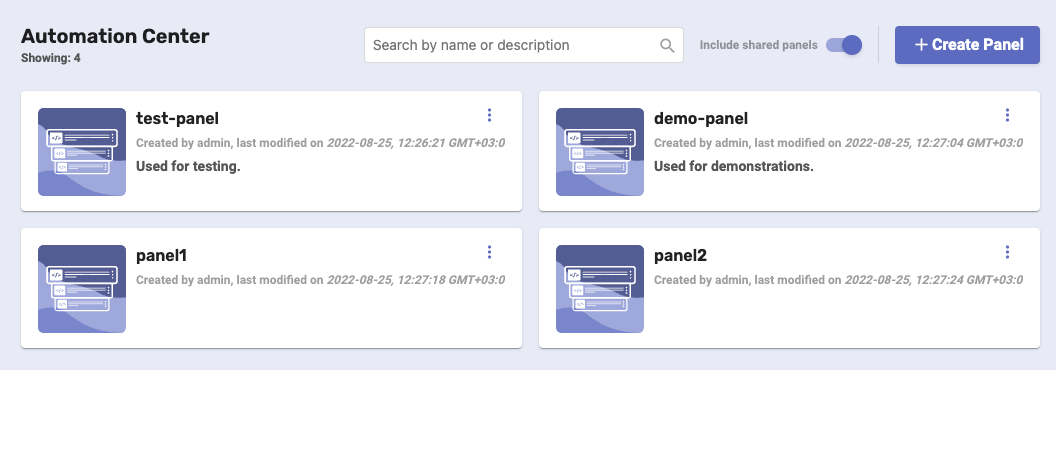
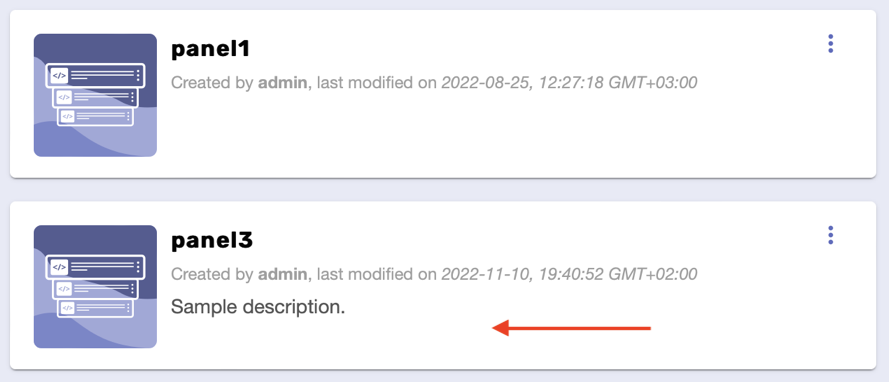
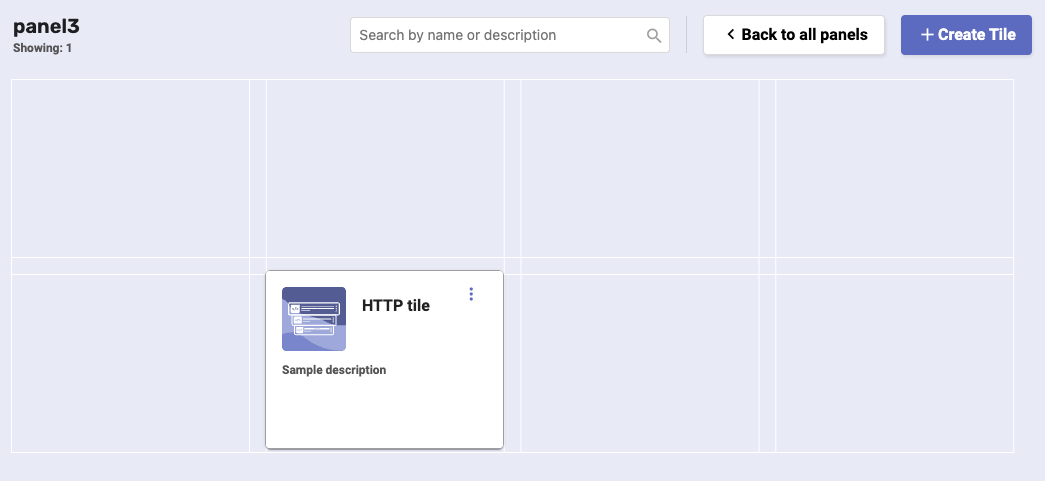
By default, whenever you access the AC module, you’ll be presented with a list of your existing panels.
These containers don’t do much by themselves, but are ultimately put to purpose as soon as you add tiles inside.
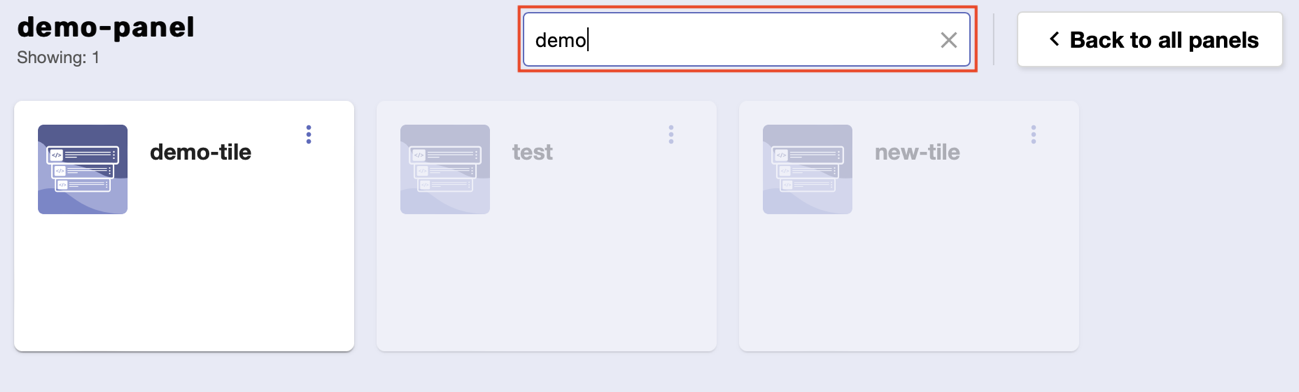
On the main page, you can locate specific panels by typing their name or description, using the search bar found at the top.
Instead of hiding the results you don’t need, the page will simply highlight the one(s) you are looking for.

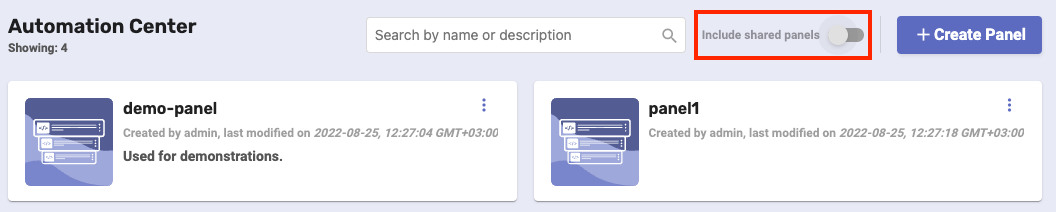
Panels can be shared, meaning that multiple users can have access to and work on the same panel.
To include shared panels into the list of existing panels, toggle the respective slider.
Procedure to create a panel
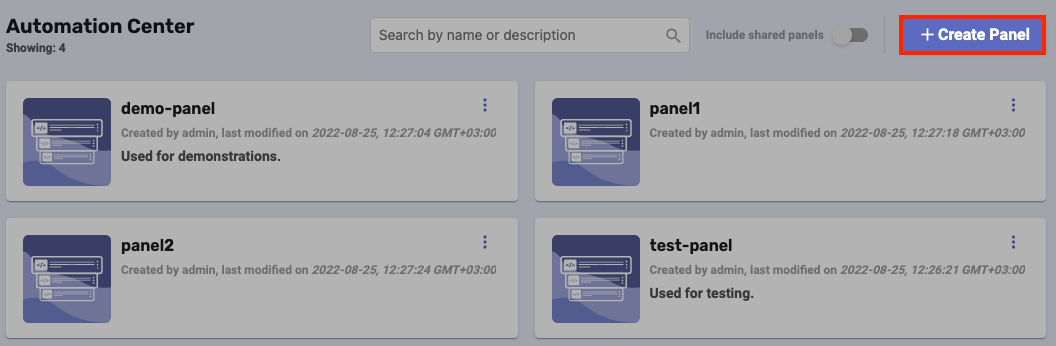
You can always add new panels to store your execution tiles.
To start, click the Create Panel button.
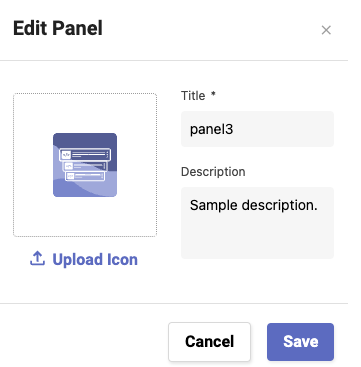
In the separate window that opens, you’re only required to provide a title for the panel - the Description field is optional.
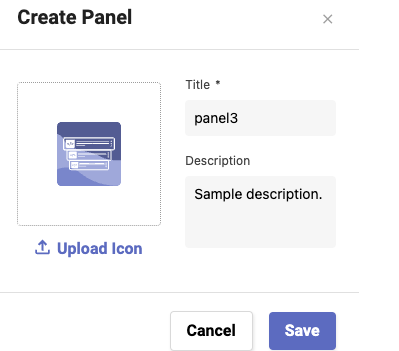
If needed, you can customize your new panel by associating it with an image. For that purpose, click Upload icon and select an image file below 100 kilobytes.

When you’re done, click Save. The new panel will be added to the list of existing panels.
Panel actions
There are two actions you can perform on each of your panels.
They’re accessed through a dropdown menu triggered by the three-dot button positioned at the top-right corner of a panel.
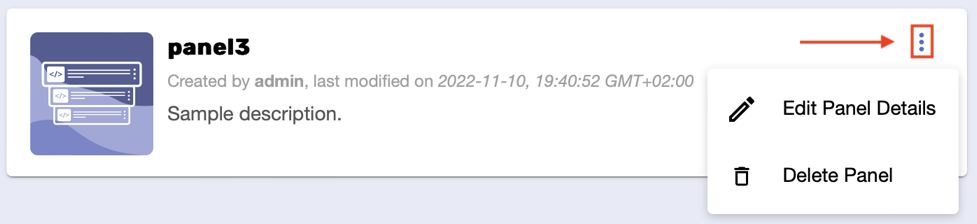
Edit Panel Details - this allows you to change the details you’ve provided for the creation of the panel.
Delete Panel - this removes the panel and will ask for confirmation first.

Tile basics
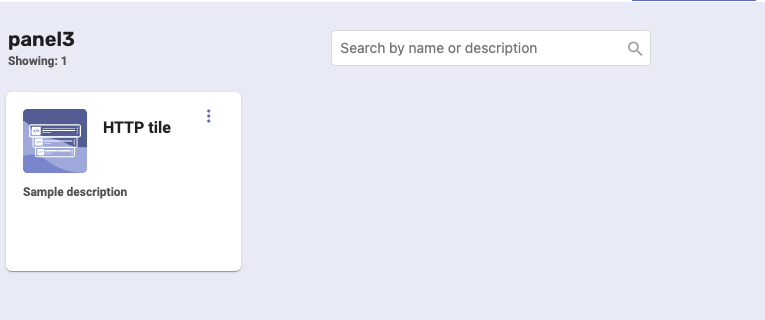
Different tiles can be stored within each of your existing panels. They allow you to execute workflows directly from the Automation Center dashboard.
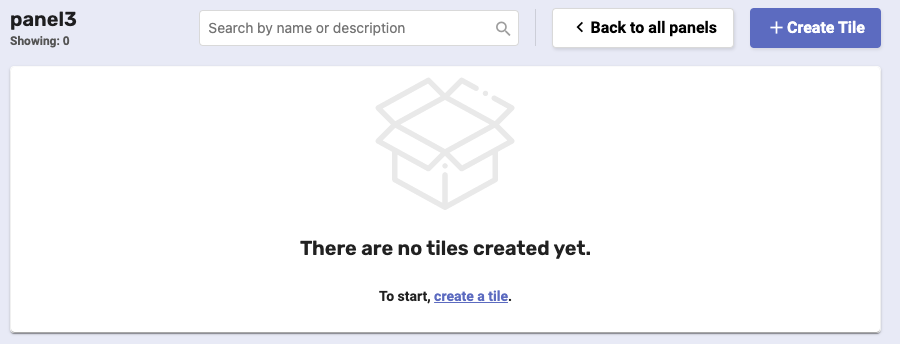
To access your tiles, click on a panel.
This takes you to the panel’s individual page, which, given that it was just created, will be empty.
Procedure to create a tile
You can link new tiles to your workflows for execution through the Automation Center dashboard.
To start, click the Create Tile button located at the top-right corner of the page. When it’s your first tile, the same button is available from the center of the screen.

Clicking it initiates a three-step process for the creation of a tile.
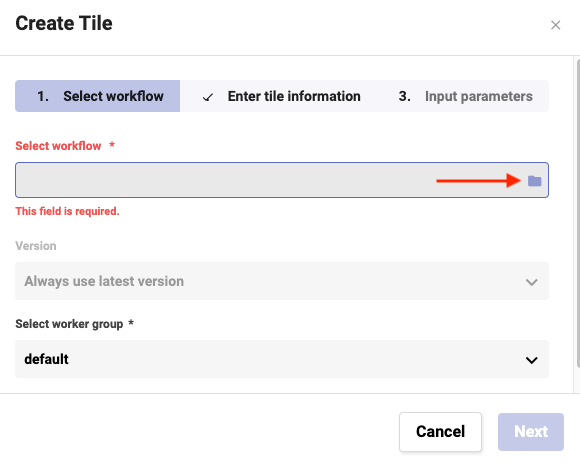
In the first step, you’ll need to choose a workflow.
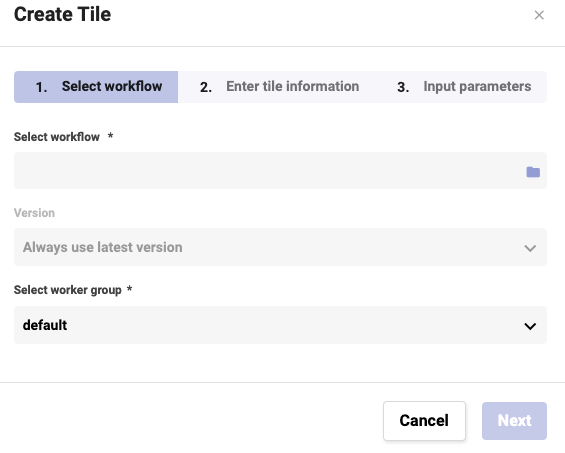
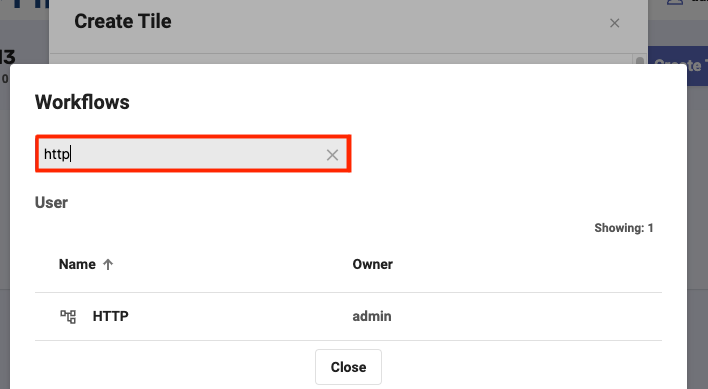
Select workflow - click the folder button at the far-right side of the field to choose the workflow your new tile will be able to execute.
In the window that opens, locate the flow using the search bar and click once on it to confirm your selection.
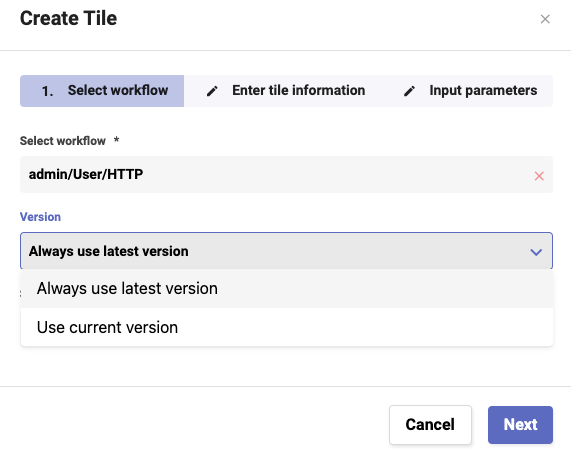
Version - a dropdown menu from which you can define the version of the workflow.
- current implies that the workflow’s state freezes in time, not being able to change at all
- latest implies that the latest workflow changes are always taken into account
Select worker group - a dropdown menu from which you can choose an existing worker group for your flow to run on.
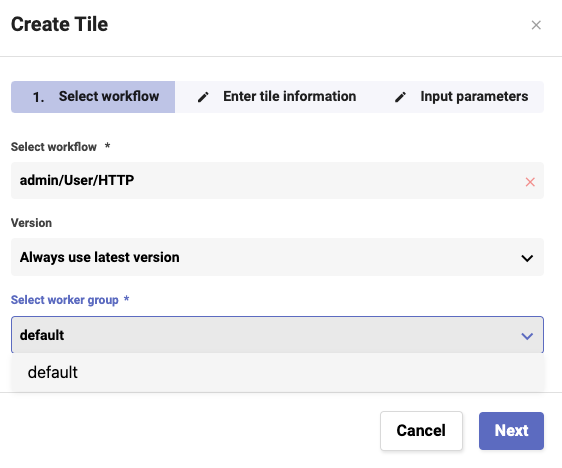
When done, click Next to proceed to the second step.
Here, you’re required to provide a title and an optional description for the tile.
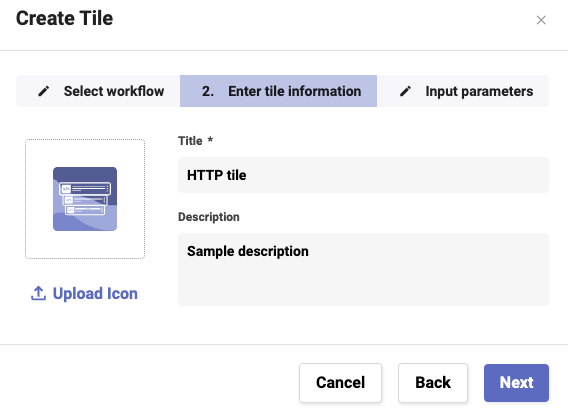
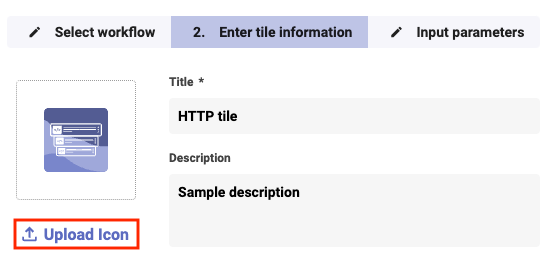
If needed, you can customize your new tile by uploading an image. For that purpose, click Upload icon and select an image file below 100 kilobytes.
When done, click Next to proceed to the final step.
Here, if applicable, you have the option to manage any input parameters the workflow may use for its execution process.
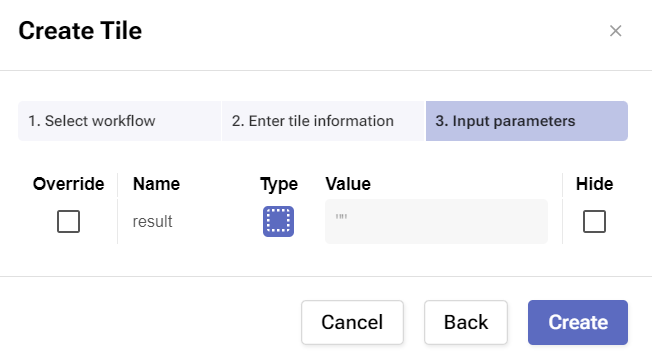
To finalize the creation of your tile, click Save. This will add it to your panel.
Like in the Panels page, you can locate specific tiles by typing their name or description in the search bar found at the top.
Instead of hiding the results you don’t need, the page will highlight the one(s) you are looking for.
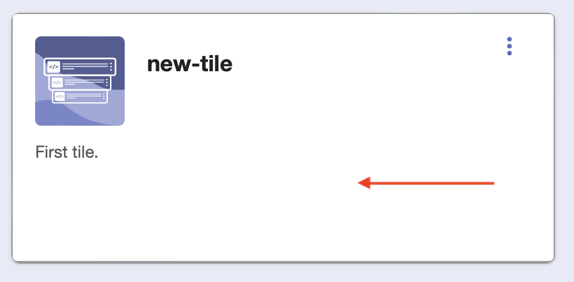
Tile actions
There are three actions you can perform on your tiles.
They can be accessed when you click the three-dot button positioned at the top-right corner of a tile.

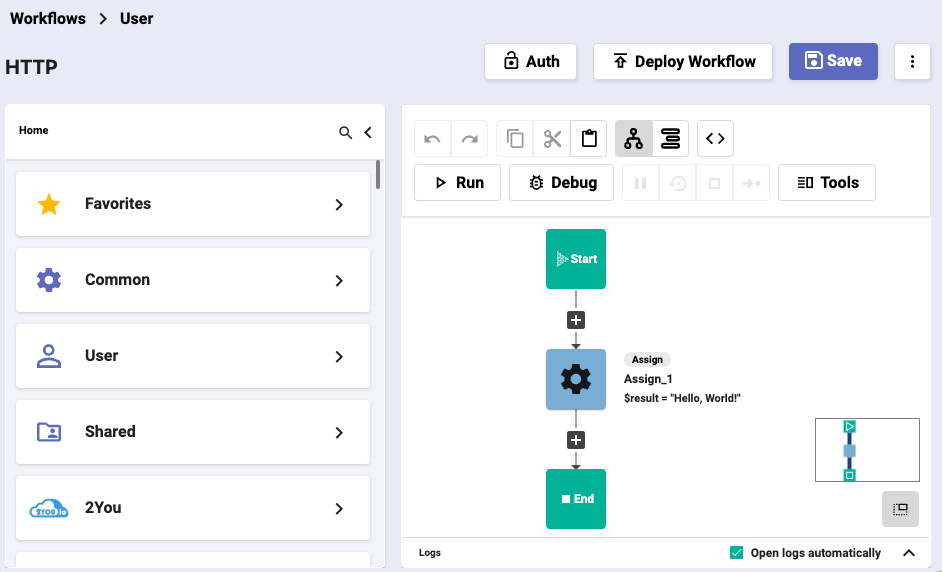
Open Workflow Editor - this opens the flow the tile is linked to inside the Workflow Editor. Here, you’ll be able to build it using different integrations.
Use the available tools, features and blocks to achieve your desired results.
Edit - this allows you to make changes to the information you’ve provided during the creation of the tile.

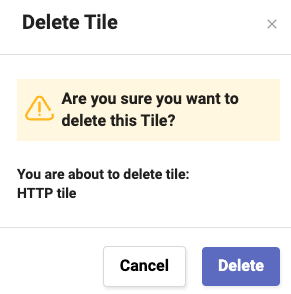
Delete - this removes the tile and will ask for confirmation first.
In addition to the three available operations, you can click on, hold and move your tiles across the panel to rearrange them as you wish.
Workflow Execution
The most important aspect of the Automation Center dashboard is its ability to initiate instant workflow executions.
This saves time by virtually eliminating the need to use the Workflow Editor.
To run a workflow from here, you’ll need to have both the appropriate permissions and the certainty that your tile has been properly linked to the flow.
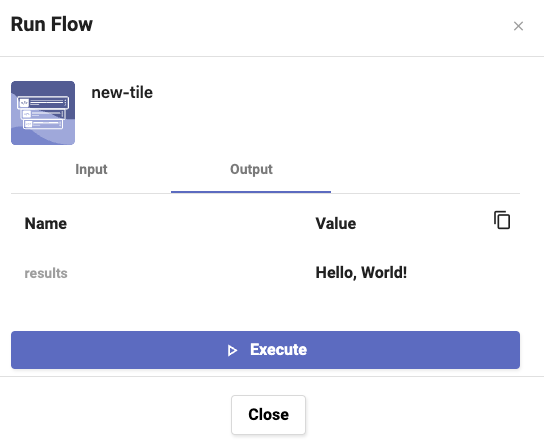
For the process to begin, click on a tile.
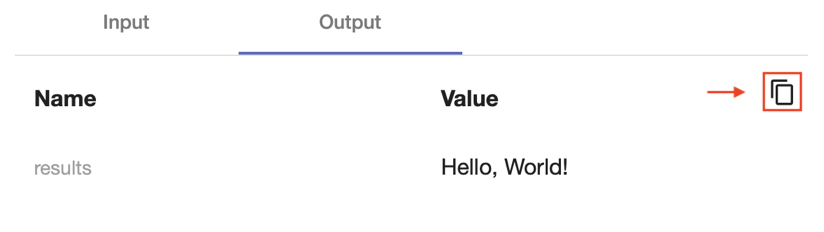
In the window that opens, you’ll be able to find the Input and Output of the associated workflow.

When you click Execute to run the flow, you essentially perform an execution. If everything goes well, you’ll get a positive output within seconds.
If there are errors, you’ll get negative output.

Use the folder button to copy the output’s raw version.
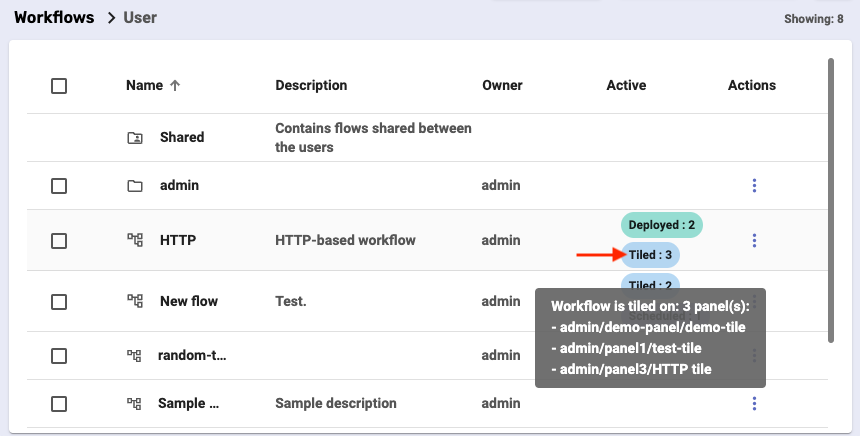
Apart from a Deployed and Scheduled status, the “Active” column of the Workflows page features a separate Tiled status.
If you hover the mouse over it, you’ll be able to learn which panels a flow is tiled on.
For more information on workflow executions and deployments, please visit Create a Workflow (Sequence Editor) and Deploy a workflow using API Gateway.
To learn how to define user permissions regarding the Automation Center, see Permissions.