APIs
Overview
APIs are a collection of endpoints, organized into different stages.
They play an integral role in the deployment of a workflow, providing organization and security capabilities with the help of API-specific keys.
This tab stores and manages the APIs you create and use to deploy your workflows.
Stages and Endpoints
A single API can have multiple stages (parallel versions) working the same way but running in different environments.
Endpoints, on the other hand, are strings that correspond to the URLs that you need to hit so that the API can be triggered for a particular stage or called from other systems.
Varibles and Wildcard Endpoints Support
The platform supports the use of varibles and wildcard in the endpoints URl. This is done by automatically extracting the endpoints from a URL address. This gives you the ability to be flexible when provisioning complex API connections.
This behavior is enabled by simply placing the "/*" ending in the API URL address. This will attempt to match the endpoint ending to commonly used ones such as "/one", "/two", and etc.
API Gateway
Each API and stage can have different endpoints, with basic HTTP methods supported.
You’ll have copies of all endpoints in each stage that you build. The same endpoint may map to a different set of workflows that are powering that endpoint.
As a result, APIs are considered key to maintaining a unique API Gateway system designed to provide external as well as internal access to the Pliant environment.
This could allow users to contribute to the backend part of web applications without even having to know how to program. It’s the power to create small services and publish them to other teams as building blocks of what they want to achieve.
A direct result of deployment is the generation of a universal and unique flow URL. Users can change the name of the flow later and still use the same URL to access it.Unlike regular workflows, deployed flows are considered active and are counted towards your license.
Unlike regular workflows, deployed flows are considered active and are counted towards your license.
You can check relevant limitations for your account in About Pliant.
Before you begin
From your Pliant instance, navigate to APIs.
Make sure you have permission to interact with this page.
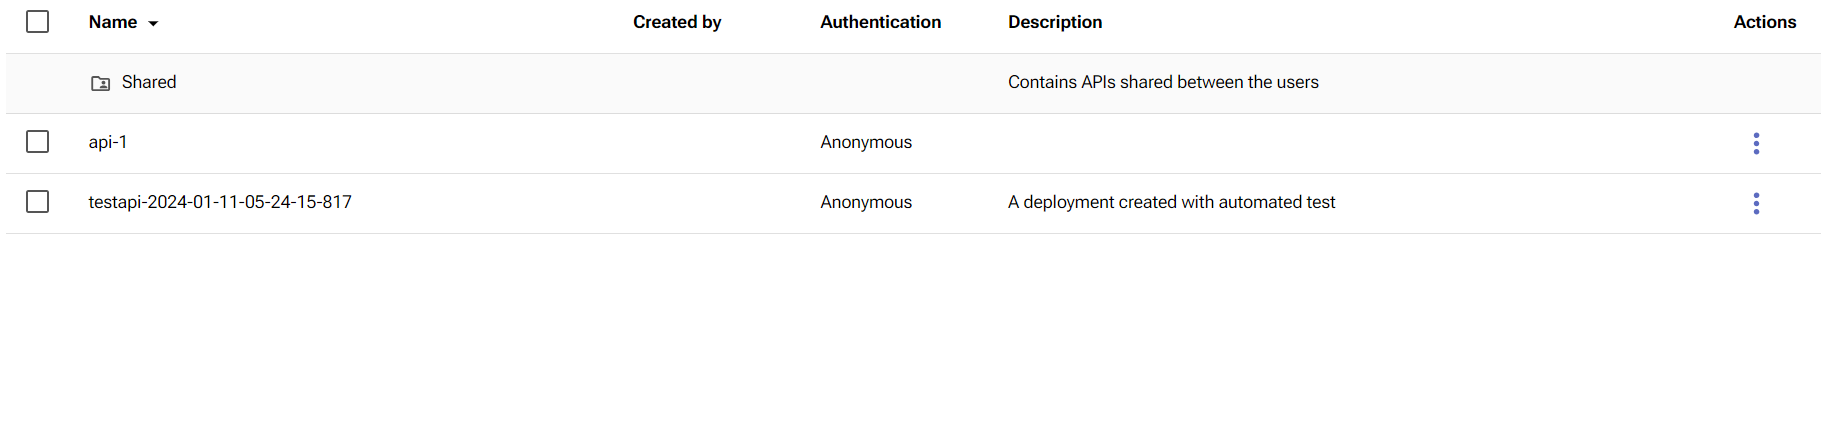
Features
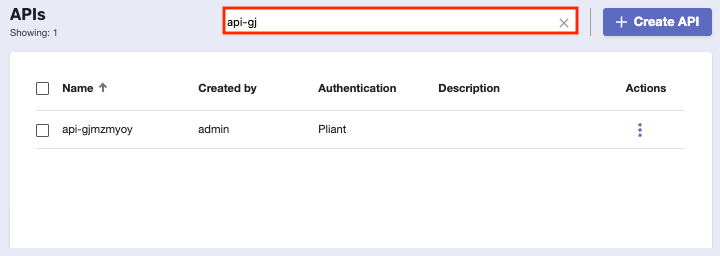
Find a specific API using the Search bar.
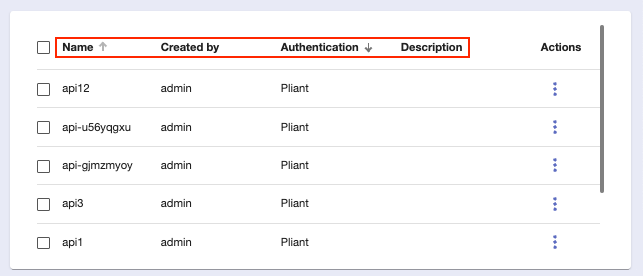
Sort APIs by name, the user who created them, authentication type, or description.
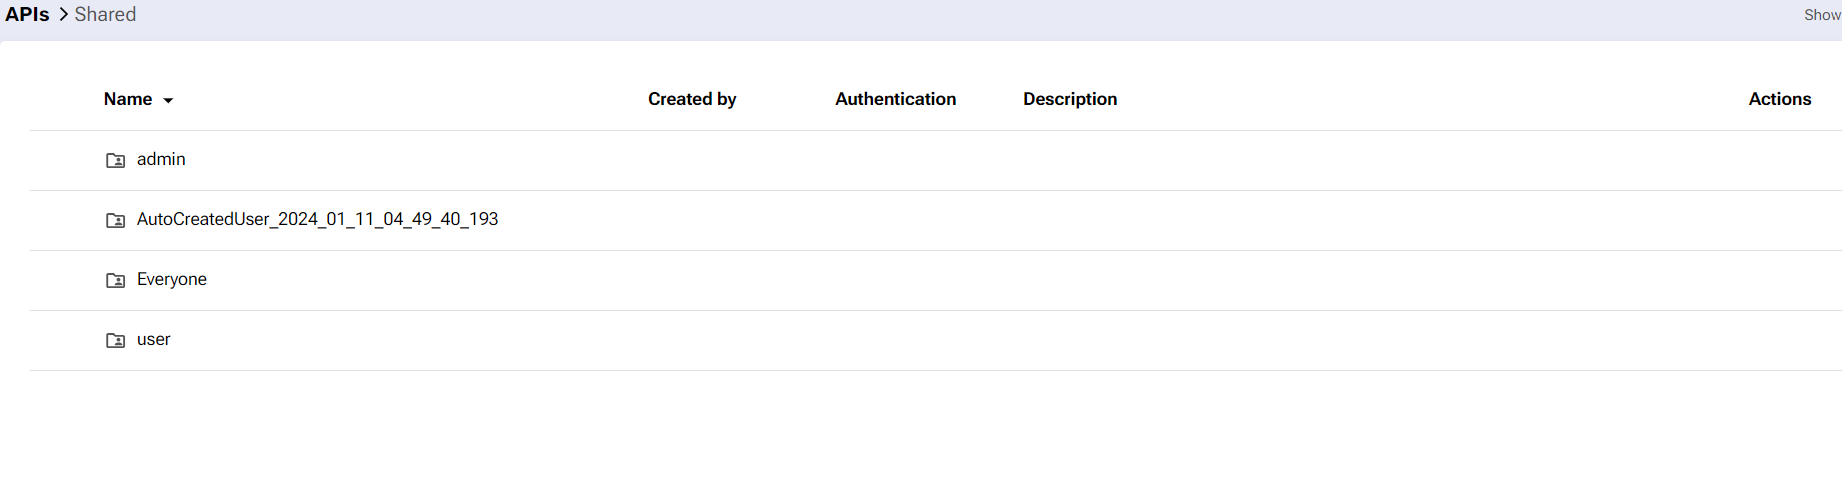
Shared APIs between users will be shown in a separate folder called “Shared” visible under the main section. Once you have been given access to a certain API it will appear automatically in this folder.
If you don't have any shared APIs with your account this folder will not be visible. Shared APIs are accessible from within this folder. If the APIs are designated with read-only permissions, then you will not be able to perform actions such as edit and/or delete.
However, if you have been delegated such permissions you can create APIs on behalf of the user that has delegated you the appropriate rights.
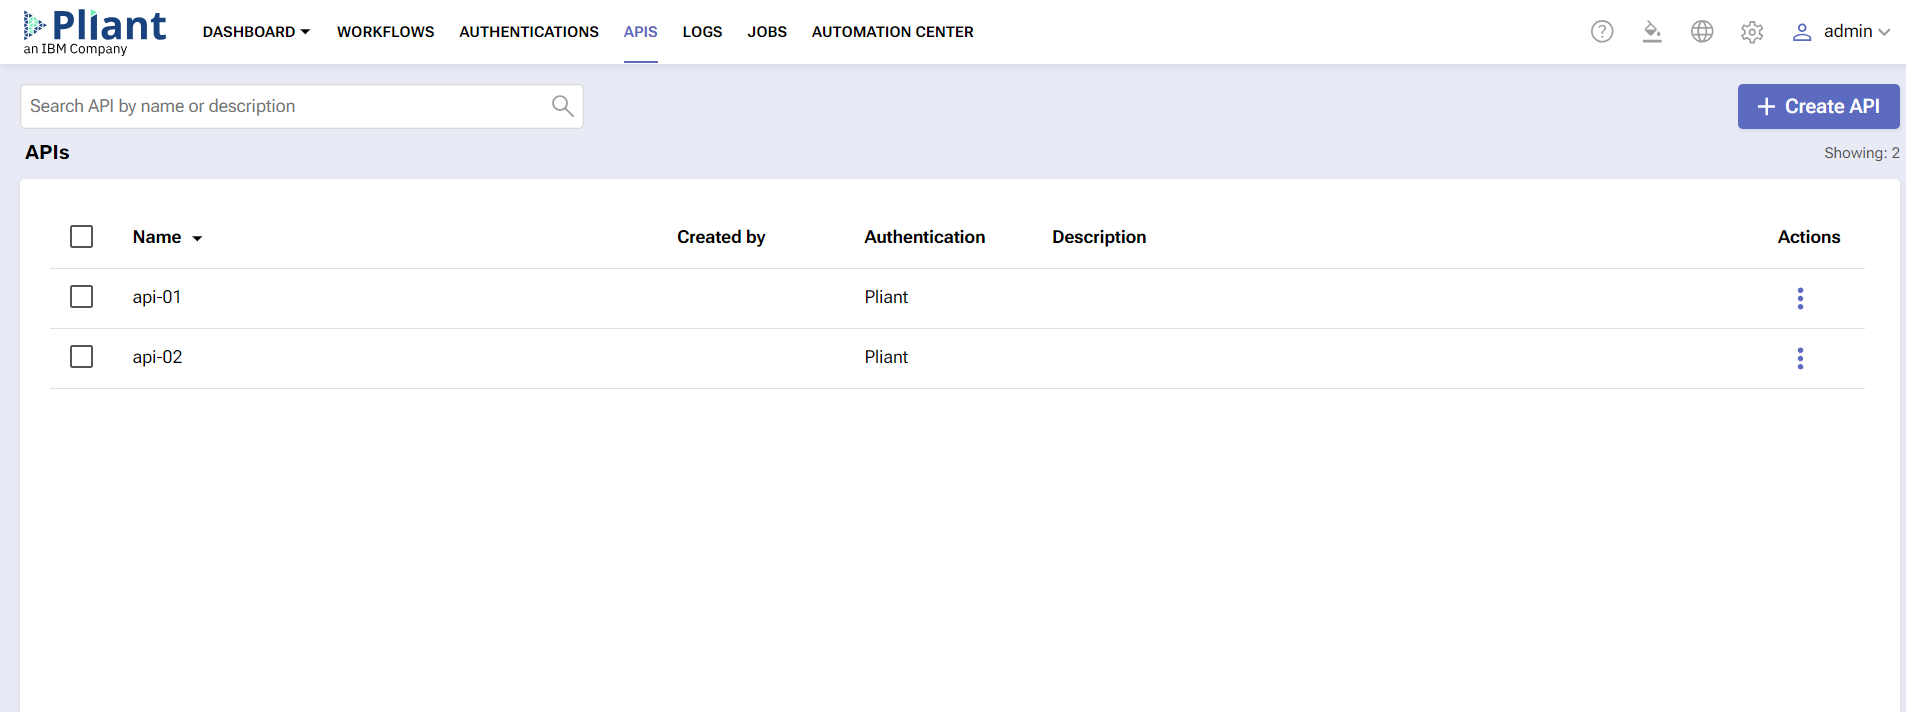
Procedure to create
You can create an API in just a few steps.
Click the Create API button on the top-right and fill in the fields for the window that opens.
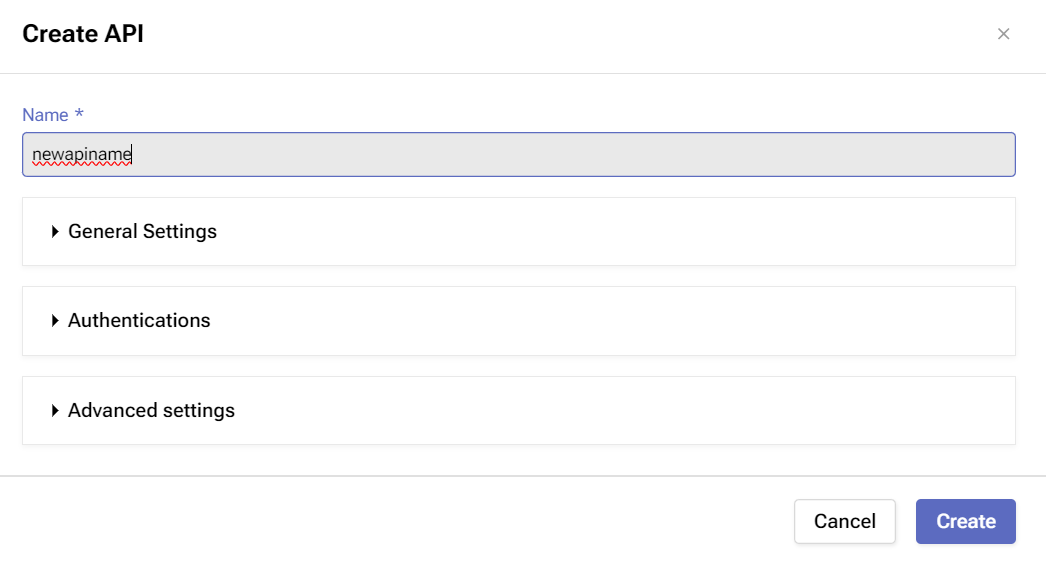
Name - the name of the API.
General Settings - a section that expands settings concerning the basic functioning of the API.

a) Worker group - the worker group the API is going to run on.
b) Description - optional description for the API.
Authentications - a section that expands settings related to the authentication service the API is going to enforce.
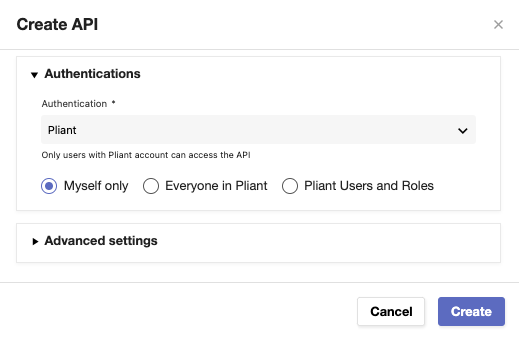
a) Pliant - only logged-in Pliant users can access the API.
Myself only - only you as a logged-in user can access the API.
Everyone in Pliant - every logged-in Pliant user can access the API.
- Pliant Users and Roles - specific users and roles can access the API.
When this option is selected, admin users can get auto-suggestions when searching for users and roles.
Link users to roles by clicking the respective Add user/Add role buttons.
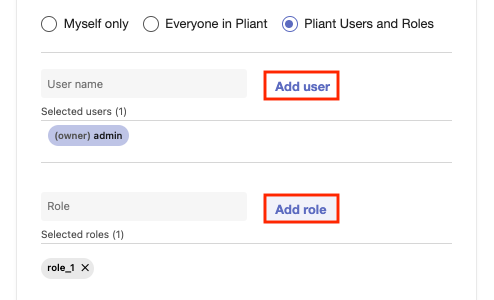
Indications of whether the users and roles exist and are active are shown - the chips are colored differently according to the user and role state.
Non-admin users can also add any user or role, but they’ll get roles auto-suggestions only.
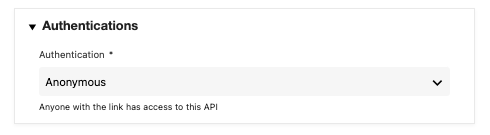
b) Anonymous - this virtually means no authentication. Anyone can access the API.
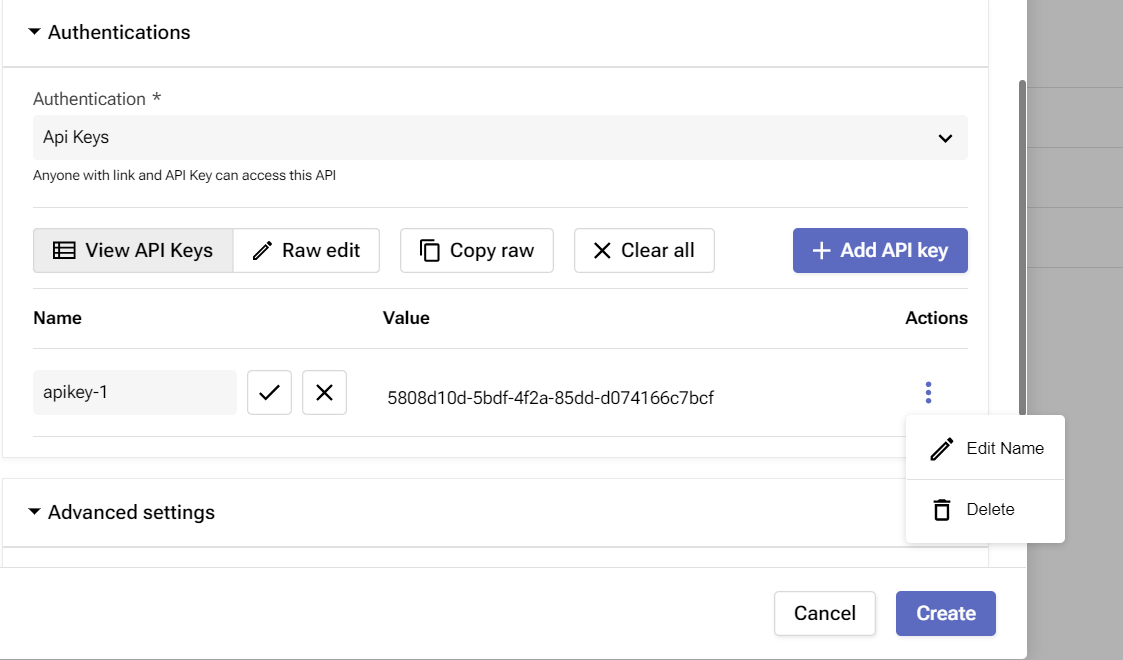
c) API Keys - only people with a link and a specific API key can access the API.
When this option is selected, you need to create a unique API key by clicking the Add API key button.
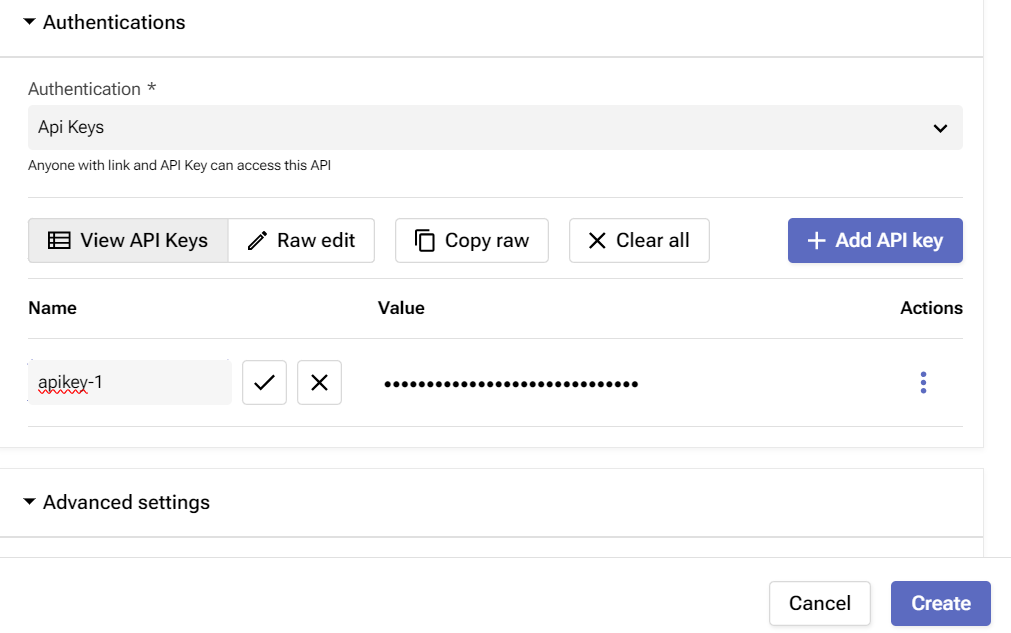
This triggers the section to expand further down, with fields for creating an API key.
Once you name the key, click the V button to save your changes.
The value of the key is automatically generated and available to see and copy.
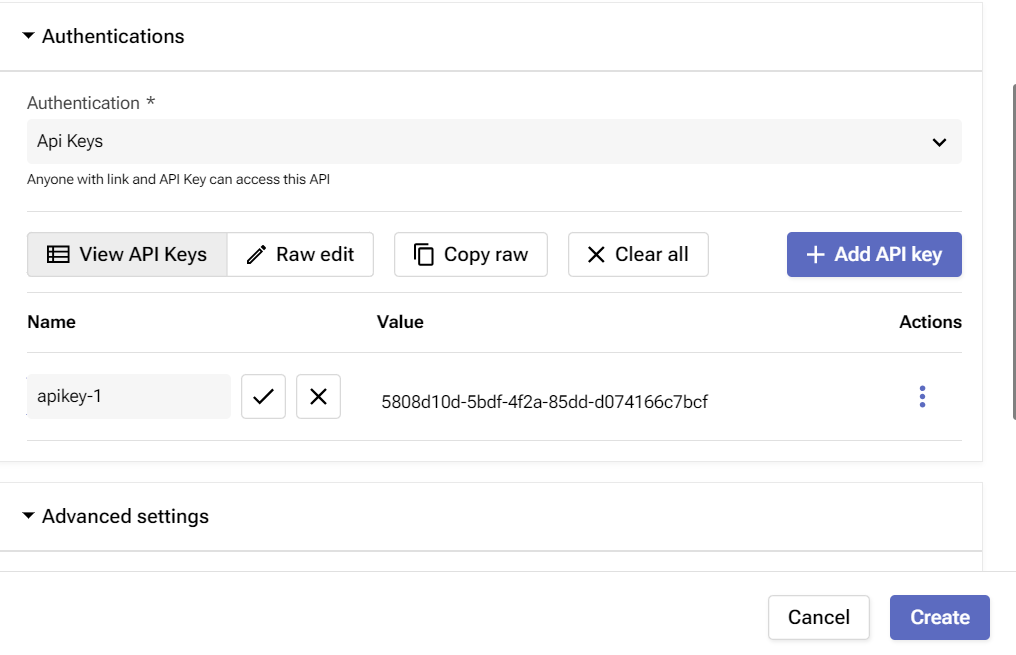
If needed, apply actions on the specific API key through the three-dot button, such as editing its name or deleting it.
d) Workflow - with this option, you need to select an endpoint and a stage pair on which an existing deployment is based.
That pair can then start a workflow that defines who can access the API.
It’s not possible to use the Workflow authentication without having created your API first.
For more information, read here.
Advanced settings - if clicked, it expands to optional overridable settings which apply to everything inside the API.
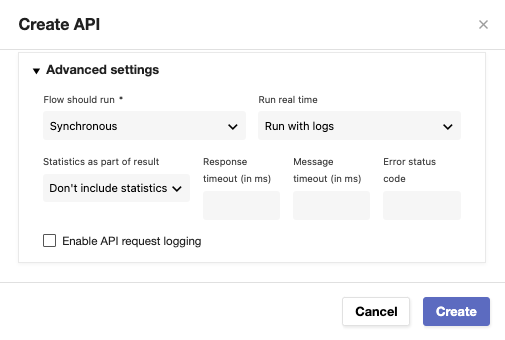
а) Flow should run - the way the workflow will run (synchronous or asynchronous)
b) Run real time - decides whether the flow should run with logs or in real-time.
c) Statistics as part of result - decides whether there will be statistics included as part of the flow execution result.
d) Response timeout (in ms) - time interval after which communication between the worker and API is lost.
e) Message timeout (in ms) - time interval after which a message indicates that all jobs the worker is executing will be suspended or killed.
f) Error status code - the status code of the error generated after the timeout.
g) Enable API request logging - allows API requests for deployed API endpoints to be logged, which helps in understanding the action(s) taken by the gateway.
This option will flood the database with logs if it is forgotten.

When done, click
Create to finish creating the API.

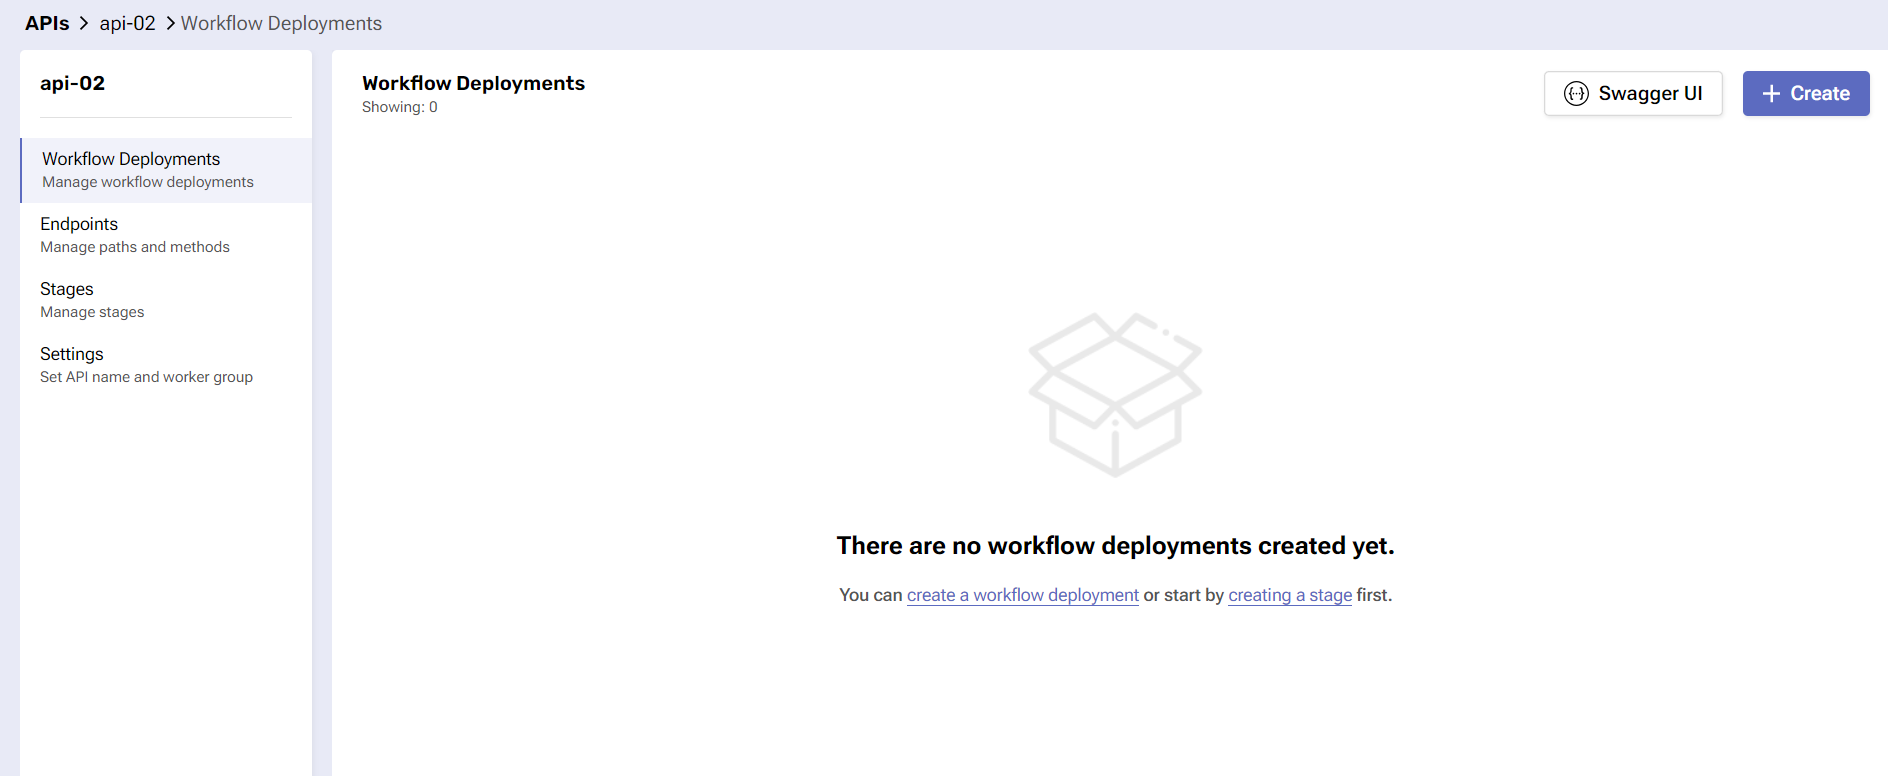
You’ll be automatically taken to the Deployment module where you can further manage the API and use it in the deployment of a workflow.
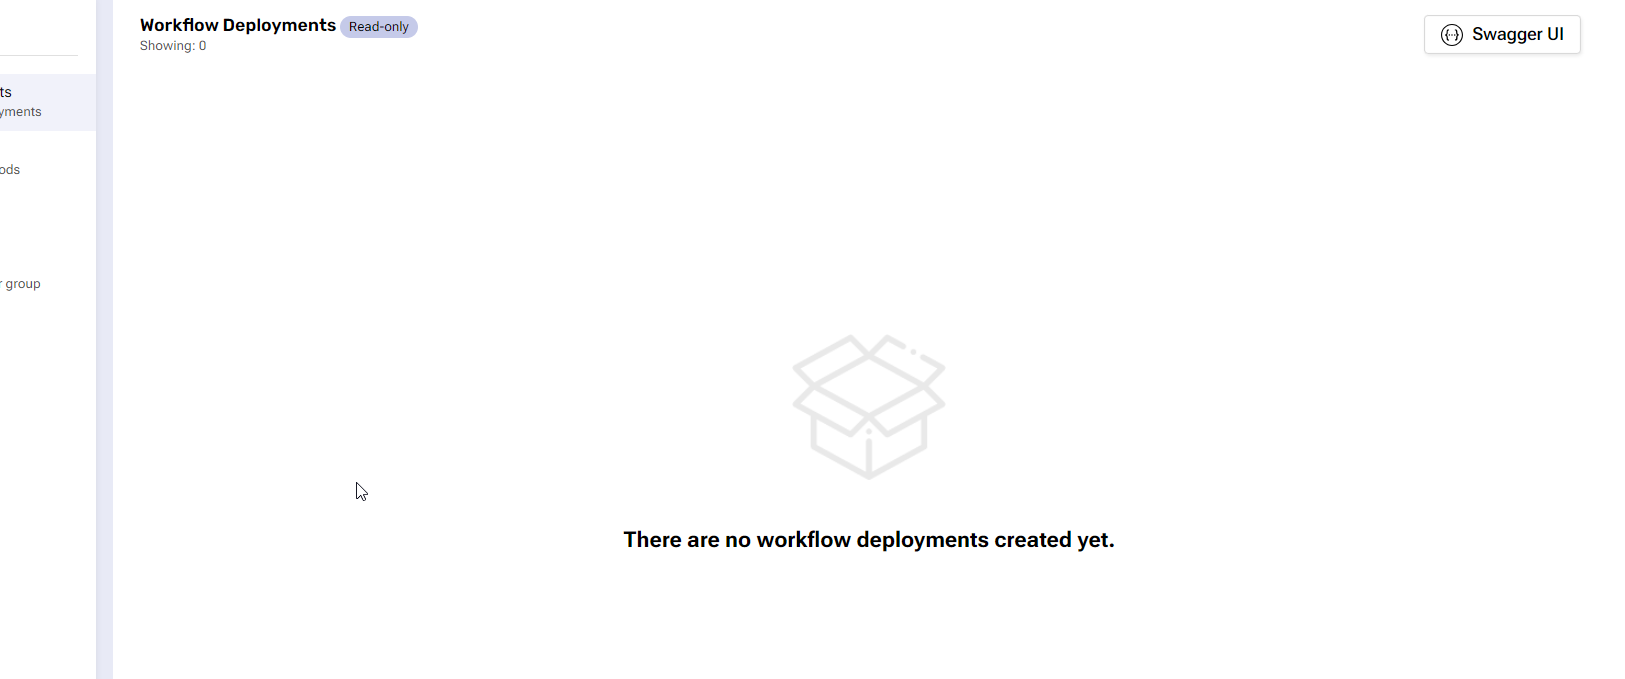
Read-Only Mode APIs Access
The Platform supports API Sharing via the RBAC implementation on an API level. This allows users to access APIs shared with them in a read-only mode, consequently, all input and process manipulation actions will be disabled. When users access a page with read-only API they will see the same structure as those with write access. The difference is that they can only see the API configuration without making any modifications, including entry removal.
API actions
There are two actions you can perform on an API. They’re accessed within the three-dot button in the Actions column.

Edit - This allows you to make changes to the API.
It opens the Workflow Deployment module, in which you need to navigate to the Settings tab to change the provided API properties.
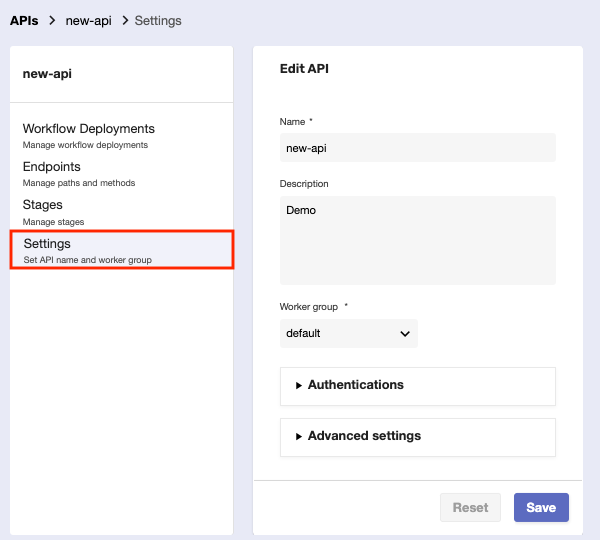
Once you’re done with the edits, click Save.
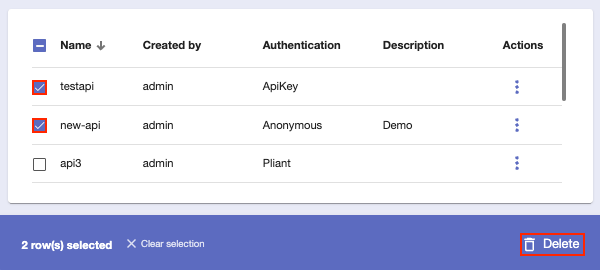
Delete - This removes the API but will ask you for confirmation first.
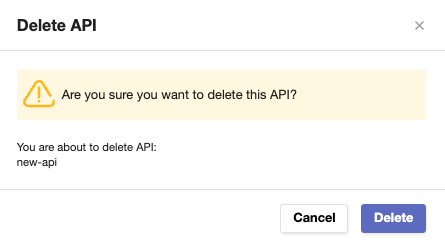
To delete multiple APIs, select their checkboxes on the left and click the Delete button at the bottom-left corner.