SAML
Overview
On this page, you can configure Security Assertion Markup Language (SAML).
SAML is a standard for logging users into applications based on their sessions in an external identity provider (IdP).

The SAML page
An IdP is a system entity that creates, maintains, and manages identity information for users while providing authentication services to applications within a federation or distributed network. The identity provider acts as an authentication provider only.
Trusted SAML metadata ensures a secure transaction between an SAML identity provider (IdP) and a service provider.
Before you begin
Navigate to Global Settings >> System Configuration >> External Login Providers >> SAML
IMPORTANT: SAML settings changes can take up to 60 seconds to be in effect. Please wait 60 seconds between saving and testing your settings!
In order for the service to work, you must have SAML credentials in advance and be a registered user.
Non-existent or deleted users will not be able to log in via SAML, and the same applies to users disabled in SAML.
Already existing users who are still disabled can only log in locally.
Procedure
There are several fields spread across two sections: Settings and User Policy.
The first section is where you establish connection with the server.
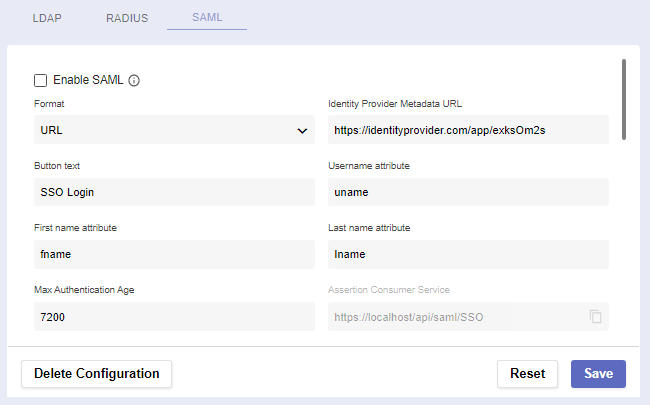
Setting | Function |
|---|---|
Enable SAML | Checking this box makes SAML an alternative login method. Note: Most fields will become required. |
Format | All IdP metadata is received either from a given URL or XML. |
Identity Provider Metadata URL/XML | The URL/XML of the identity provider metadata. |
Button text | The contents of the SAML button which will appear on login. |
Username attribute | The attribute names (SAML claims) returned from the IdP for username. |
First name attribute | The attribute names (SAML claims) returned from the IdP for first name. |
Last name attribute | The attribute names (SAML claims) returned from the IdP for last name. |
Max Authentication Age | The maximum duration an SAML authentication can last. |
Assertion Consumer Service Single Logout Service Entity ID | Check whether these auto-generated URLs are correct. They’ll be sent to your Identity Provider as you configure it for Pliant. |
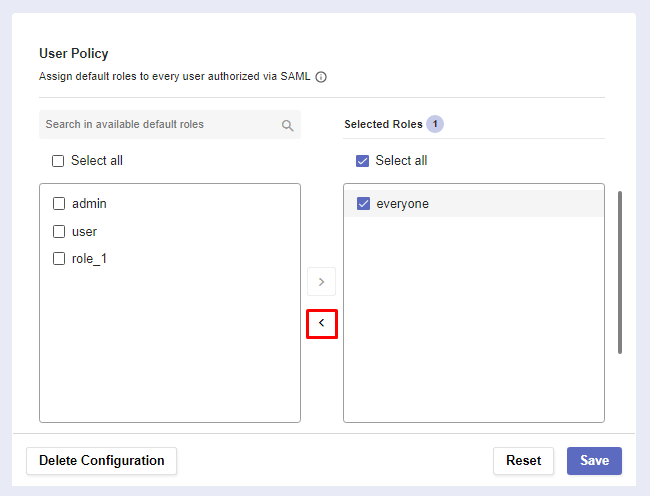
The User Policy section is where you determine a user’s default flow roles when they authenticate via SAML.

Assign default roles to a user authorized via SAML
Select a default role by checking it’s box. Then click on the arrow to assign it.

Check a roles box and click on the arrow pointing the default roles list to remove it from the selected roles list
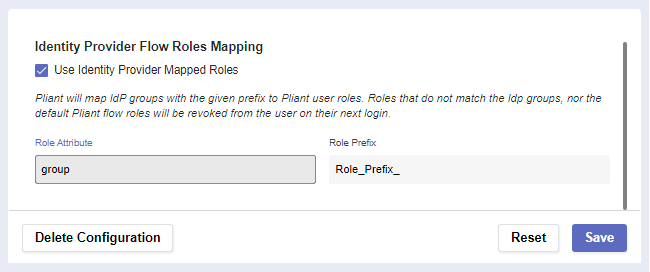
Pliant can also map Identity Provider groups with a given prefix to user roles.
Setting | Function |
Use Identity Provider Mapped Flow Roles | This allows IdP groups to be mapped with a prefix to Pliant roles. |
Role Attribute | Name of the attribute that will be returned with a successful response. It can contain one or more roles, groups or strings. The system will look into it and try to map it to an existing role. |
Role Prefix | Prefix of the role. The system will try to map only the attributes with a specified prefix. Otherwise, it will try to assign all roles, groups or strings to the user. Roles that don’t match the Idp groups, nor the default Pliant flow roles, will be removed from the user on their next login. |
Example
Role Attribute: roles
Role Prefix: PL_
Response from the Identity Provider group:
{user: john, authentication: successful, roles: [PL_admin, PL_dev, employee] }
After login, the user will have the flow roles : admin, dev (if they were previously created in the platform)
SAML Actions
At the bottom of the page, you can use three buttons to perform different actions:
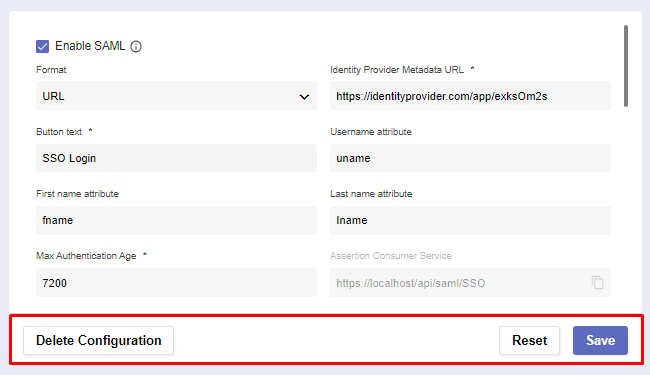
Reset the configuration settings to default if you want to start the process from the beginning.
If you’ve filled out everything correctly, Save the RADIUS configuration.
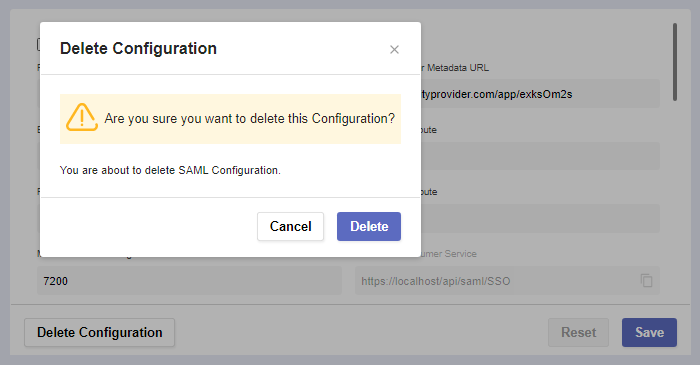
In case you need to create a new configuration or want to permanently remove the existing one, click Delete Configuration.
A warning message for confirmation will pop-up.
Here’s how the login screen looks after properly set-up SAML configuration.
Username and password are not shown if SAML is configured, unless you choose the Local Login option.
