Roles Management
Overview
On this page, you can create and define roles that users can be assigned regarding their permissions on the platform.
In the Configurator, you can also define which integrations, authentications, worker groups, jobs, and panels the role gives access to and to what extent.

Before you begin
From your Platform instance, click Global Settings and select Roles Management.
Make sure you have permission to create and make changes to roles on the platform.
Features
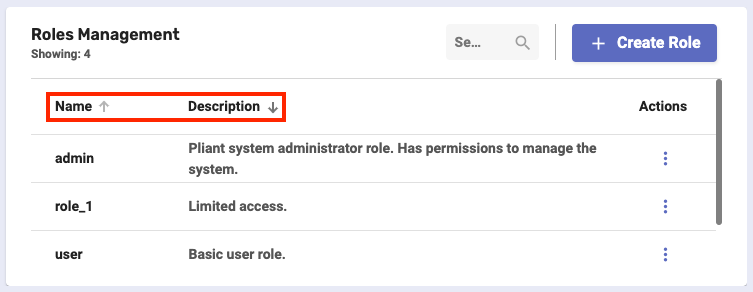
Locate one or more roles by typing their name in the Search bar. Matched words from a role’s description will also be counted in the search.

Sort roles by their names or descriptions. Click the title of a column to apply the sorting.
Role Creation
You can create and configure new roles in just a few steps.
Click Create Role at the upper-right corner of the page.

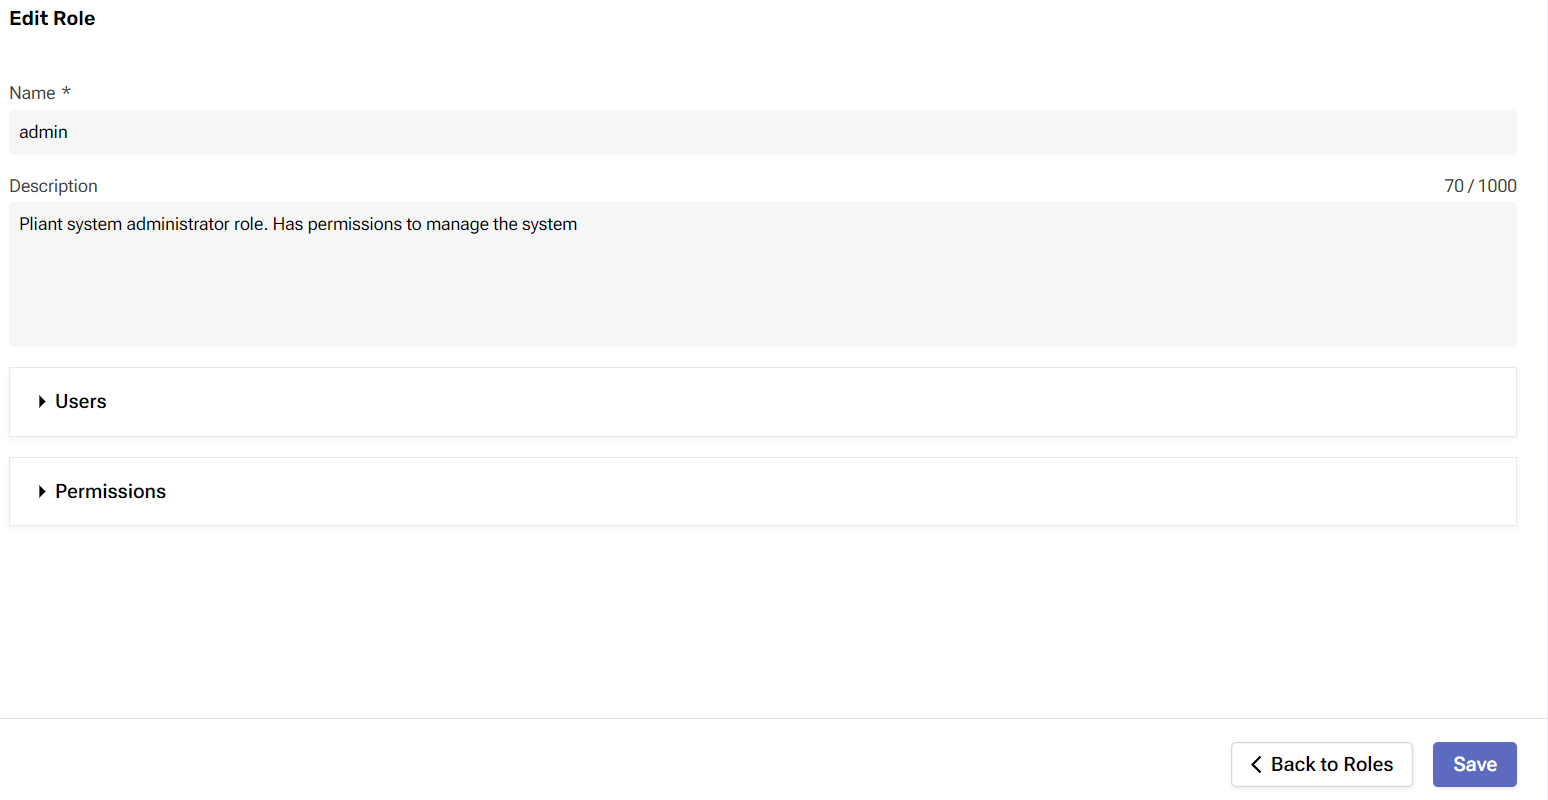
In the window that opens, you need to fill in the available fields.
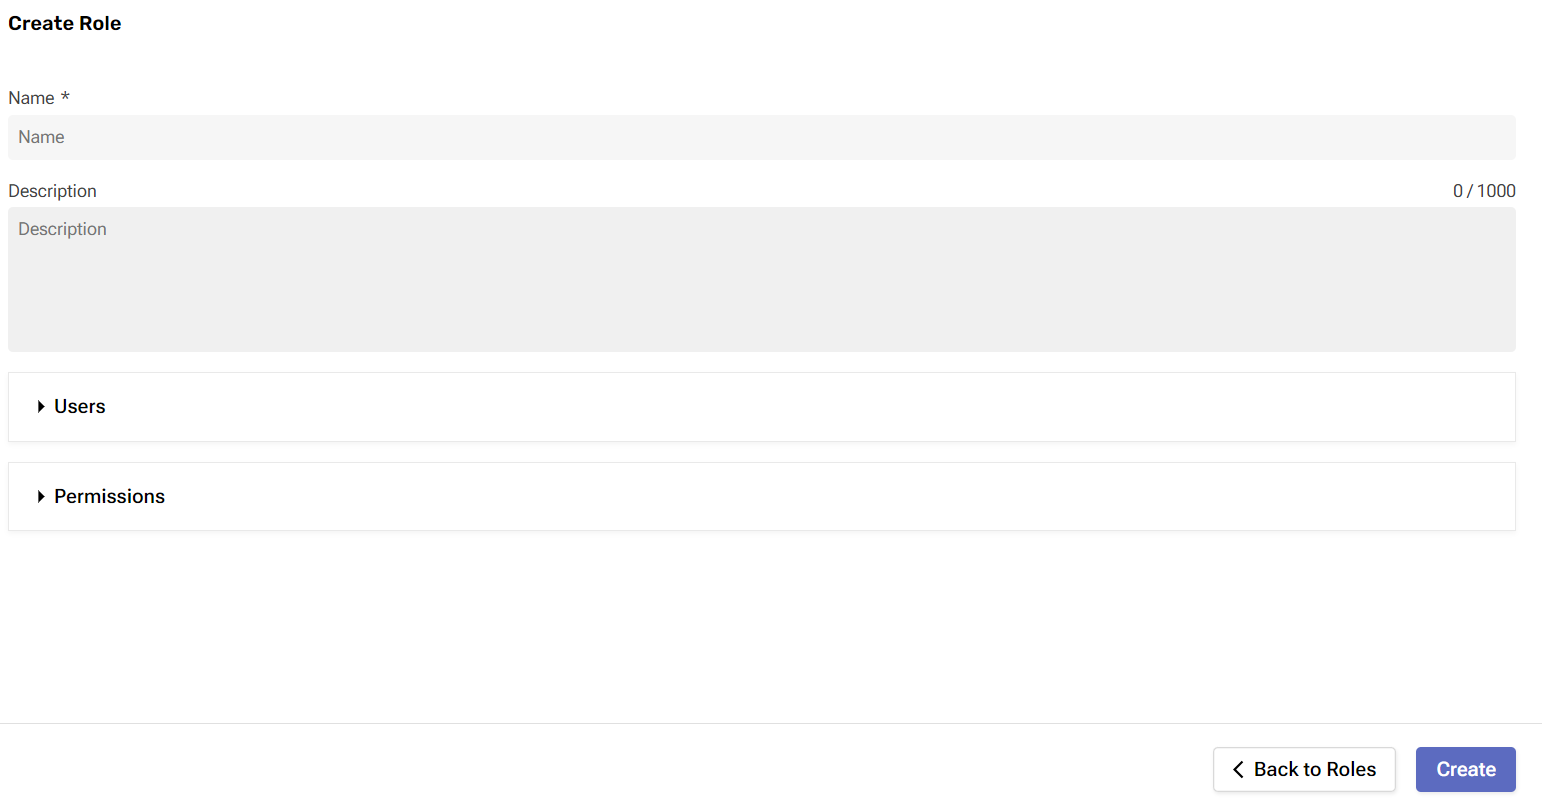
Name - the unique name of the role.
Description - optional description for the role.
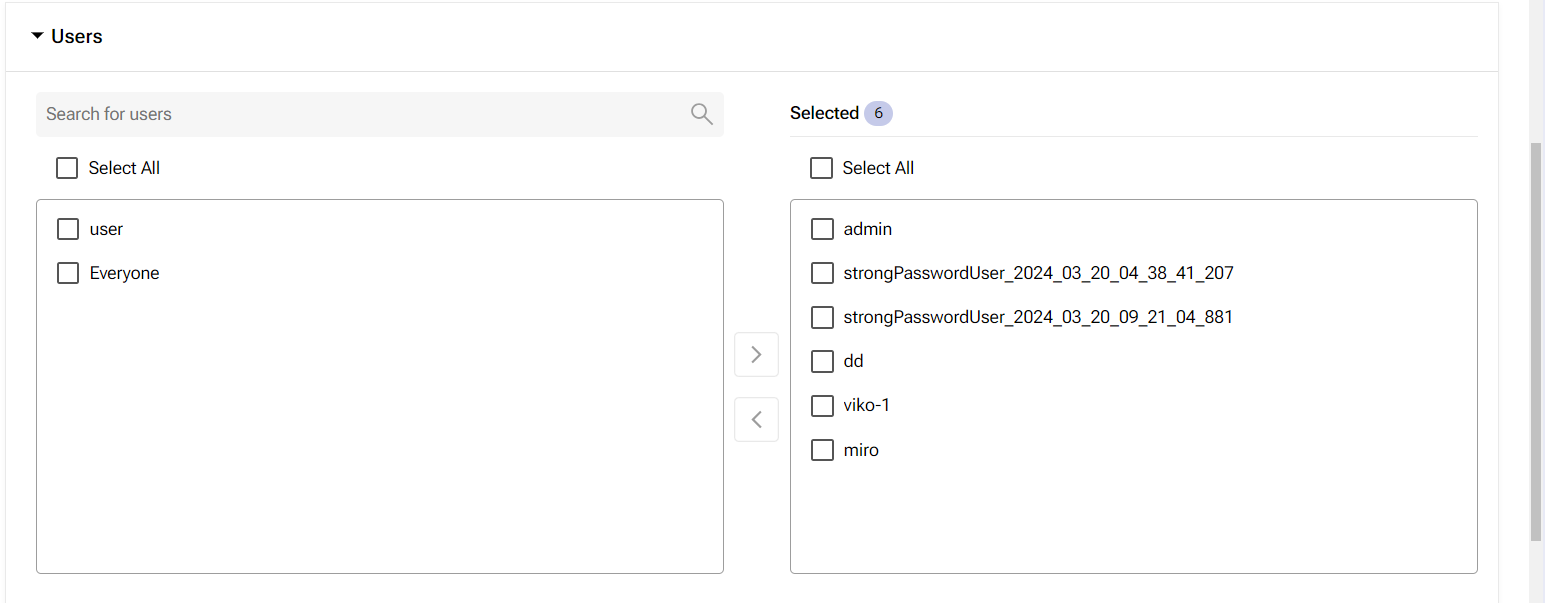
Users – The Users section allows you to define the user's access to the selected role.
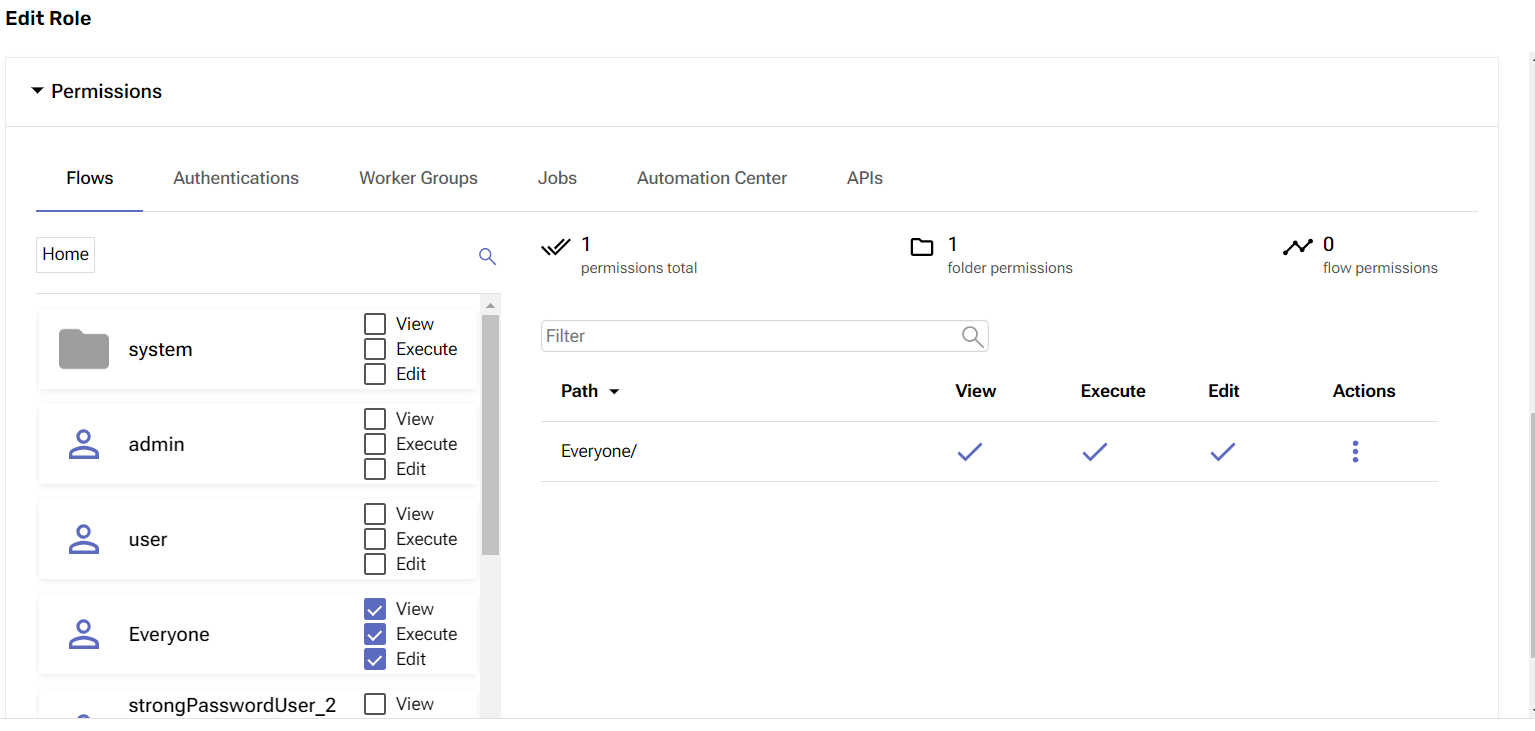
Permissions – The permissions section is available in a dropdown menu that can be accessed with the mouse. It allows you to which flows, authentications, worker groups, jobs, Automation Center, and APIs the role can access. Click Save to finish the process.
Click Create to create the desired role.
Role actions
There are three actions you can perform on a role. Click the three-dot button in the Actions column.

Edit - This allows you to change the name and description of the role. Once you’re done, click Save.
Delete - This removes the role from the system and will ask for confirmation first.
