Self Service Lab - authKeys
Overview
The purpose of this document is to provide example exercises illustrating the use of authKeys in Pliant.
Pliant authKeys
Pliant stores the credentials used in action blocks in a special structure called an authKey. AuthKeys are kept separate from the workflows in which they are used, and are shown to users only by name - never by content. When an authKey is created, it is encrypted and stored in the Pliant configuration database. After this, its contents cannot be viewed by a user in the web interface nor via the API. It is only decrypted at workflow execution time for use by the Pliant worker. Not even an admin user can access the authKey contents.
When using authKeys in workflows, they are always referenced by name. AuthKey names can be passed around as variables of type string.
A. View existing authKeys on the Pliant instance List
B. Create a new authKey for Azure
C. Create a new authKey for SSH, marking things as overridable
D. Use the authOverride block
Launch Lab: Click here to get a lab login where you can try the following procedures
A. View existing authKeys on the Pliant instance List
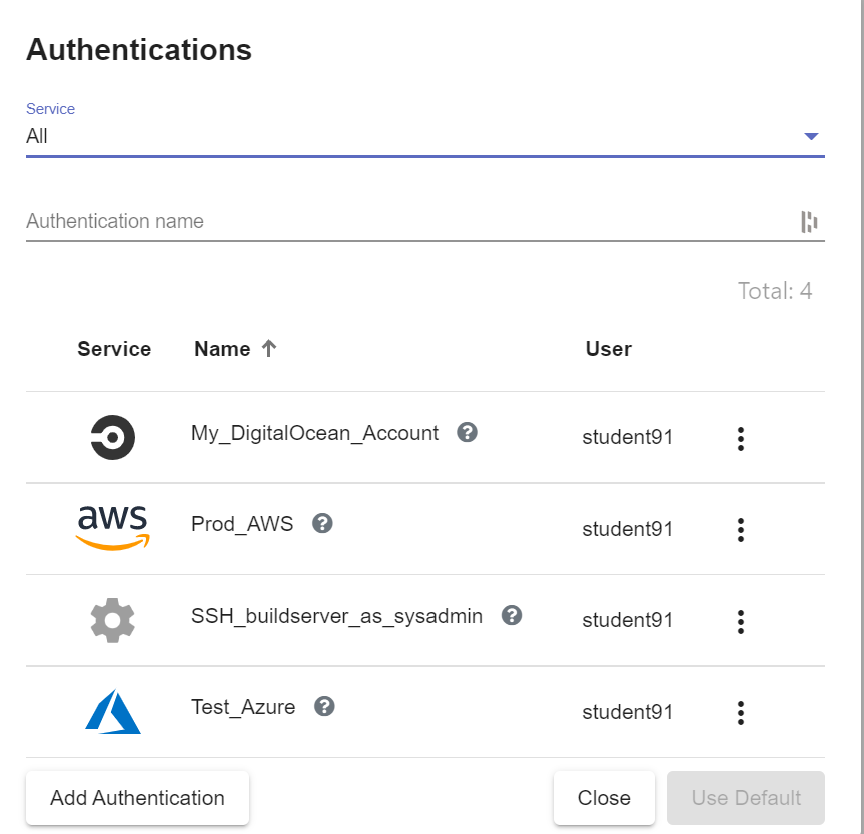
A1. Navigate to the AUTHENTICATIONS list

A2. The full list of authKeys that the current user's roles permit are shown

The "Service" drop down can be used to filter the list for authKeys belonging to a specific integration. Use the "filter" field to search the list based on name and description. The list shows the icon of the related integration in the "Service" column, along with the name and the name of the owning user.
B. Create and use a new authKey for AWS
B1. In the Pliant user interface, navigate to WORKFLOWS and then click the "Create" link and choose the "Create Flow" option

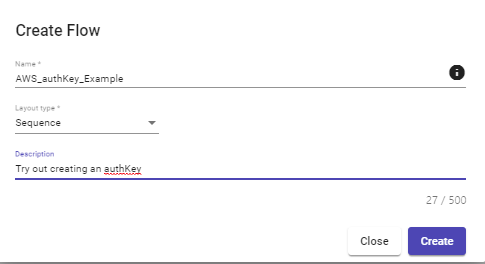
B2. Give your workflow a name and optionally a quick description, then click the Create button
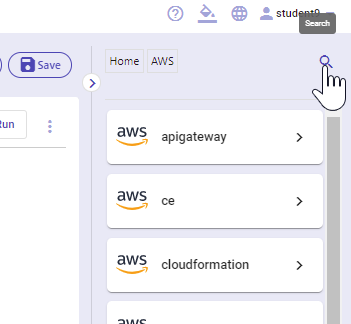
B3.In the integrations pane, select "AWS"

B4. Click the search icon in the top of the integrations menu
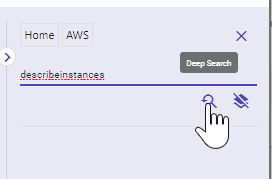
B5. Enter "describeinstances" into the search box, then click the Deep Search button
B6. Drag the "DescribeInstances" block into the editor

B7. Click the Auth button and choose the "Add Authentication" option
B8. Give the authKey a name and description, then choose "Amazon Web Services" from the "Service" drop down. We will use invalid credentials here as an example, so the resulting flow will not run. If you have working AWS that you would like to use, you may use them instead. Otherwise, enter the following values in the fields, then click the Save button:
Access Key Id: AKIAUDF22QEAUPD2HSXZ
Secret Access Key: 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

B9.In the "DescribeInstances" block, clink into the "AuthKey" parameter field and select the authKey you just created:
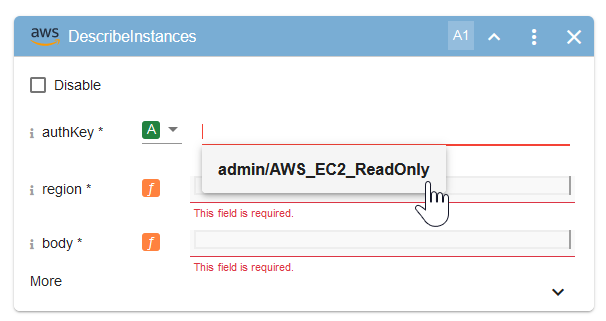
B10. Set the "region" and "body" fields as shown:

Note: We use an empty JSON object "{}" as the value for body because we are not doing any filtering or searching
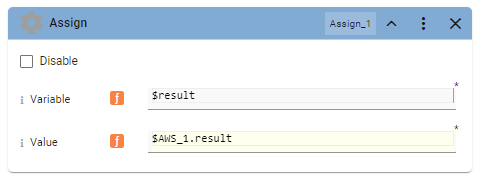
B11. In the Assign block, set the Variable to "$result" and the Value to "$A1.result"
B14. The AWS credentials are no longer valid, so the flow will not complete successfully.
C. Create a new authKey for SSH, marking things as overridable
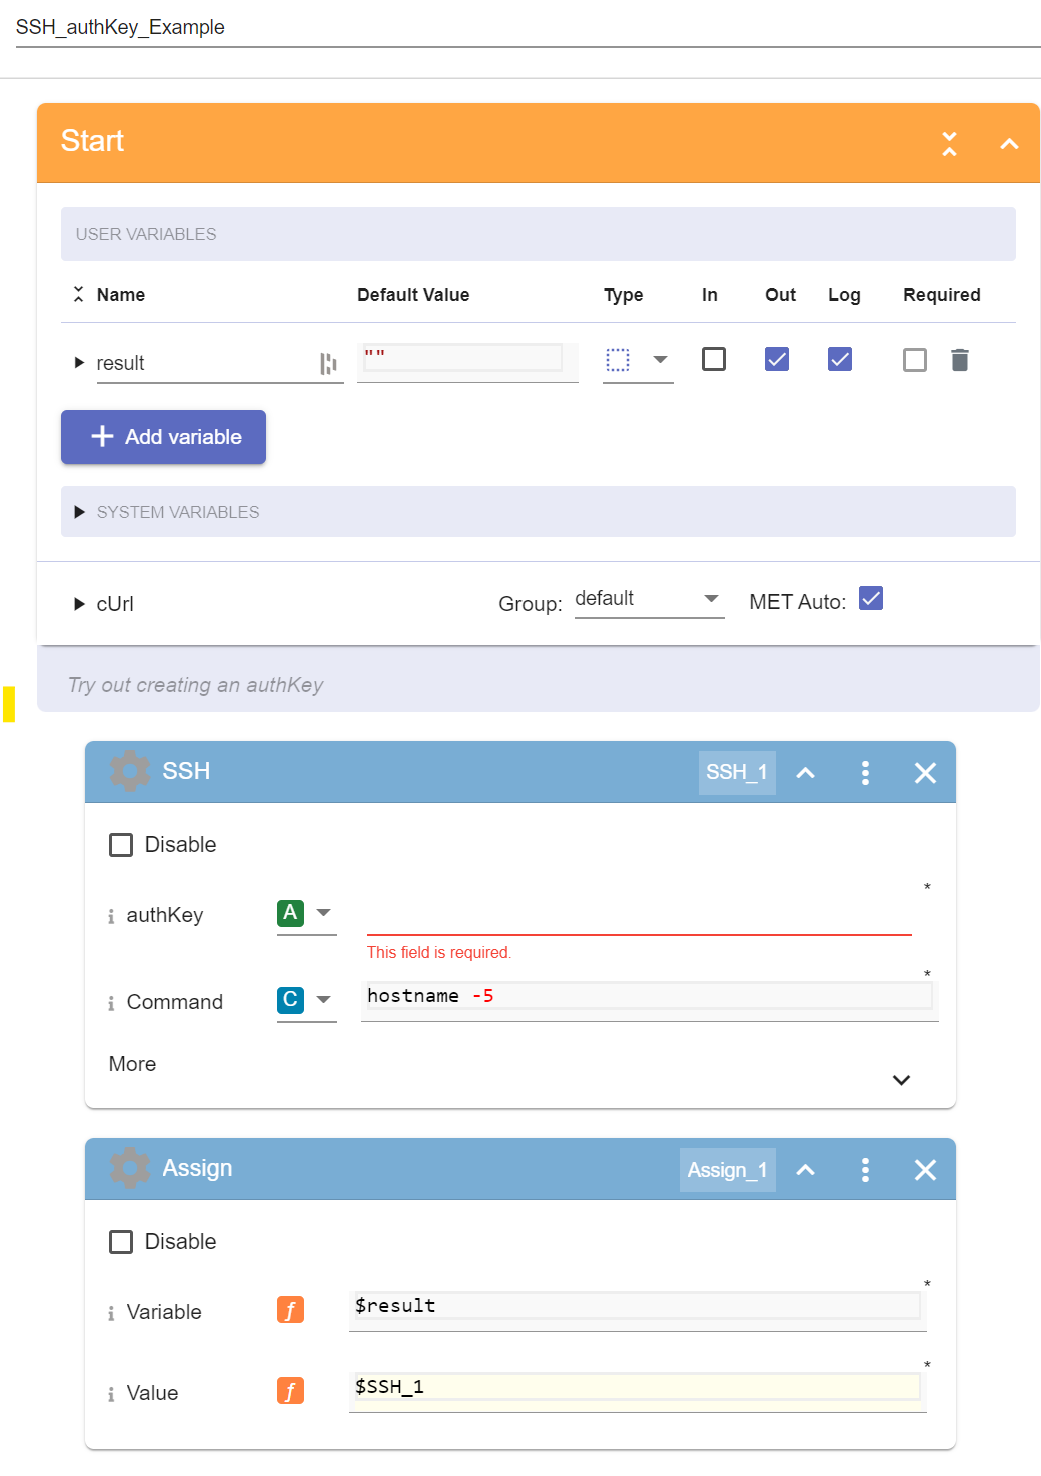
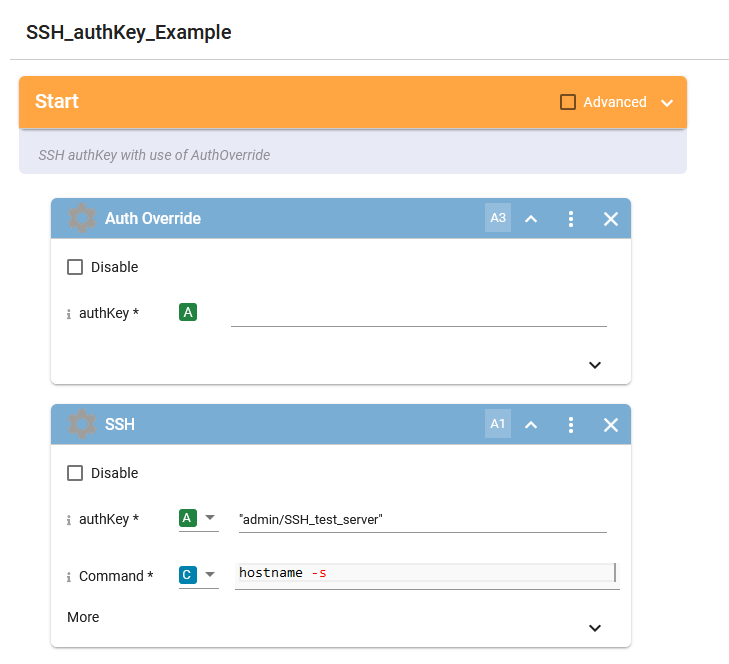
C1. In the Pliant user interface, navigate to WORKFLOWS >> authKeys_Lab >> SSH_authKey_Example
You should see the following workflow:
C2. Click the Auth button, then choose the "Add Authentication" option

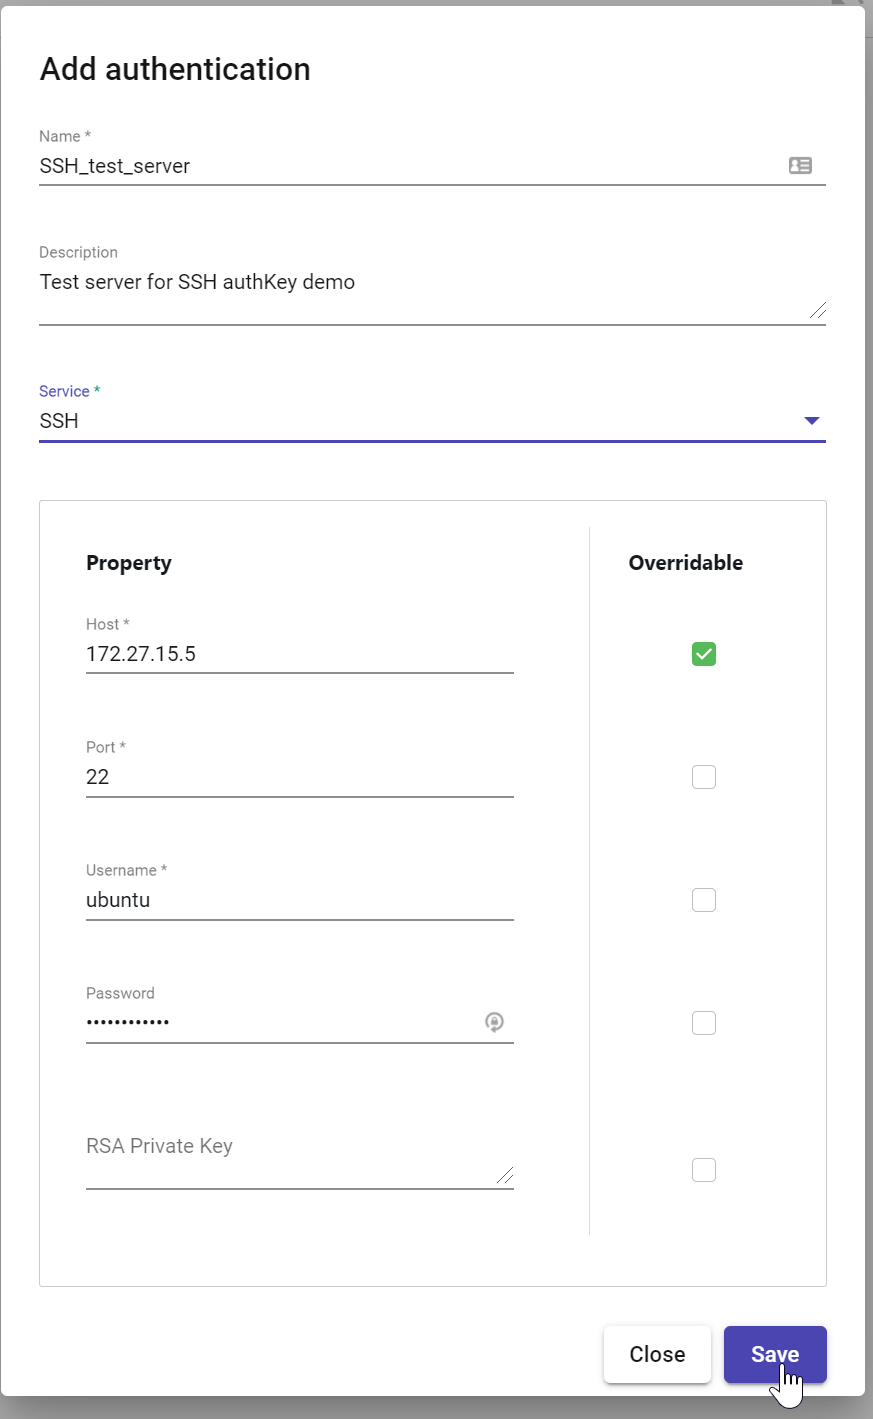
C3. Give the authKey a name and description, then choose "SSH" as the Service. Set these values for the remaining properties, then click the save button:
Host: 172.27.15.5 (Check the Overridable box!)
Port: 22
Username: ubuntu
Password: peekaboo123!
OpenSSH Key: (leave blank)
C4. In the SSH block of the flow, select the new authKey you just created in the authKey parameter:

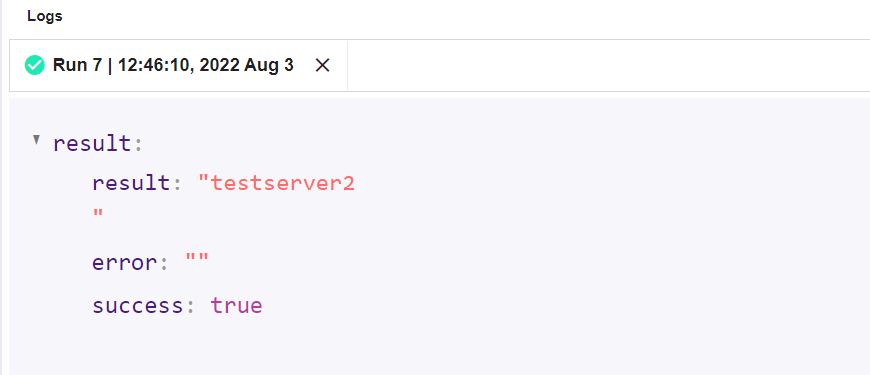
C5. Run the flow and check the output:

D. Use the authOverride block
D1. While still in the SSH_authKey_Example workflow, navigate to the Common folder in the integration block menu, then search for the AuthOverride block:


D2. Drag the AuthOverrride block to a position above the SSH block in the flow
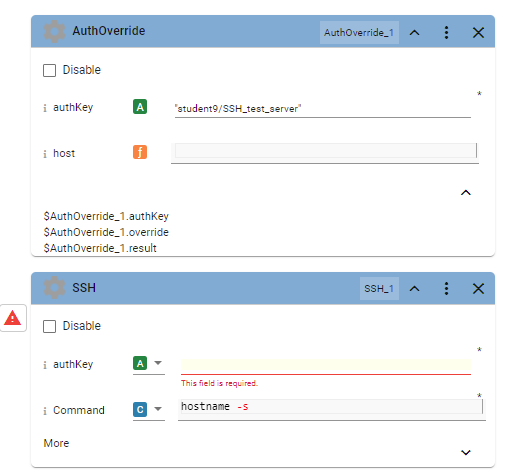
D3. Cut and paste the authKey name from the SSH block into the AuthOverride block, you should see a host parameter appear in the AuthOverride block. Click the chevron in the lower right corner of the block to see the output parameters.
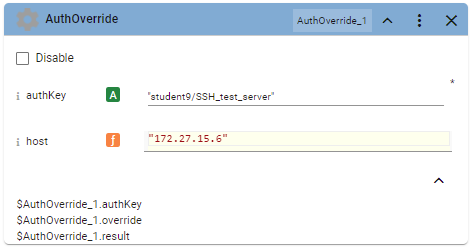
D4. Put the IP address 172.27.15.6 into the host parameter of the AuthOverride block
D5. Copy and paste the "result" output parameter from the AuthOverride block into the authKey input of the SSH block. In the illustration, this value is called $AuthOverride_1.result as the name of the SSH block is AuthOverride_1
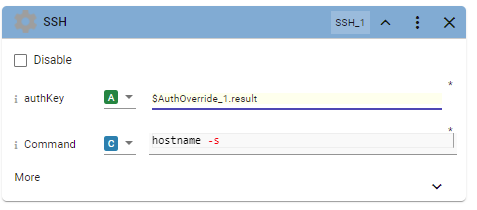
D6. Run the workflow again, note that the output now shows "testserver2"