Use HTTP Requests in a Workflow
On the Workflows page, click the "+ Create" button to name and create a new workflow. Enter a name for the workflow and click "Save" to invoke the Workflow Editor screen, where you can build and run your workflow.

Expand the Start block with the arrow button next to Advanced. Add a variable by clicking on "+ Add Variable".

Name the variable and assign it a default value surrounded by quotation marks. Choose whether it will be an input or an output.

Add as many variables as needed. They will be assigned to the result of the HttpRequest block.

Open the Common integrations folder on the right of the screen.

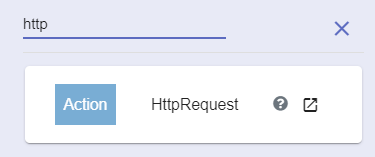
Use the search option to locate the HttpRequest block by clicking the magnifying glass icon and typing the name of the block.
Click, drag and place the block between the Start and End blocks.
Click the "A1" square to give the block a convenient name. The name will be used as a "response" value in the Assign blocks.

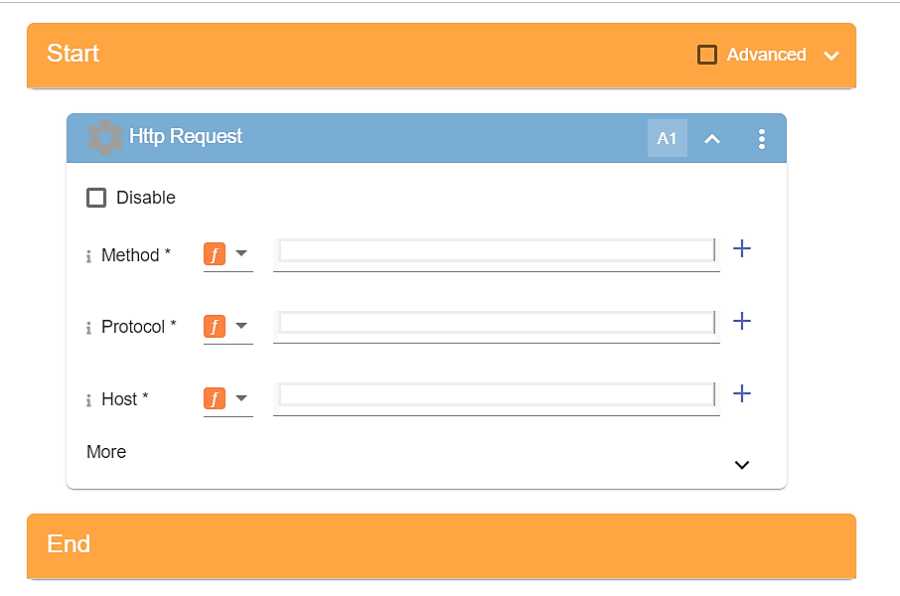
Three fields must be filled-in. Filling-in is achieved either by typing in the empty fields ("GET") or by clicking the "+" icons and selecting the appropriate option.

Method
GET (used to request data from a specified resource)
POST (used to send data to a server to create or update a resource)
PUT (used to update a specified resource)
PATCH (used to apply partial changes to a resource)
DELETE (used to delete the specified resource)
Protocol - "Http:" or "Https:".
Host - The server/IP address the request will be sent to.
Click "More" at the bottom left of the block to reveal eight advanced and optional settings.
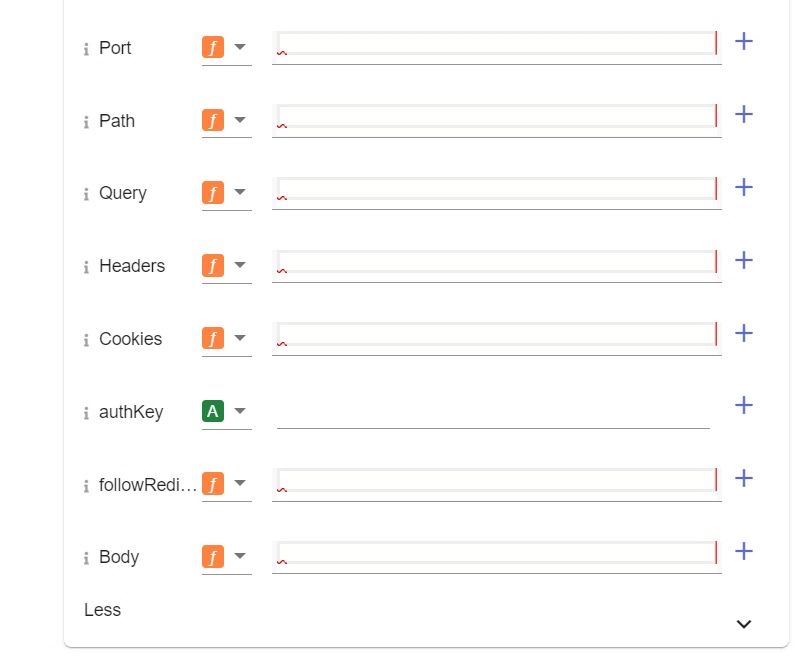
Port – specific number of the host making its services available.
Path – location of the host.
Query – the request made of different parameters; it is used with a URL path by a web server to process information
Headers – data such as the origin and nature of the HTTP request.
Cookies – small amounts of text-only data that are saved to the computer and used later.
authKey – credentials to authenticate the user with a server*
followRedirect – in cases of redirection; when set to "true", the website the user is redirected to willl return the request; when set to "false", the request is returned before the user is redirected.
Body – final additional data associated with the request or a document associated with a response (html form, text, image or something else).
*Steps for setting up authentication:
a) Place the mouse over the field and click "Add authentication".
b) Name the authentication, give it a description (optional) and under Property, fill in the fields for Protocol, Host, Username, and Password, which should be known in advance.
c) If the necessary credentials (licensed API keys) are put in the Start block, the authentication Service should be chosen automatically.
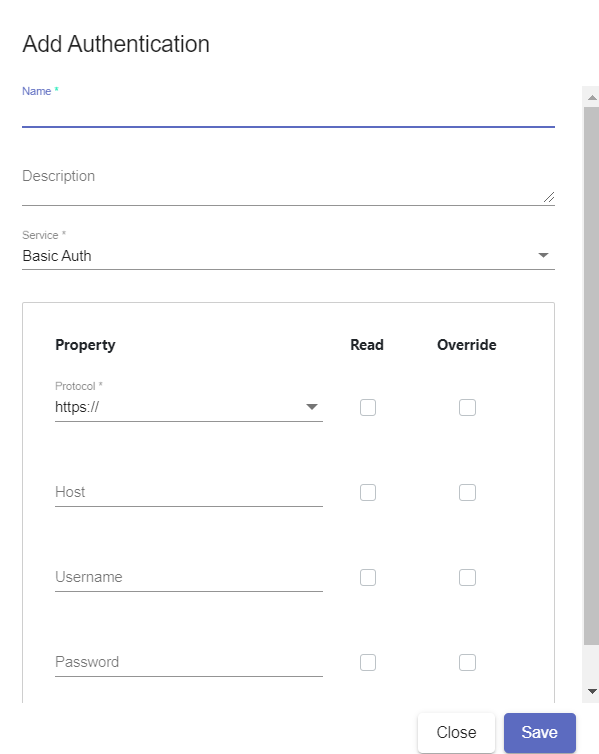
d) Choose which data should be read or overridden by checking the appropriate boxes.

e) Click "Save" to complete the process.
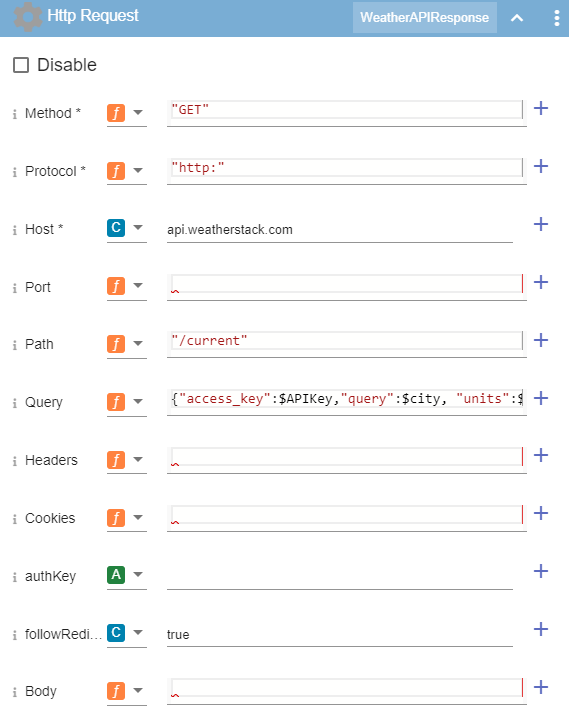
An example of a functional HttpRequest block:
Locate the Assign block within the Common integrations folder and place it below the HttpRequest block.

Assign the response value. This is the name of the HttpRequest block.
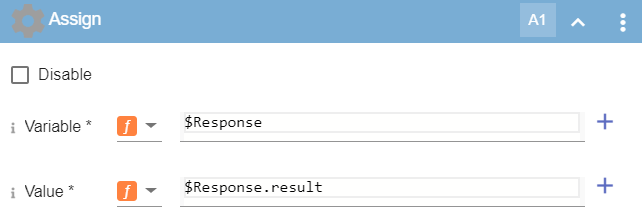
Add more Assign blocks for all the data you want to be shown. Customize the fields depending on the request.

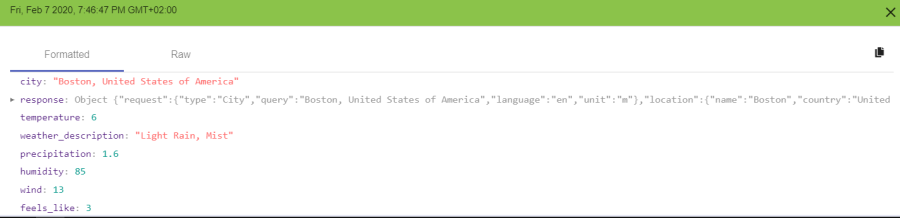
When finished, run the flow to verify it was set up properly. At the bottom of the Workflow Editor page, a screen should appear presenting the response to the request.