Share Workflows with Users
Sharing workflows eases the work process and saves time by giving permission to multiple users to work on a specific workflow. When multiple users are working in the system with different user accounts, the Workflow Sharing option gives access to a specific workflow that a user has created by allowing others to work and make changes on the same workflow.
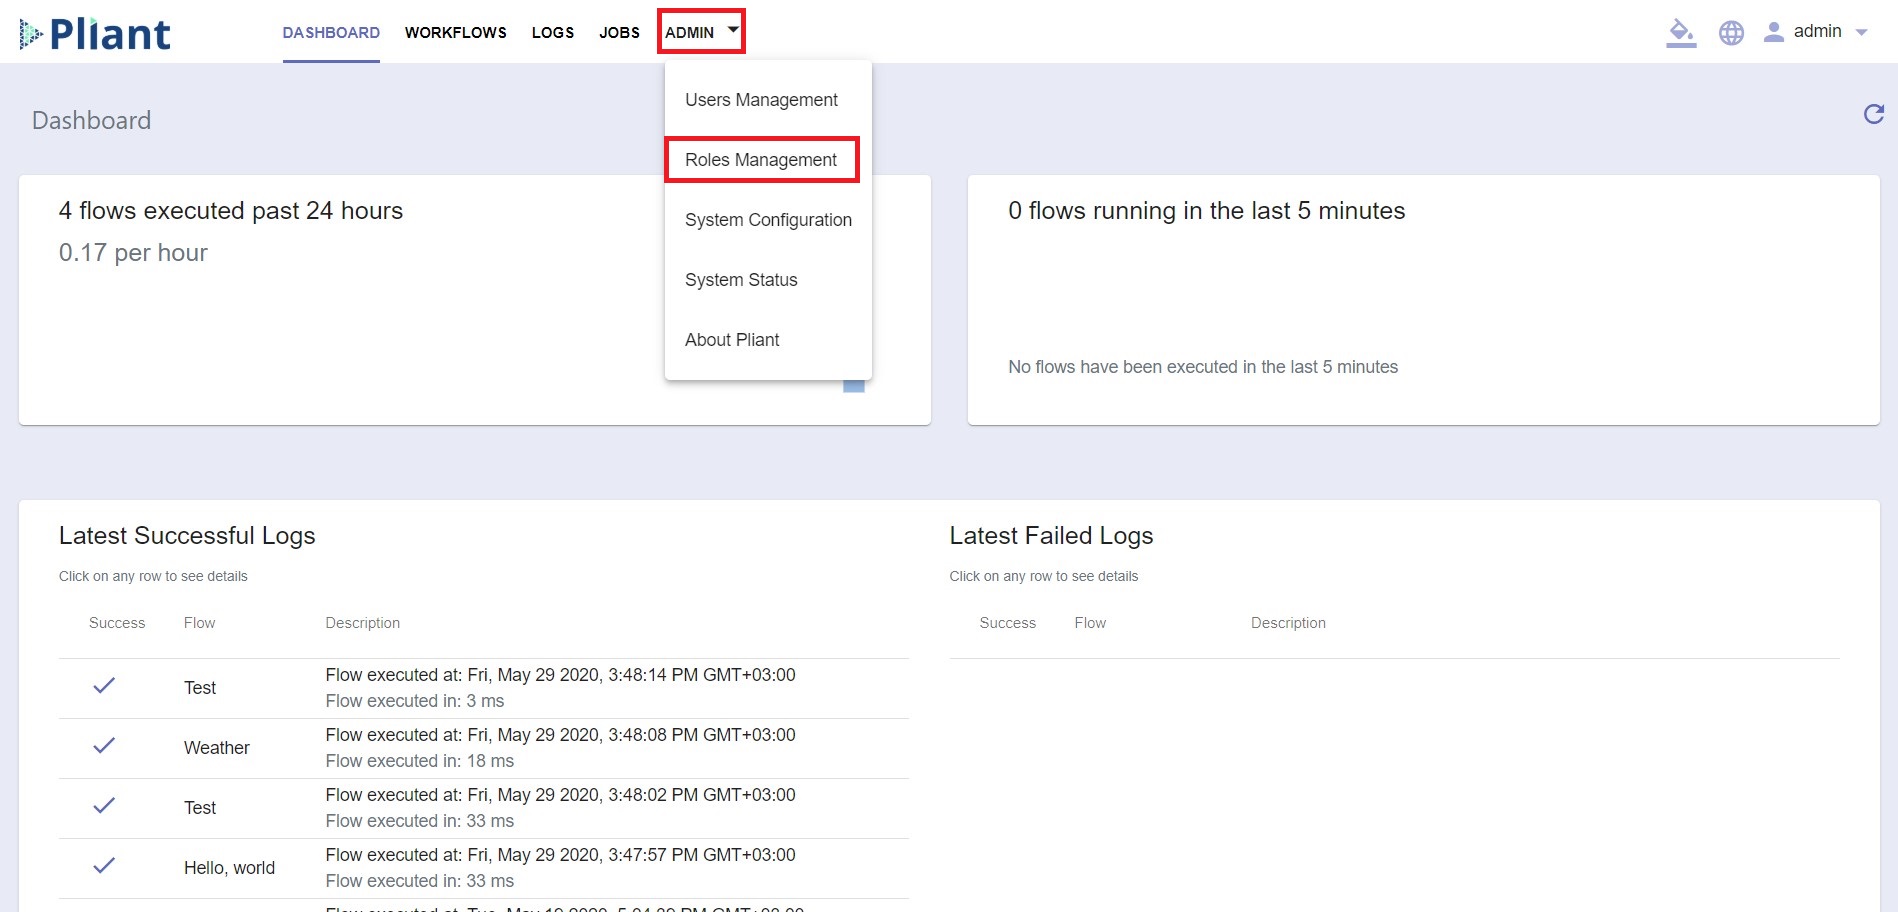
Sharing flows happens trough Roles Management within the Admin section of the platform:
If no roles are created, or you want to make a new one, create a new role by clicking on the (+) Create button at the top right of the Roles Management panel.

Enter the Name of the role.
Enter a Description of the role; this is optional but helps with organization.
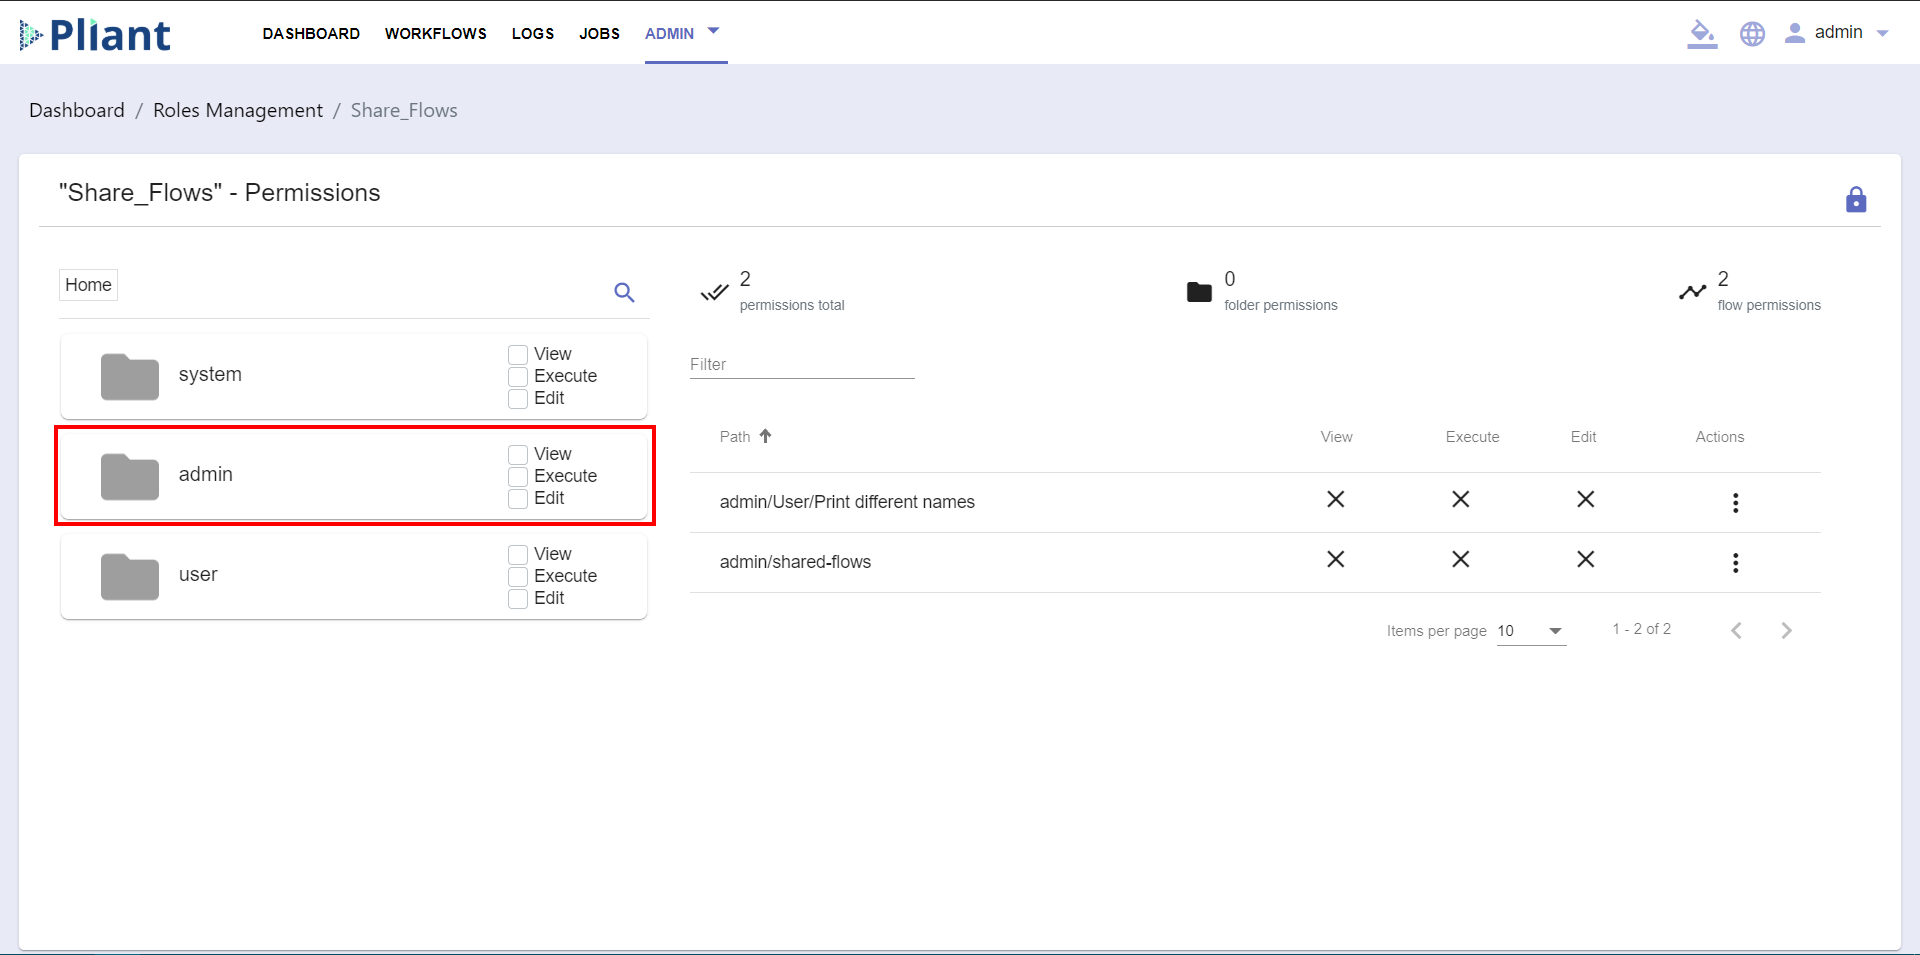
3. Open the role you want to work with and then click on the Admin folder:
Click on the User folder:
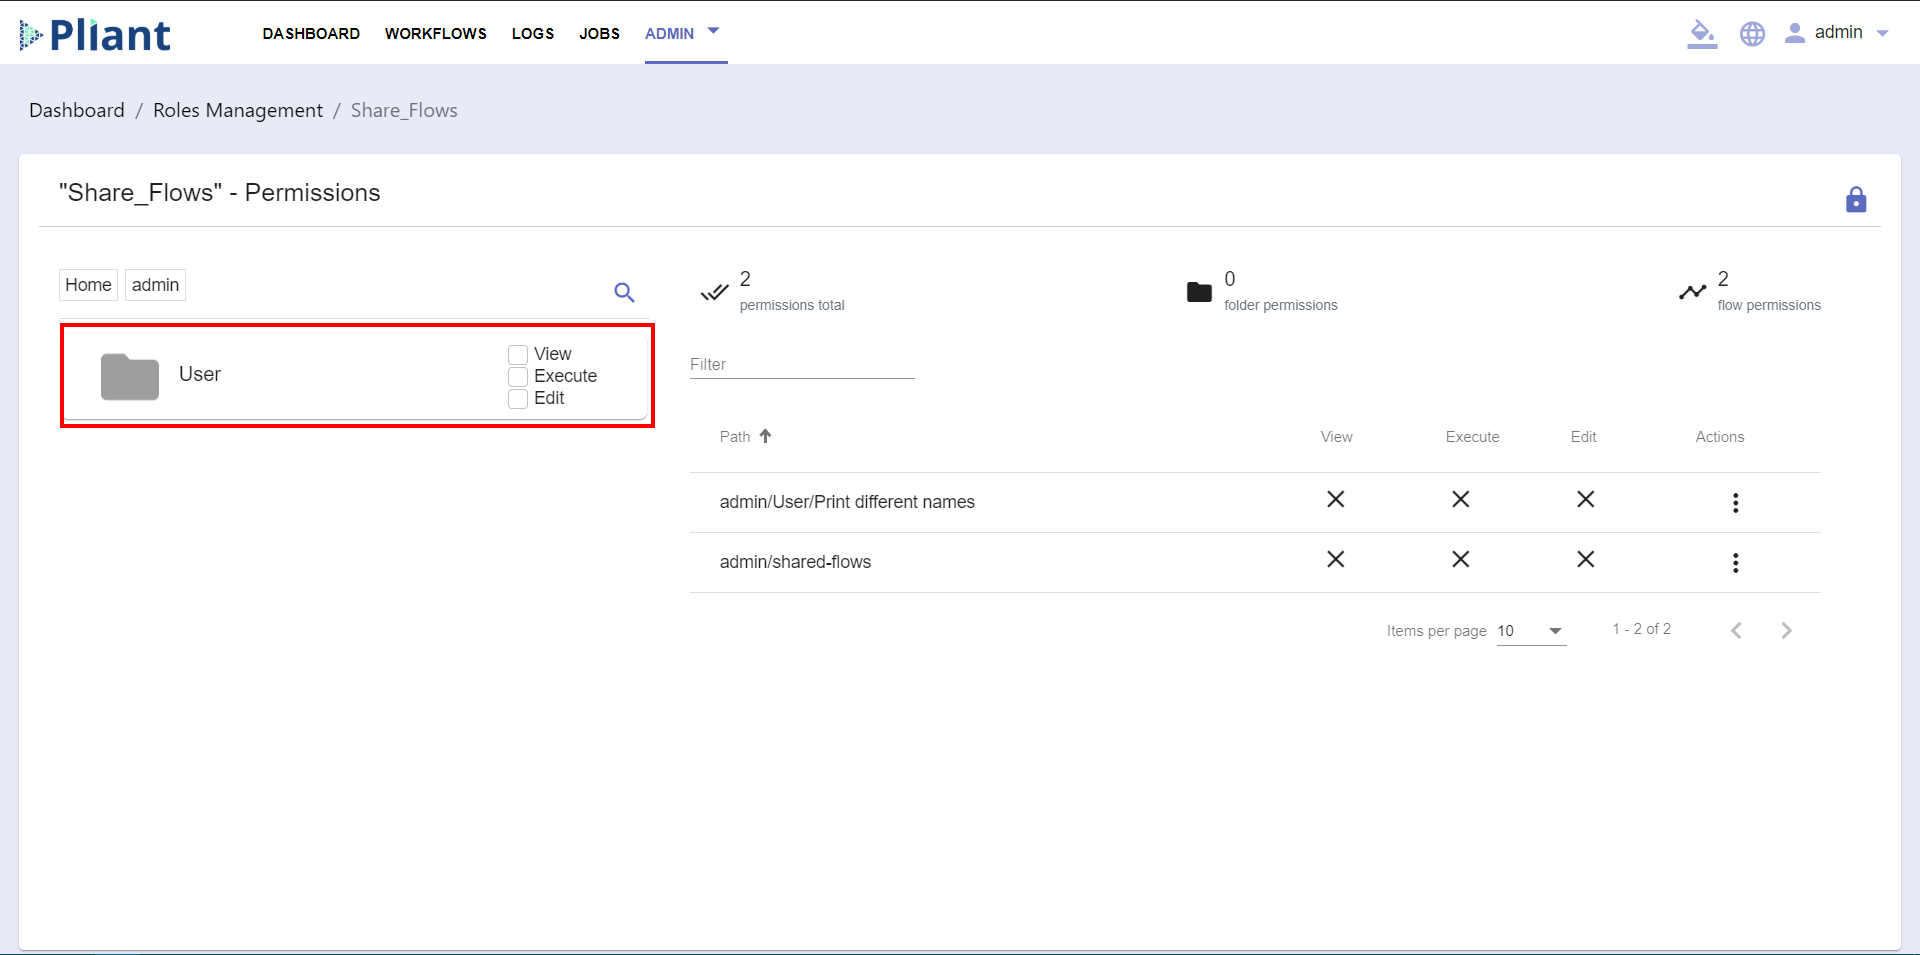
Choose the Permissions you will assign to the New Role, respectively To View, To Execute and/or To Edit. You can select them by clicking on the check-boxes on the right side of each folder or Action:
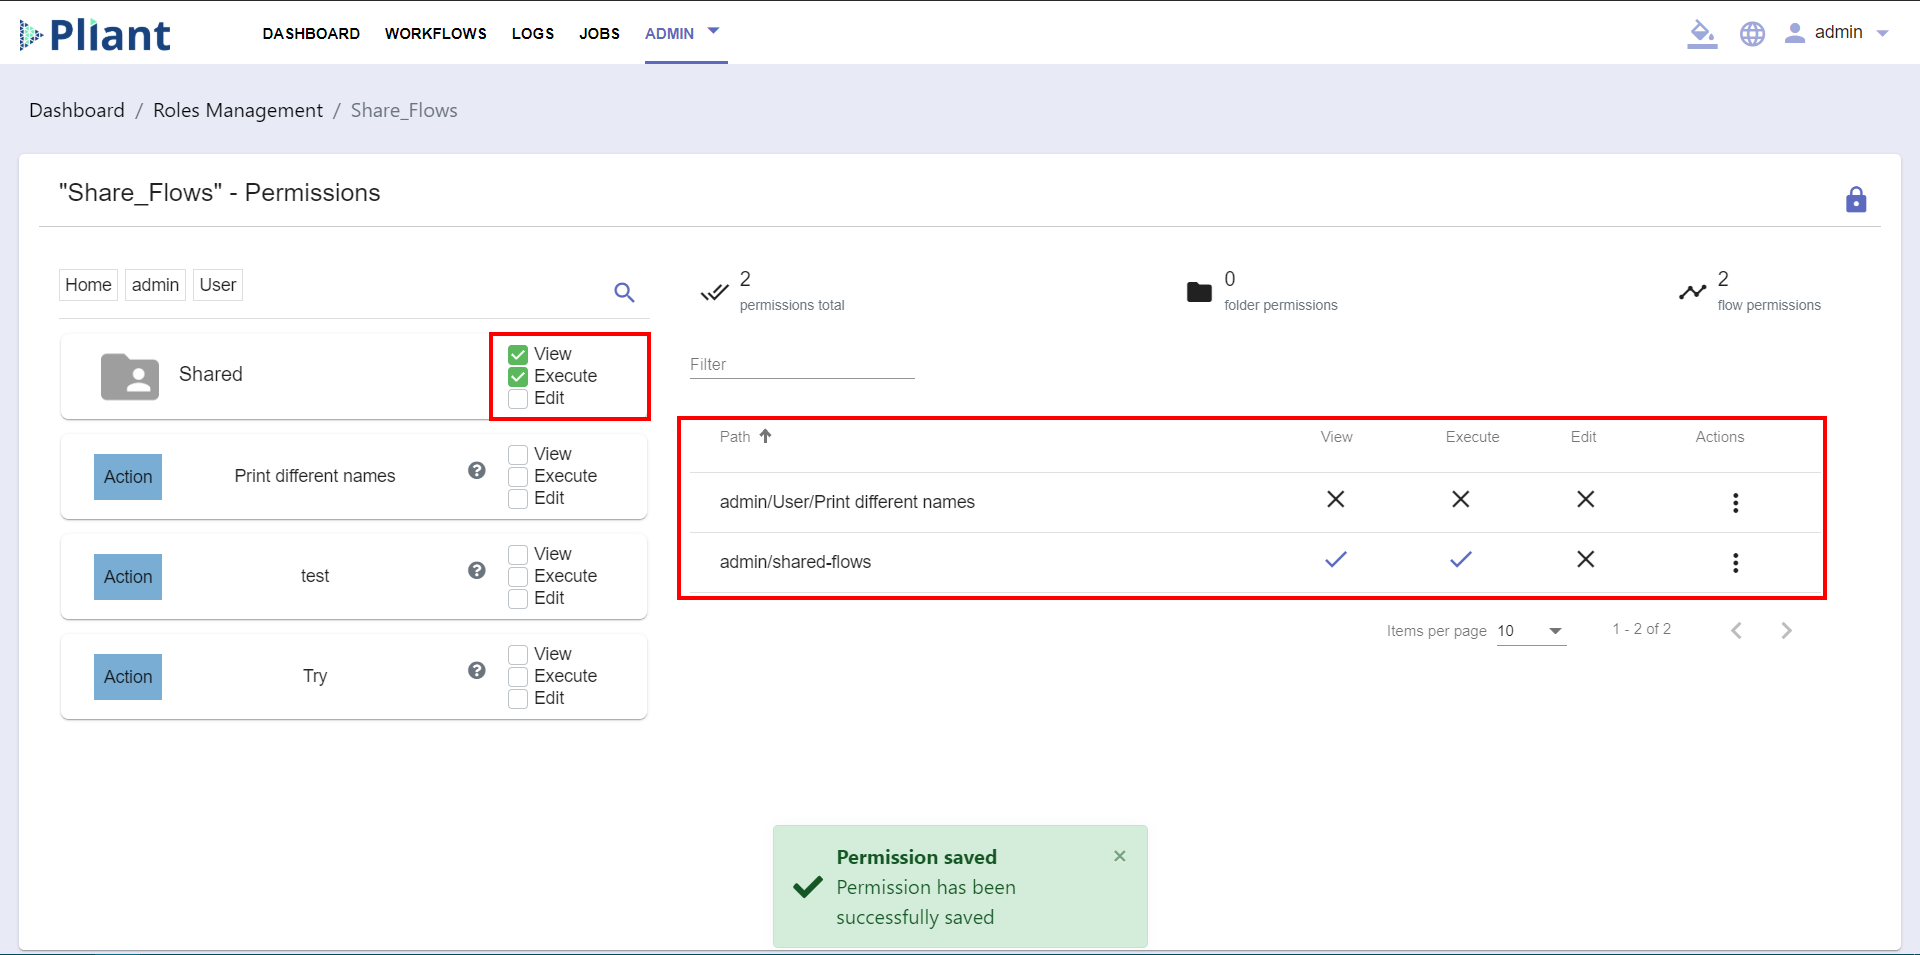
Note: You will see what permissions you are giving to the role, marked with blue checkmarks on the right side of the Panel.
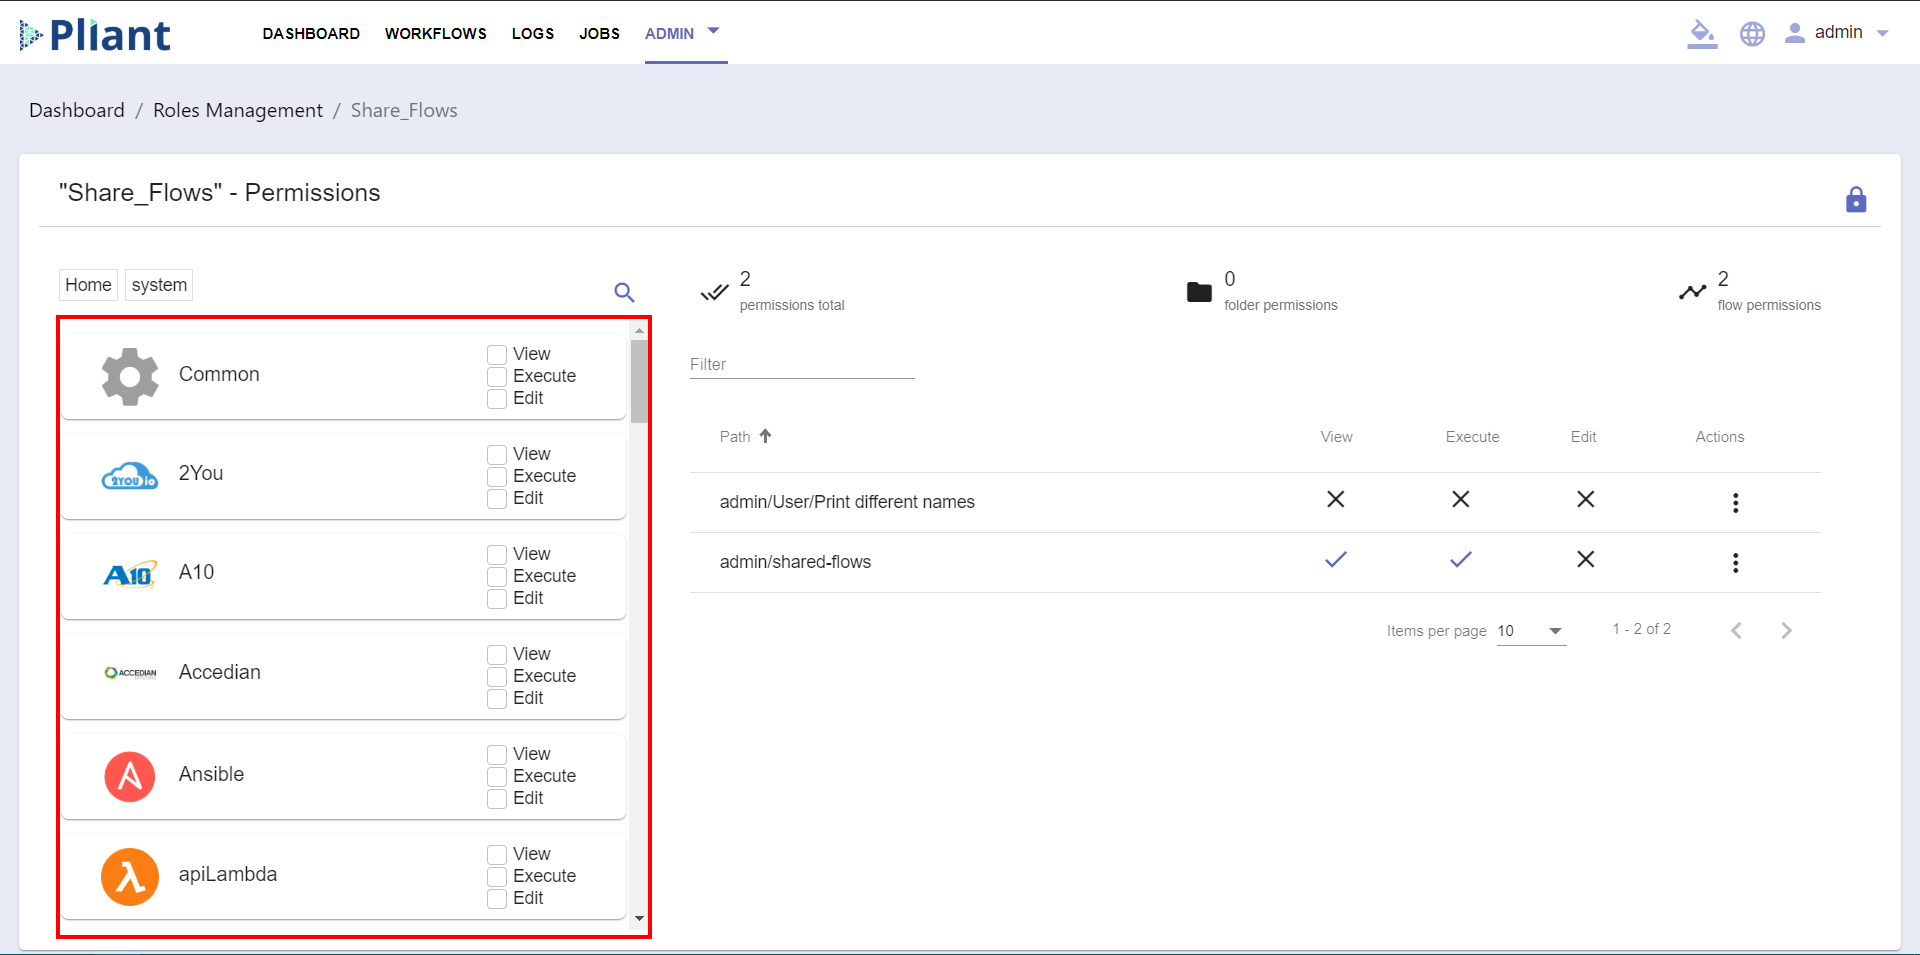
You can also add permissions for a specific block or company:
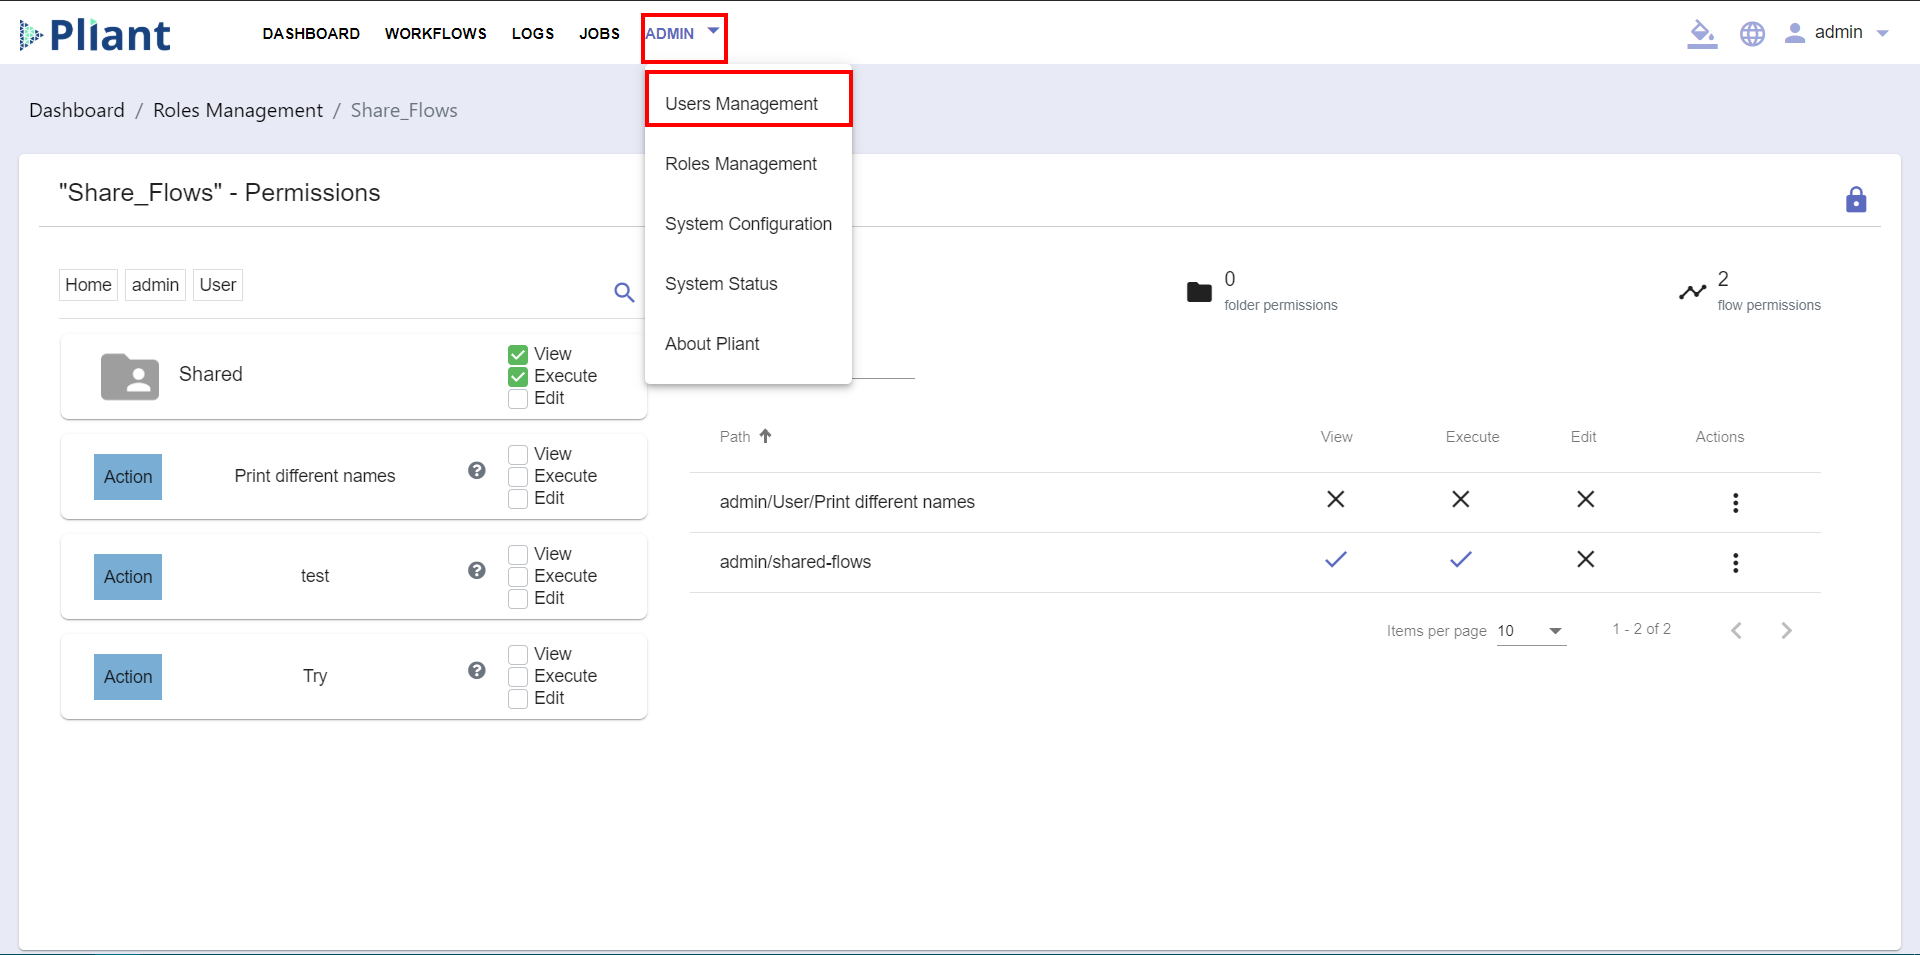
After you set the permissions, go to the Admin section and click on the User Management Panel.
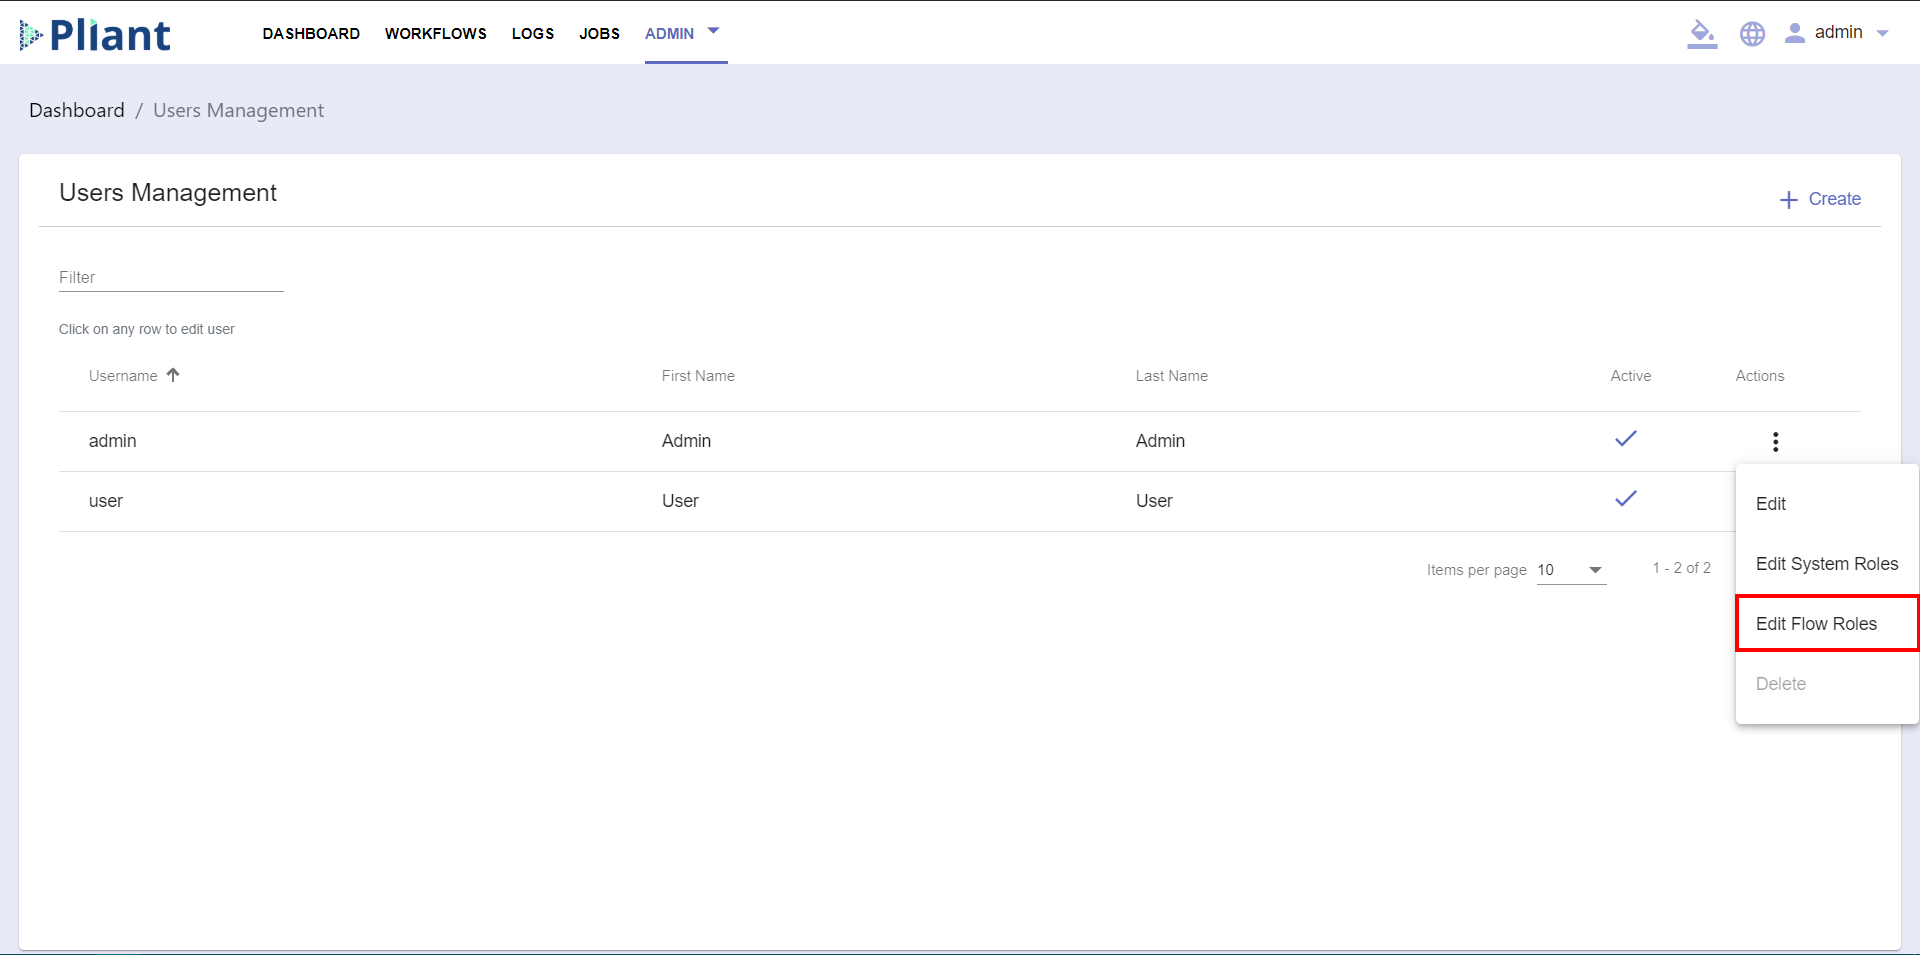
Click on the ![]() icon on the right side of each line and select Edit Flow Roles:
icon on the right side of each line and select Edit Flow Roles:
Assign the Flow Role to the User by clicking on the check-box with the Name of the role and click on the  button:

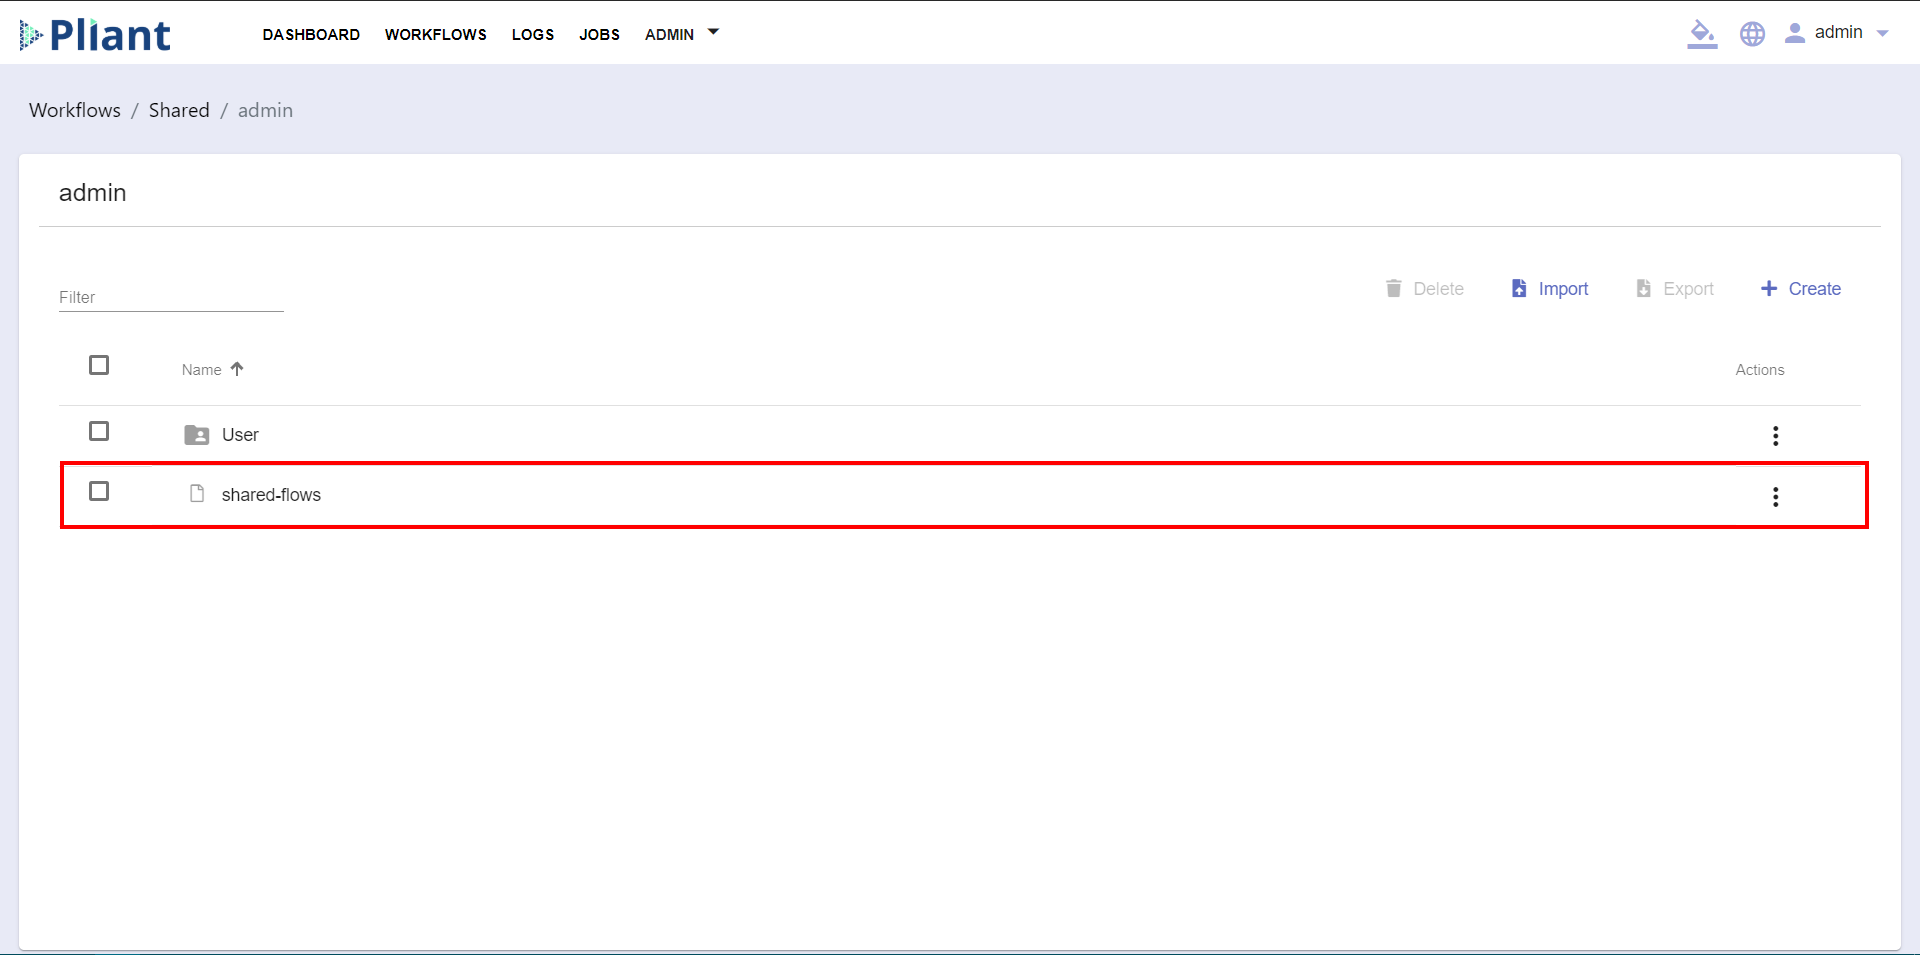
After the Flow Role is assigned to the User, go to the Workflows section and click on the Shared folder. In this folder you can find all of the roles assigned to the particular user:

Click on the Admin folder:

Within the Admin folder you will see the Roles assigned to the specific User: