Change NTP on multiple Cisco Routers
Task Description
Overview Statement
In this demonstration, we are going to be changing the NTP server addresses on multiple Cisco routers at once.
Before You Begin
You will need the following:
The IP addresses/credentials of your routers
NTP Servers
In our example, we use the following IP addresses for our routers with our console admin/password credentials:
192.168.109.37
192.168.109.39
192.168.109.40
192.168.109.41
We will add the following NTP server addresses:
128.175.60.175
216.239.35.4
Procedure
Create a new workflow.
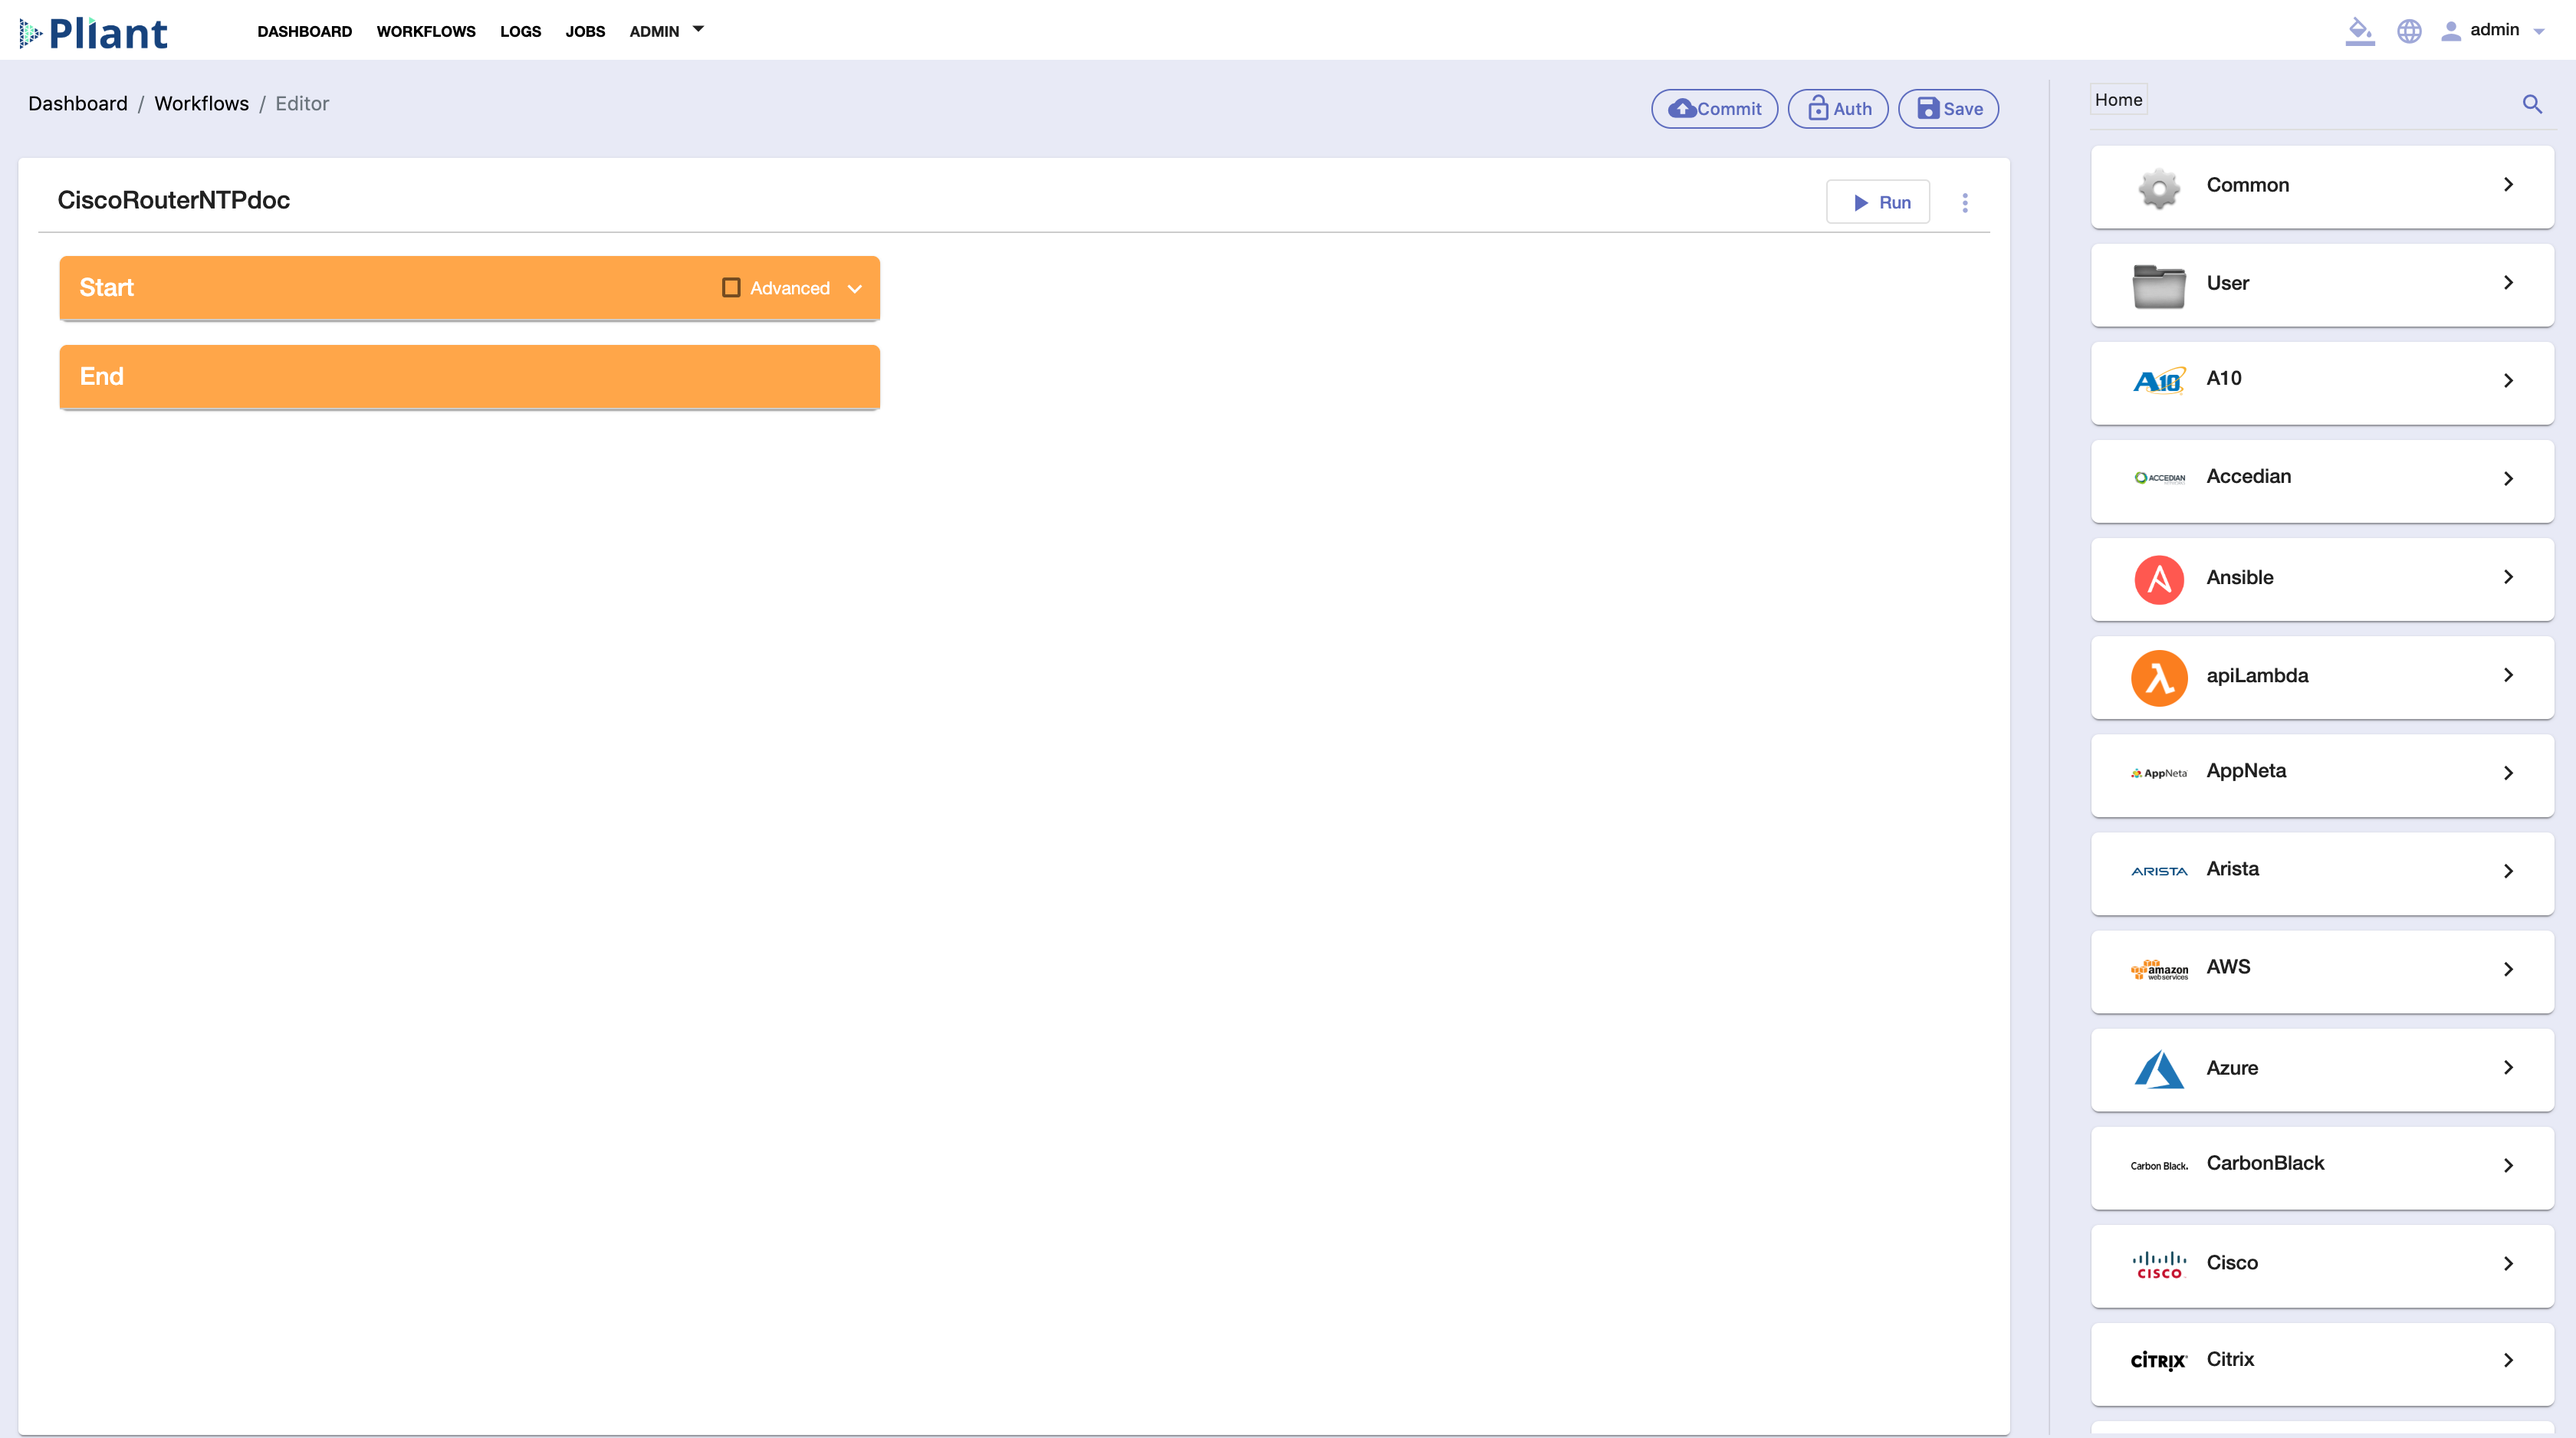
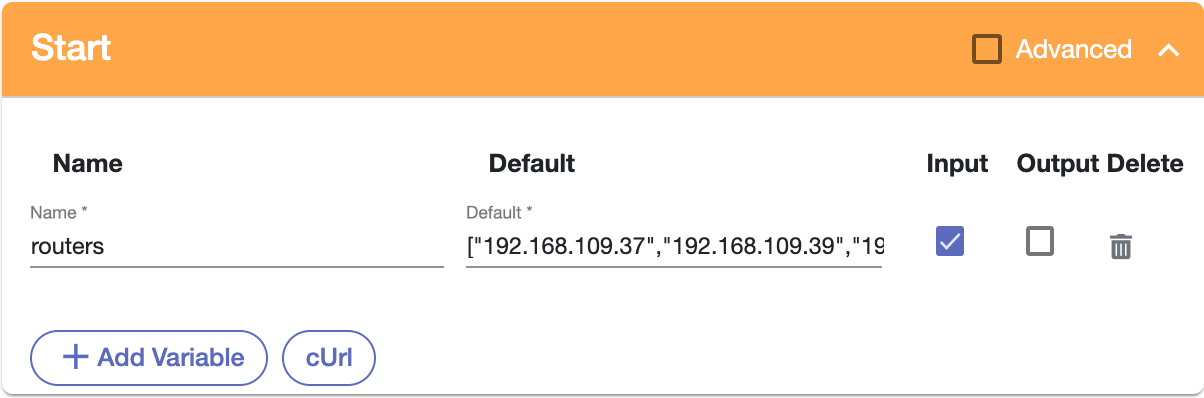
Click the downward-facing arrow on the "Start" block. Let's Create a couple of variables:
We'll create an array called "routers" which will store the IP's of the routers whose NTP configurations we will amend. Set the default value to ["IP1", "IP2", "IP3"] for each of your IP Addresses. Make this an input variable.
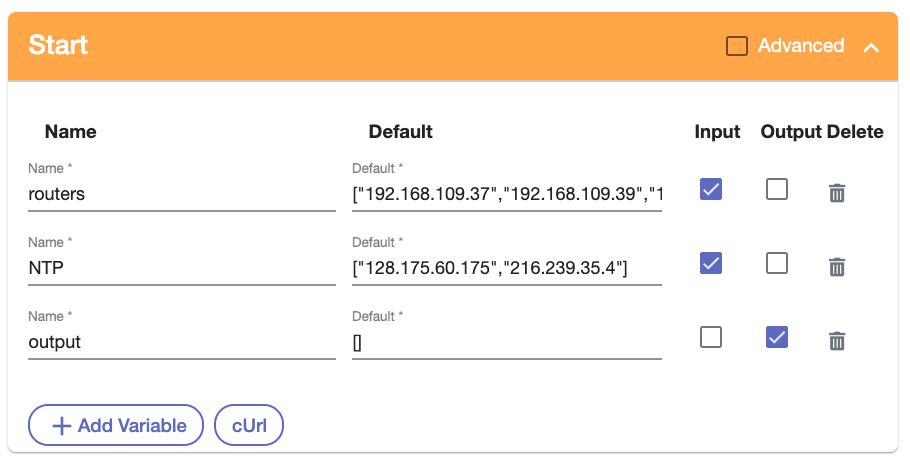
Next, let's define the additional NTP servers we will add with another array called NTP and set its default value to ["128.175.60.175","216.239.35.4"] as our new NTP address. This will also be an input variable.

Finally, let's define a variable called output so we can see the result. This will be, you guessed it, an output variable. Let's initially assign its value to an empty array with [].
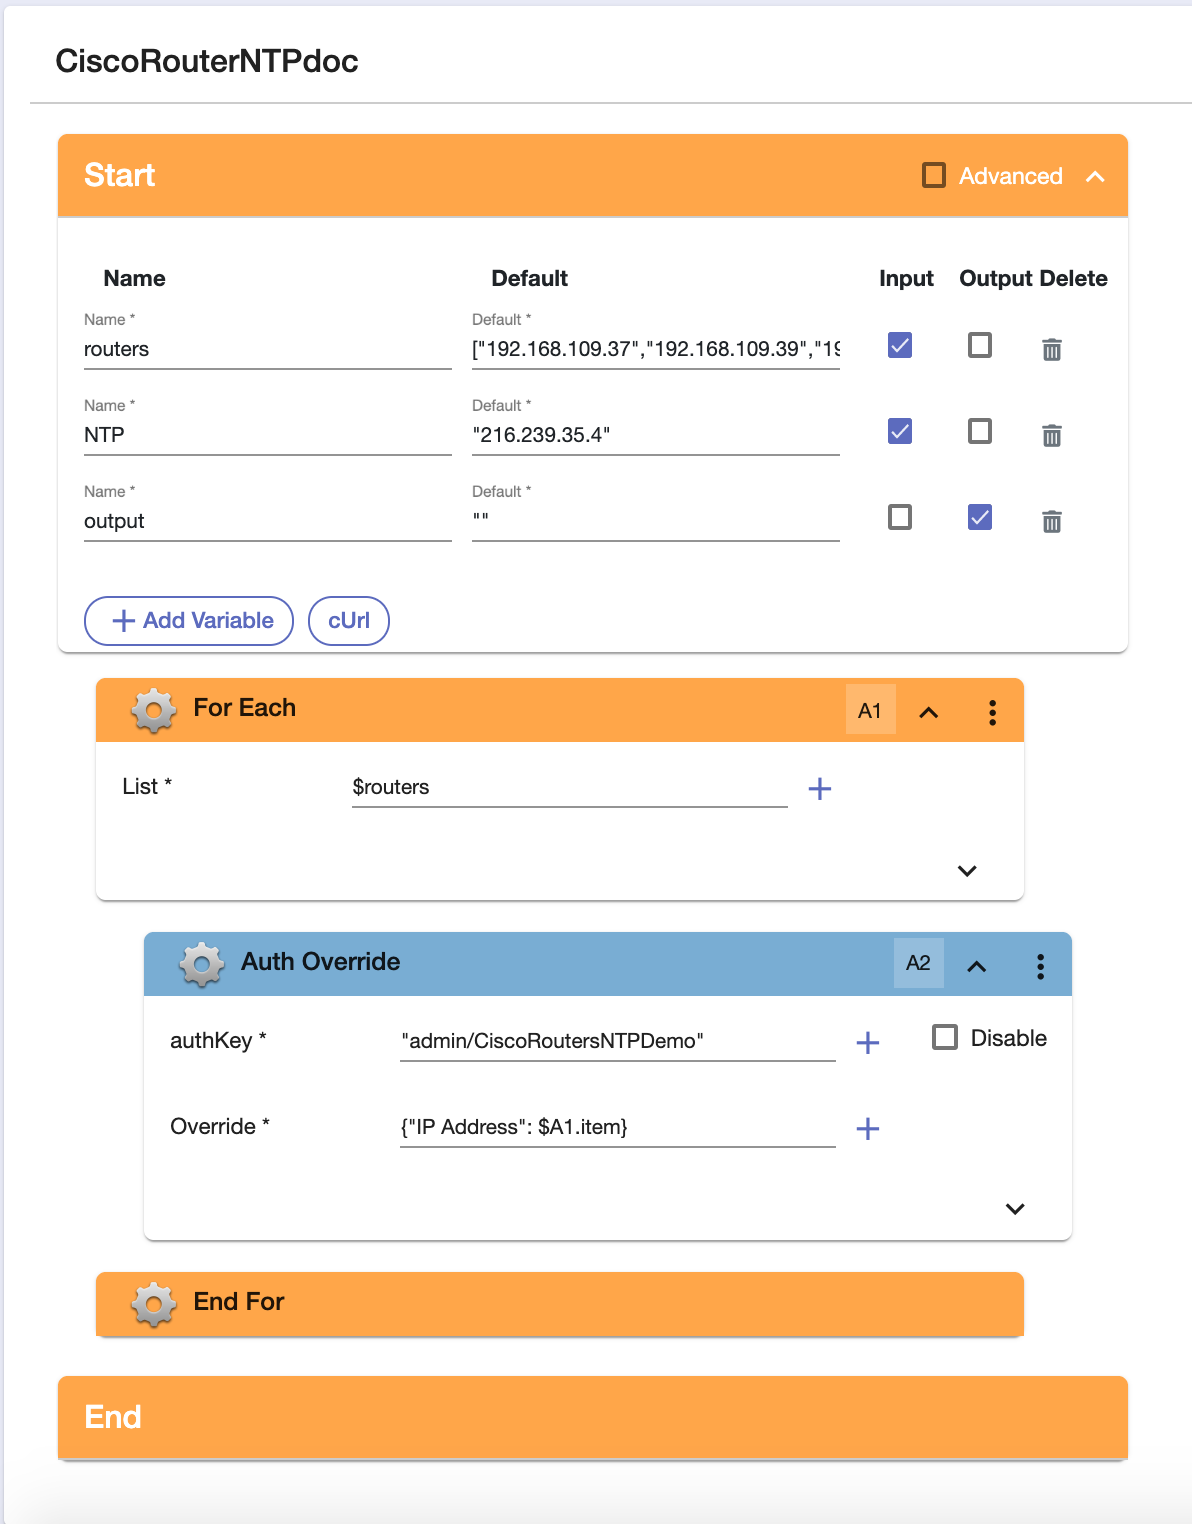
Next, we will configure our credentials. Click "Auth" at the top right of the editor and click "add". In the windows that appear, select "napalm" from the service field and enter ios as the OS. Enter your credentials and in the IP Address block, check the "overwrite" box. In this example, we will assume you have multiple routers with the same login information and different IP addresses, However, you may follow a slightly altered protocol if this is not the case. Click save.

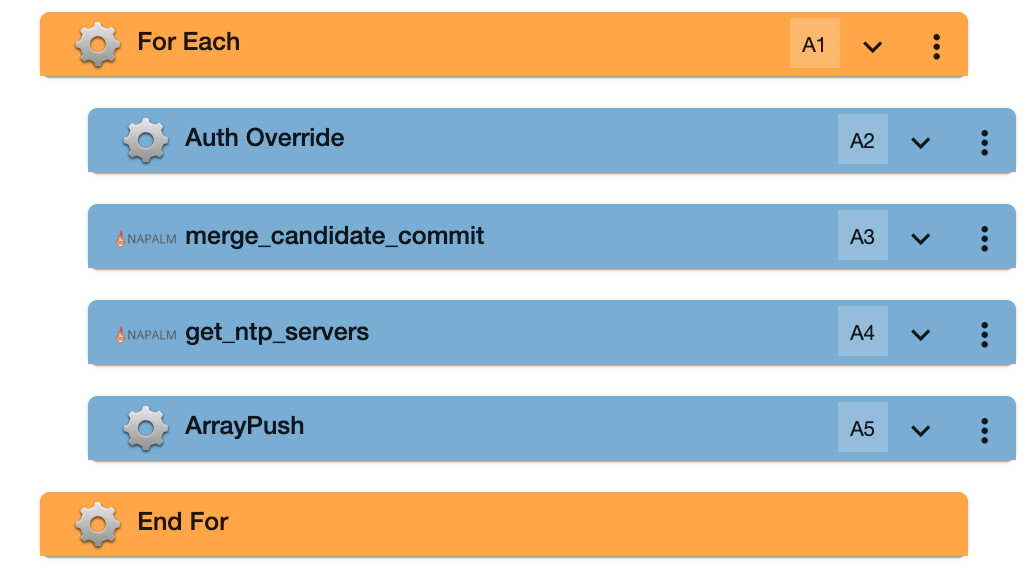
Now, we will build the logic for the workflow. First, let's add a for-each loop from "Common" so we can iterate through our IP's. The list will be our routers list we defined in step 2.

For each of our routers, we will want to replace the "IP" of the authkey we just defined to bring us to the correct router. Under common, get the "AuthOverride" block and drag it into the foreach loop. Our AuthKey will be the one we just created and our override will be the "IP" Address attribute, as we will want to override this for each of our IP's. Configure as such:
The next step is to make changes to the configuration by adding each of our NTP servers. Navigate to the Napalm folder on the right side and select "Merge_Candidate_Commit". Drag this block below our Authkey block

Select your previously created AuthKey, and enter the following within the content box:
`ntp server $NTP\[0\]
ntp server $NTP\[1\]`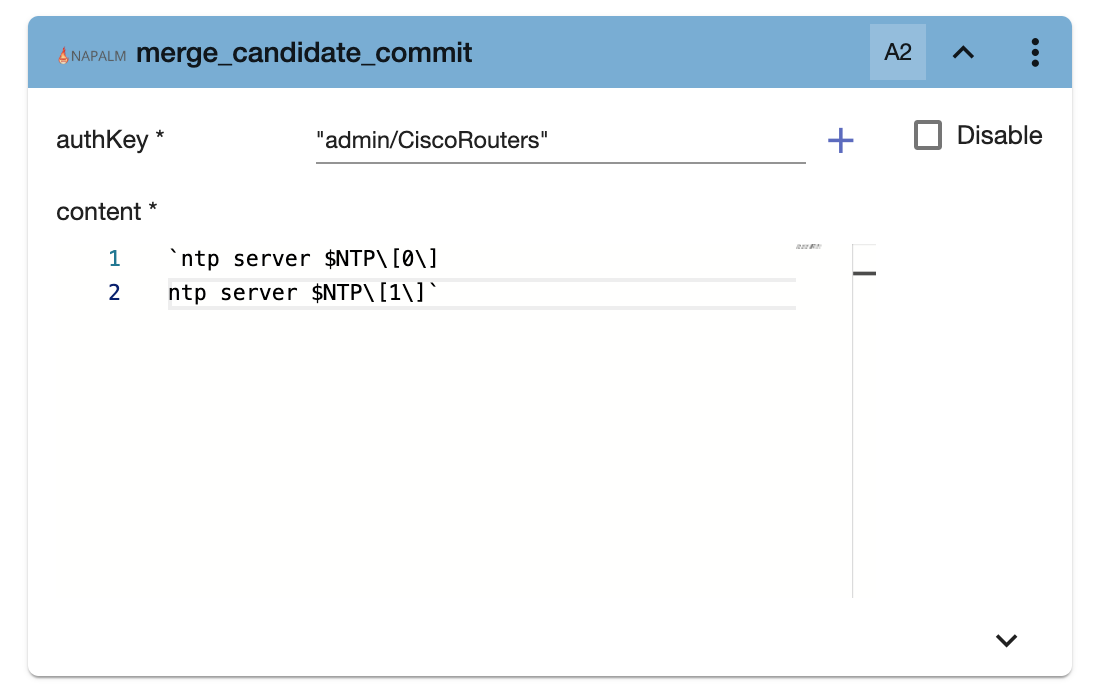
This will add the configuration for both the NTP servers into a single command.
Note that If we wanted to instead change the configuration with a single NTP server, we would enter "ntp server 1.1.1.1" in the content box; or "ntp server " + $VARNAME for an ntp server stored in a string variable called VARNAME.Finally, after we make the configuration change, we will want to verify it.
From napalm, add the "Get_NTP_Servers" block directly under the previous block. Fill in your AuthKey.
Add an "Array Push" block from under common directly below the previous "Get_NTP_Servers" block. We are going to push to the array "output" the value of the previous block (in our case, $A4.result). You will have the following:

At this point, we are ready to run our flow. Be sure your blocks are in the correct order:
And run. We see the following output: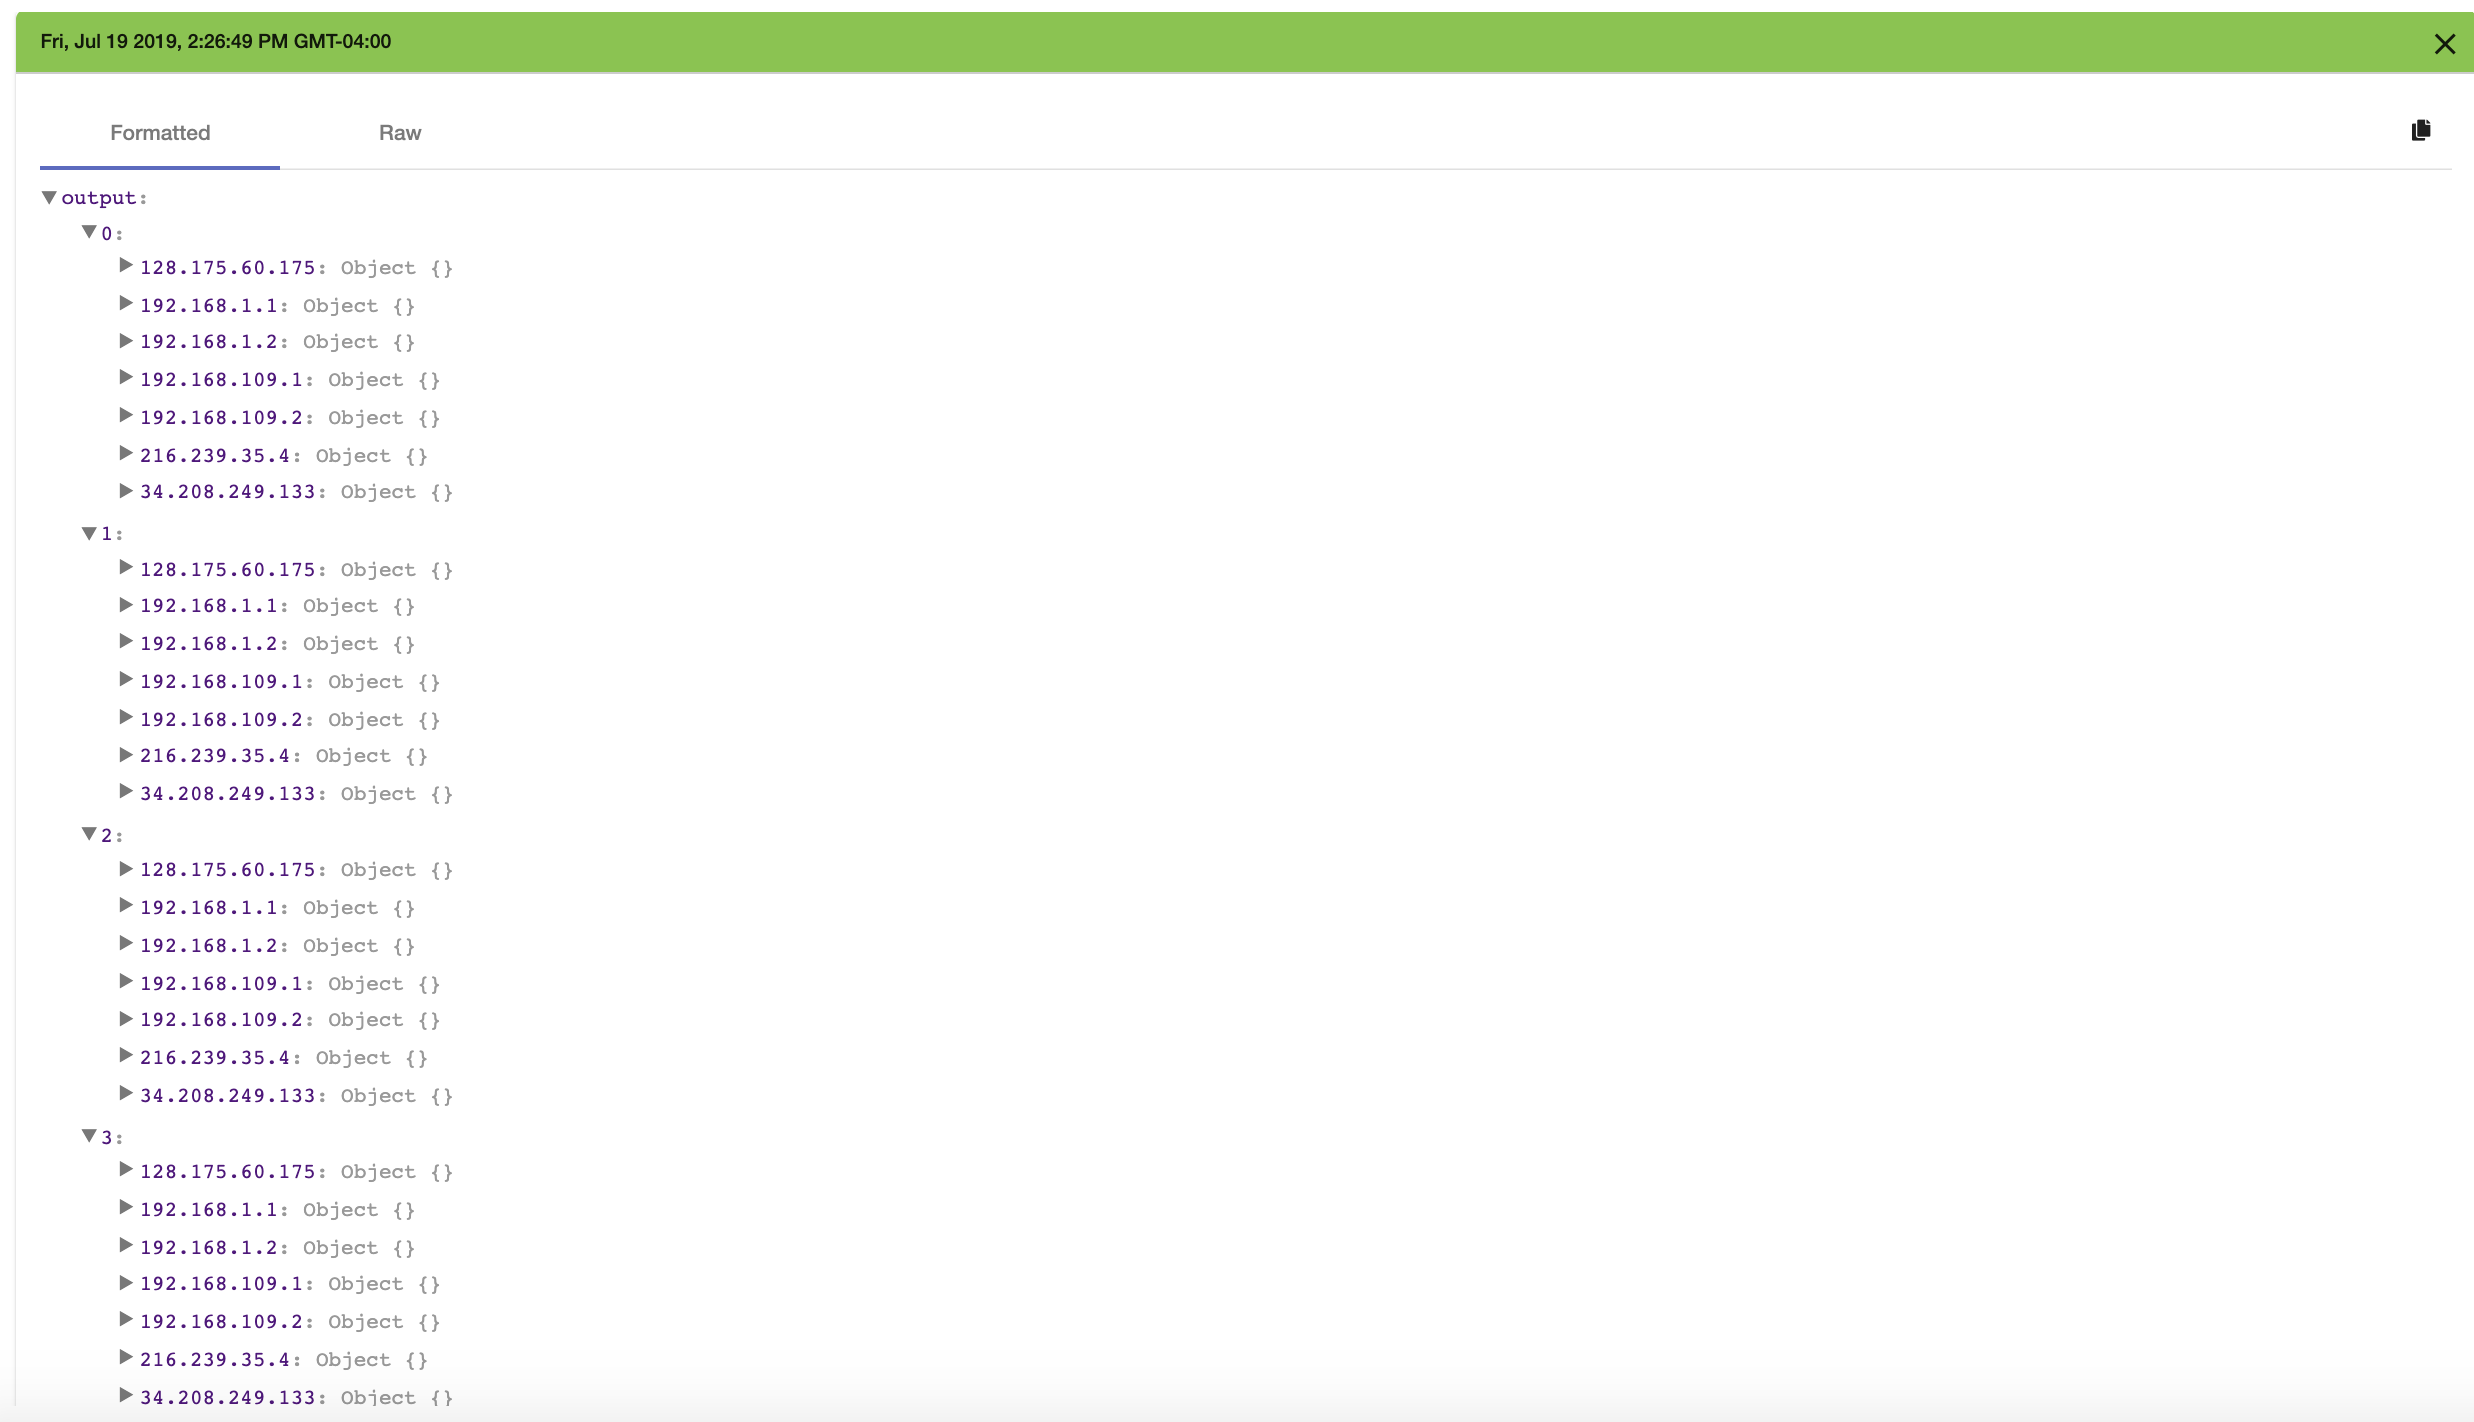
And can confirm our changes have been made.