Self Service Lab - Arrays and ForEach
Overview The purpose of this document is to provide example exercises illustrating arrays and the use of the ForEach block in Pliant. Arrays
Arrays in Pliant are very similar to arrays in a programming language: they are used to store multiple values in a single variable. An array is essentially a list of things, usually things that are alike in structure. The values stored in an array are accessed using an index. The array indexes are integer numbers that start at 0.
In JSON (the notation used throughout Pliant), an array of four strings would look like this, a comma separated list surrounded by square brackets:
["string0","string1","string2", "string3"]
To reference the value of the second element in the array, the syntax in Pliant would be:
$arrayName[1]
which would be equal to "string1"
An empty array is shown as just an empty set of square brackets:
[ ]
The Object editor in Pliant displays arrays in two columns, with the indexes on the left and the items on the right:

Key Array Functions
Arrays are more useful when you can build and consume them on the fly, so Pliant has blocks for "ArrayPush" and "ArrayPop." Both of these functions are unusual in that they will cause a change in an Input variable. When you use an ArrayPop block, the value returned by the block gets removed from the source array, whereas when you use an ArrayPush block, the value gets appended to the end of the source array.
Pliant offers many more array manipulation blocks that you can explore in the Common >> Array section of the Integration Blocks Palette
ForEach
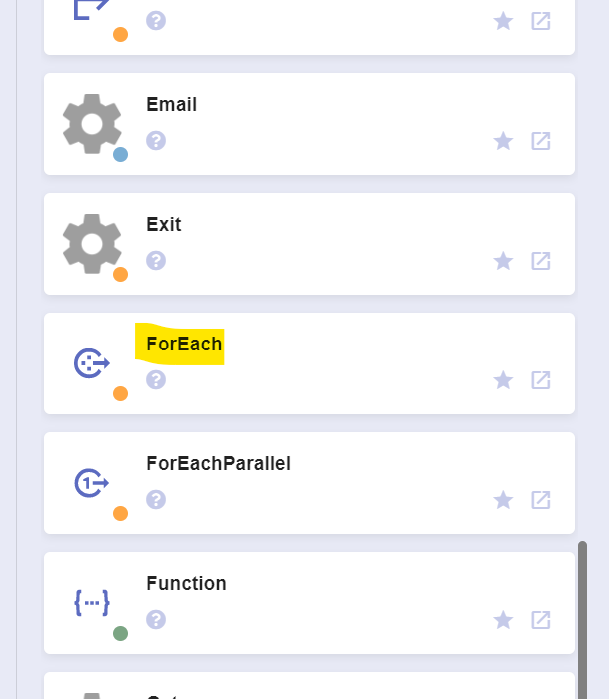
ForEach is a control block found under the Common folder in the Integration Menu. It takes an array as its input, and will execute the blocks contained between the "For Each" and "End For" blocks for each item in that array.
Launch Lab: Click here to get a lab login where you can try the following procedures
A. Create a workflow that uses a foreach loop to handle an array
A1. In the Pliant user interface, navigate to WORKFLOWS >> arrays_Lab >> Array_and_ForEach_Lab.
Note that there is already an Output variable declared and defaulting to an empty array.

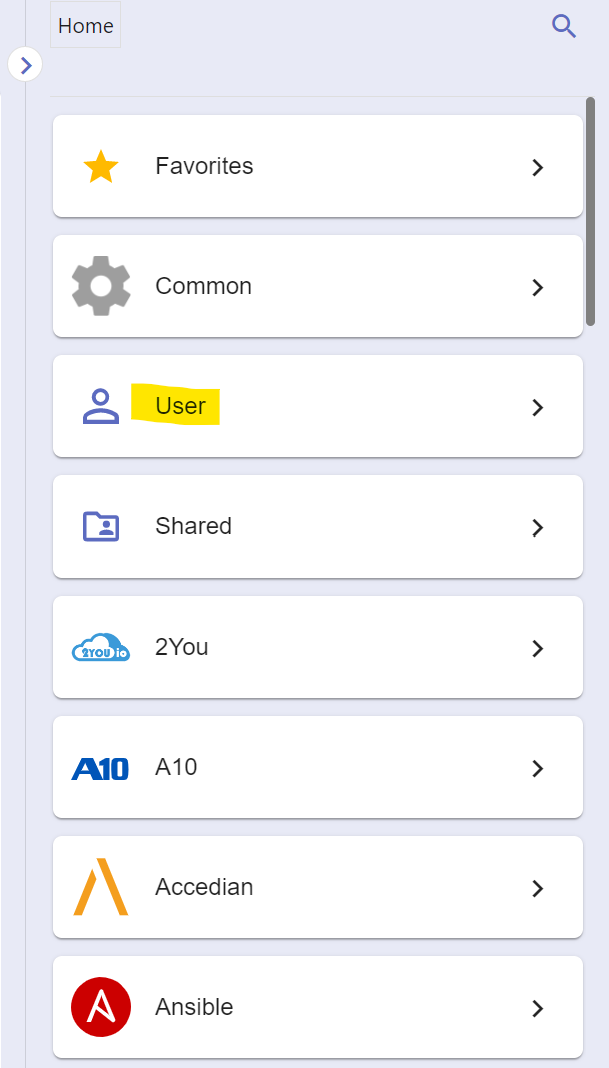
A2. In the Integration Blocks Palette, Navigate to the Common folder and locate the ForEach block
A3. Drag the ForEach block into the workflow. You will see that an End For bar comes along with it. Blocks placed between the ForEach block and the End For bar will be in the loop.
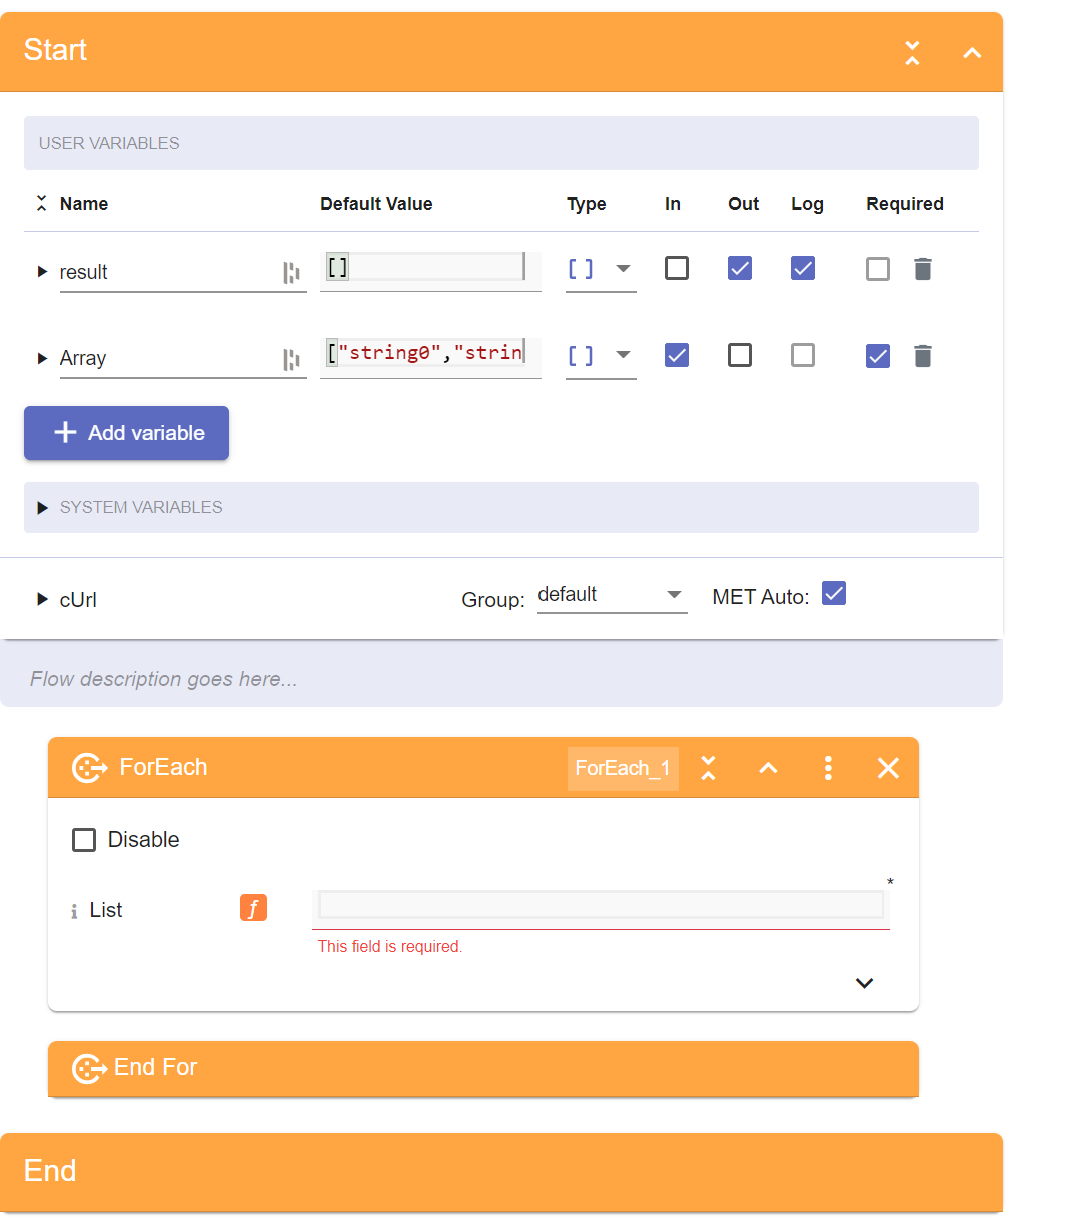
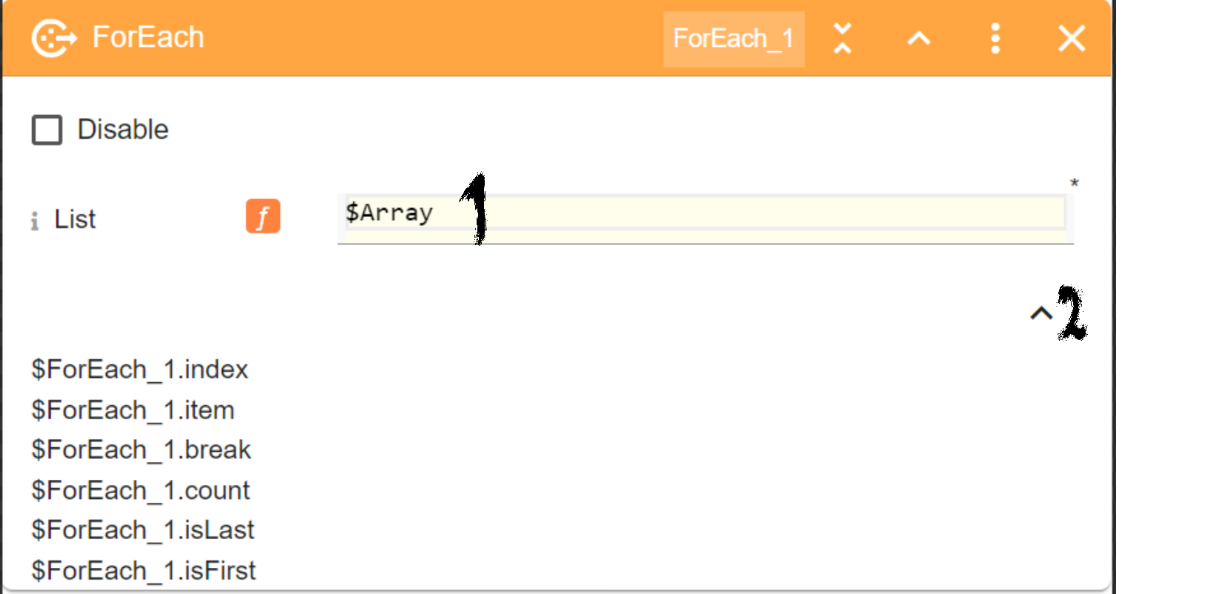
A4. In the List parameter of the For Each block, enter "$array", then click the chevron in the lower right to show the output variables.
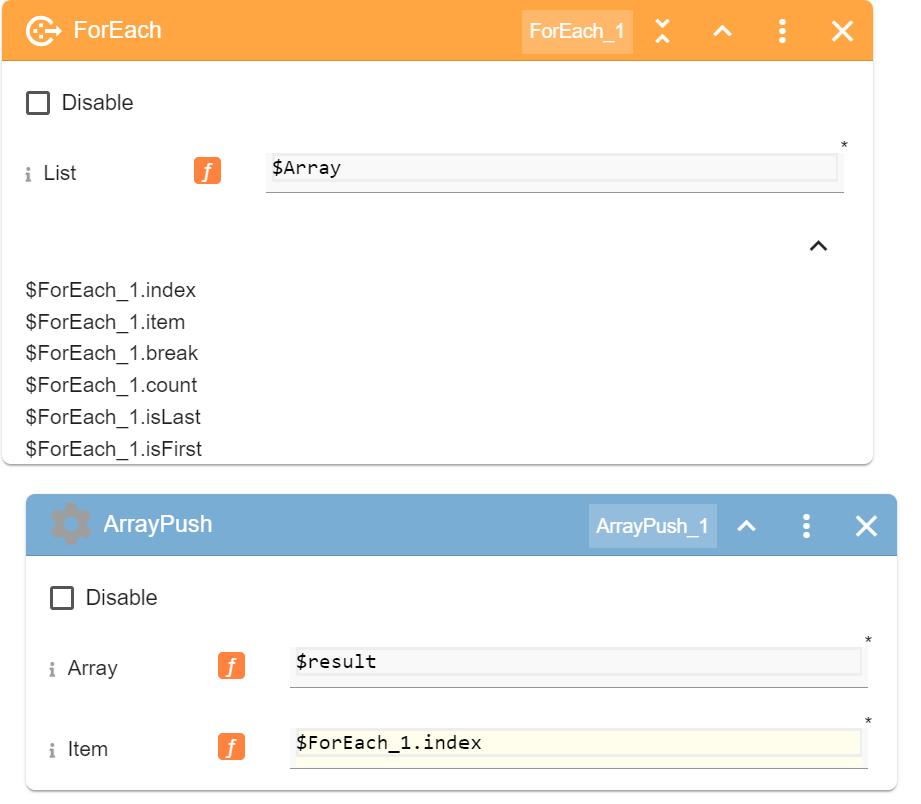
A5. In the Integration Blocks Pallet, get an arrayPush block and drag it into the ForEach loop. It should appear to be slightly indented. Put "$result" in the Array parameter of the block, and "$ForEach_1.index" in the Item parameter:
A6. You now have a workflow that will iterate through each item in the input array "$array" and push the index value of each item into the "$result" array. Click the run button and view the result:

B Loop Through Devices
B1. Navigate to WORKFLOWS >> arrays_Lab >> authKey loop.
The Start block has an empty array for the $result variable, which is already flagged as Output
The $Servers variable is set to be an array of two IP addresses, for our two test servers

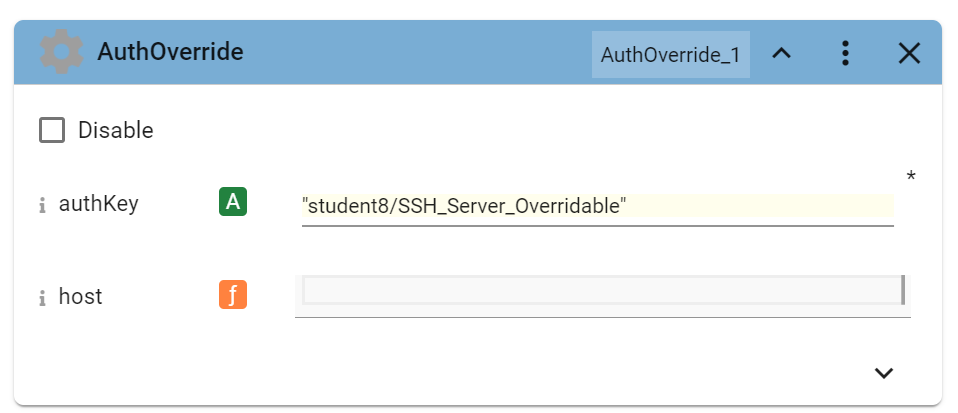
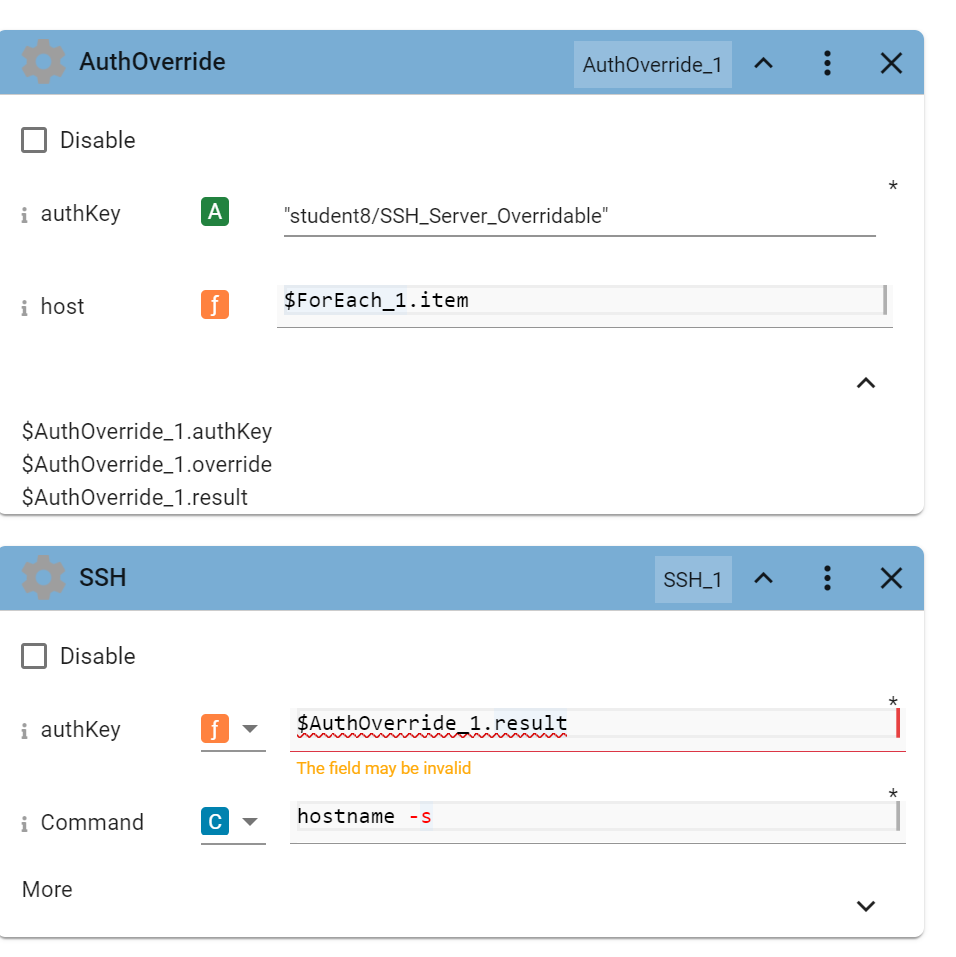
B2. Scroll down to the AuthOverride block, and set the authKey parameter to be “studentNN/SSH_Server_Overridable”
This will make a “host” parameter appear.
B3. Click into the “host” parameter and enter a dollar sign ($), then select “ForEach_1” from the dropdown options. Then enter a period (.) and select “item” from the drop down menu.
B4. Use the result of the AuthOverride block as the input for the authKey parameter of the SSH block:
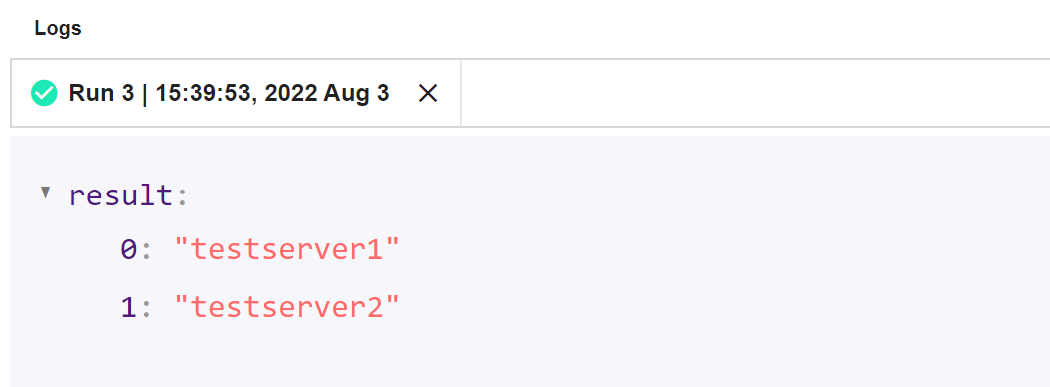
B5. Run the flow. You should see that the results of the “hostname -s” command are shown in an array of the $result variable: